4 - 186
Chapter 4 Disassembly / Assembly and Adjustments
REP7. DRIVE
REP7.1 (SCC) DRIVE ASSY SUB (PL7.1.1)
[Removal]
1) Remove the CASSETTE ASSY 250 MG AIO. (REP2.1)
2) Open the COVER ASSY FRONT (PL1.2.1).
Cover the drum of the PHD ASSY to avoid exposure to light.
3) Remove the PHD ASSY. (REP4.6)
The FUSING UNIT part is very hot. Take added care not to get burned when
performing the service operation.
4) Remove the FUSING UNIT. (REP6.1)
5) Remove the COVER ASSY SIDE L AIO. (REP1.9)
6) Remove the CLUTCH ASSY DRV and BEARING REGI. (REP3.1)
7) Remove the GEAR P2 (PL7.1.3) and DRIVE ASSY PH (PL7.1.4). (REP7.3)
8) Remove the DRIVE ASSY MAIN. (REP7.2)
When performing the step described below, it is not necessary to disengage the
connector of the HARN ASSY INTERLOCK AIO.
9) Remove the HARN ASSY INTERLOCK AIO. (REP8.1)
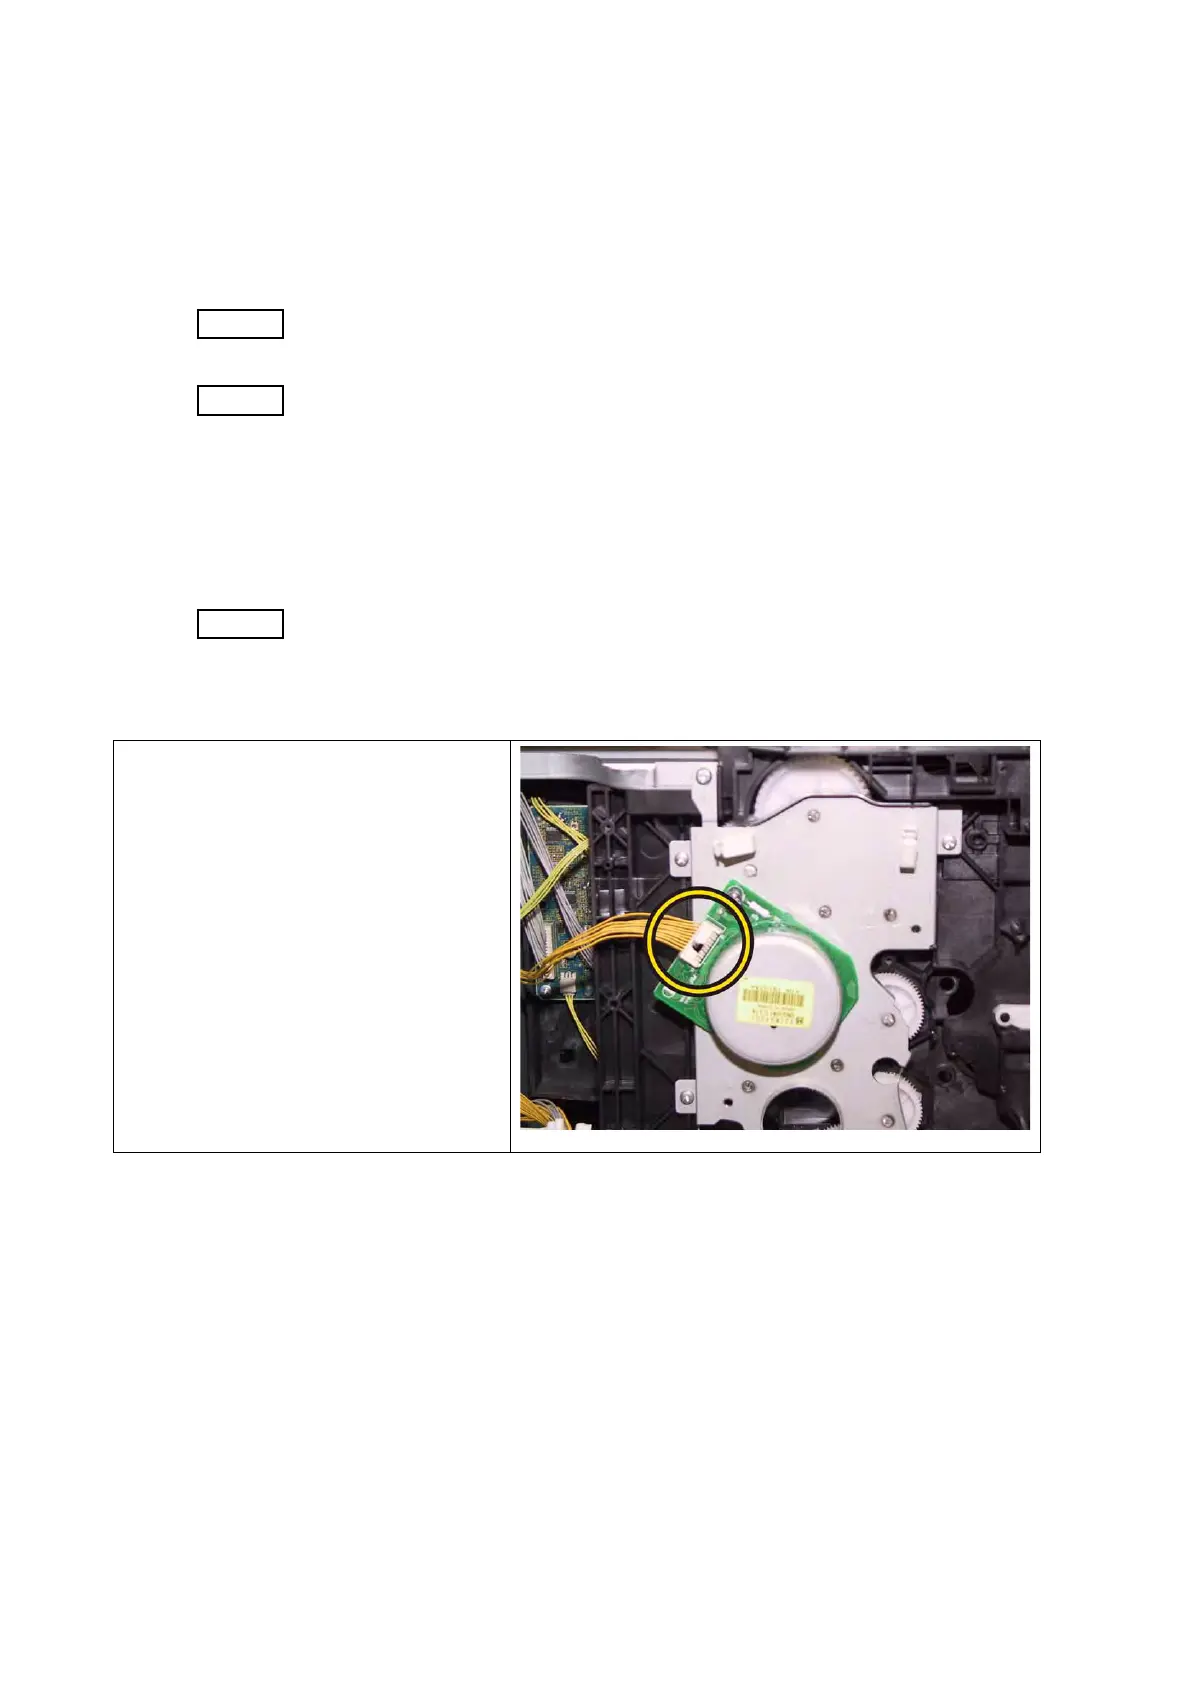
10) Disengage the connector (P/J221) of
the DRIVE ASSY SUB (PL7.1.1).

 Loading...


