3 - 14
Chapter 3 Image Quality Troubleshooting
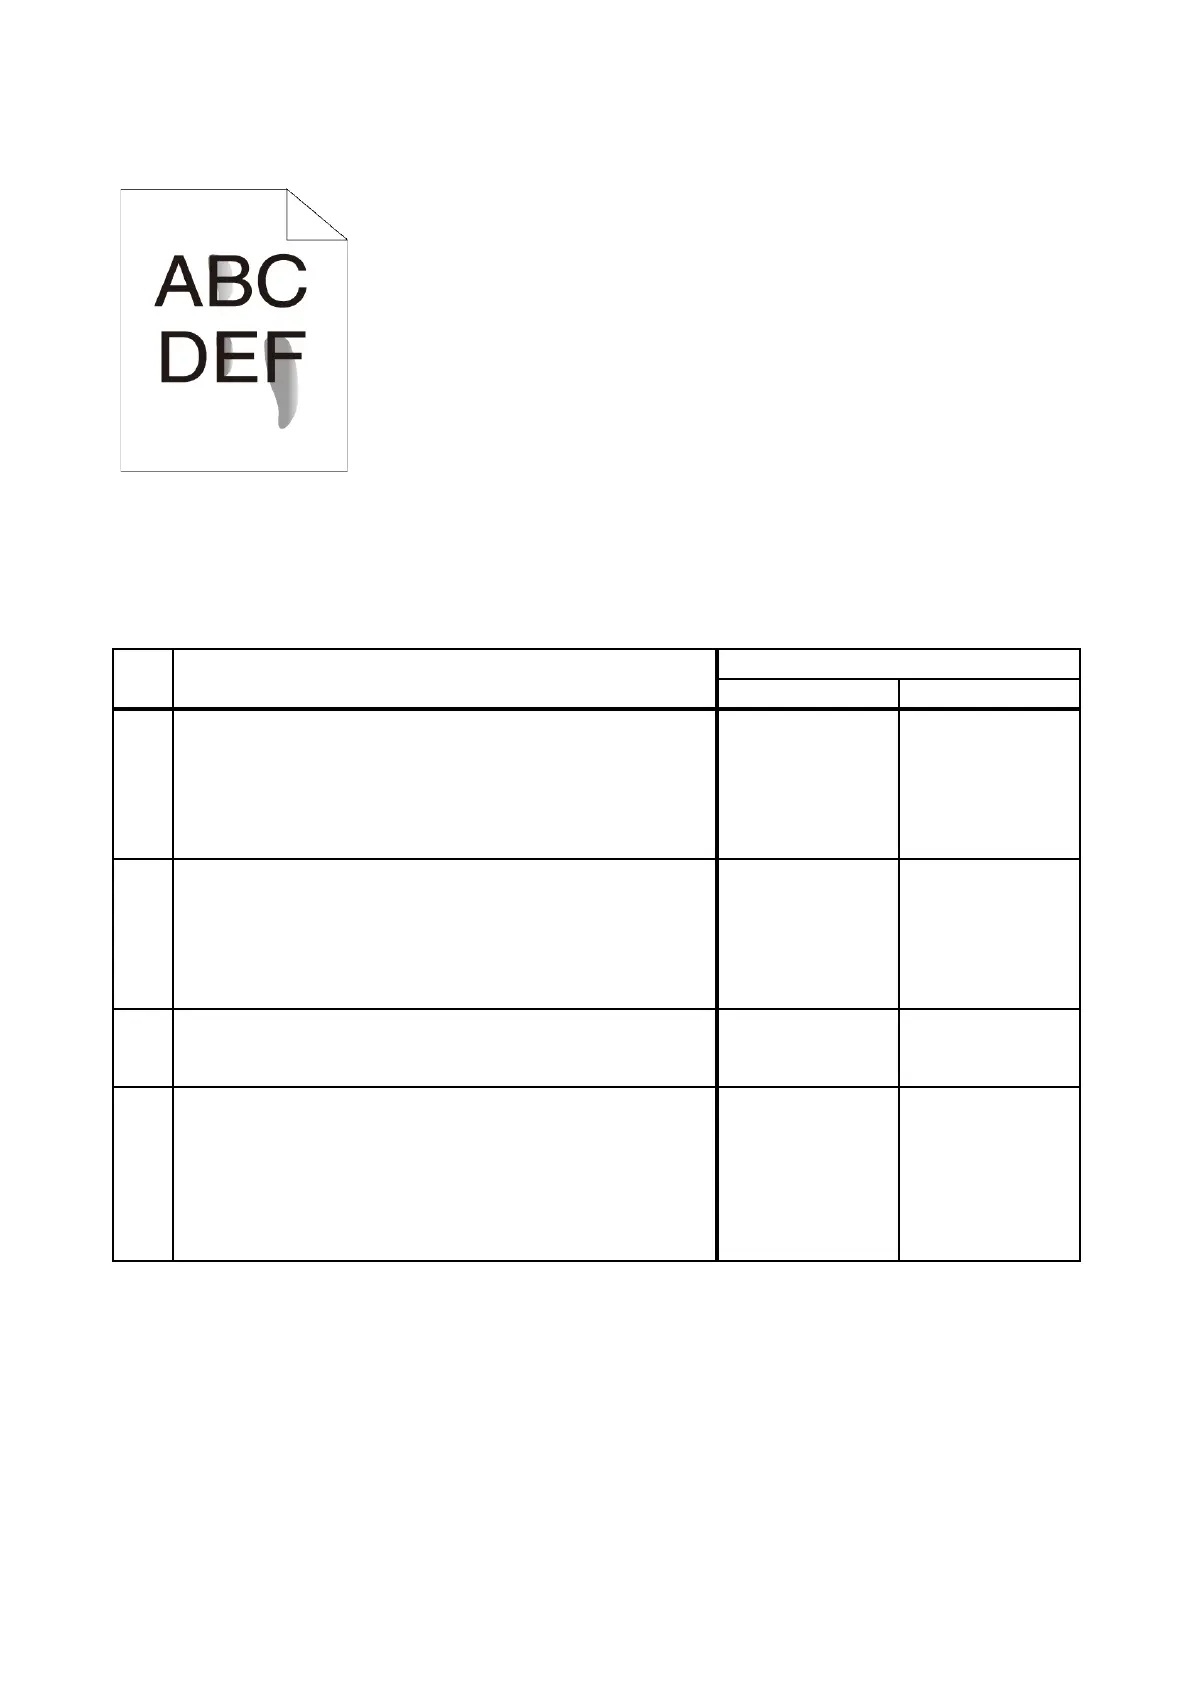
FIP-1.P4 Toner smears
Possible causative parts
- PHD ASSY (PL4.1.21)
- TRANSFER ASSY (PL6.1.7)
- FUSING UNIT (PL6.1.1)
Before commencing troubleshooting, check the paper transfer path. Make sure there is no foreign
materials on the transfer path, such as staples, paper clips, scraps of paper and so on.
Step Check
Remedy
Yes No
1
Checking the printer environment.
Check that the printer is in a room where air conditioner is
operating. If the air conditioner is not operating, turn it on or
move the printer to a room with an air conditioner.
Are printouts still toner smears after turning on the air
conditioner?
Go to step 2. End of work.
2
Checking the paper.
Is the installed paper with a new and dry one? or does the
paper satisfy the specification?
Go to step 3.
Replace the paper
with a new and dry
one. or Change
the paper to the
one that satisfies
the specification.
3
Checking after replacing the PHD ASSY.
Replace the PHD ASSY. (Refer to REP4.6.)
Is the image printed correctly?
End of work. Go to step 4.
4
Checking after replacing the FUSING UNIT.
Replace the FUSING UNIT. (Refer to REP6.1.)
Is the image printed correctly?
Warning: Start the operation after the FUSING UNIT has
cooled down.
NOTE: After replacement, be sure to clear the life
counter value.
End of work.
Replace the KIT
TRANSFER
ASSY. (Refer to
REP6.3.)

 Loading...


