4 - 94
Chapter 4 Disassembly / Assembly and Adjustments
REP3.6 SENSOR PHOTO: SSI NO PAPER (PL3.2.13)
[Removal]
1) Remove the CASSETTE ASSY 250 MG AIO. (REP2.1)
2) Open the COVER ASSY FRONT (PL1.2.1).
Cover the drum of the PHD ASSY to avoid exposure to light.
3) Remove the PHD ASSY. (REP4.6)
The FUSING UNIT part is very hot. Take added care not to get burned when
performing the service operation.
4) Remove the FUSING UNIT. (REP6.1)
5) Remove the COVER ASSY SIDE R AIO. (REP1.8)
6) Remove the COVER ASSY SIDE L AIO. (REP1.9)
7) Remove the TRANSFER ASSY (PL6.1.7) and COVER HARNESS (PL6.1.8). (REP6.3)
When carrying out the work described next procedure, take care not to move the
BRACKET SNS from the printer too far because they are connected with the
harness.
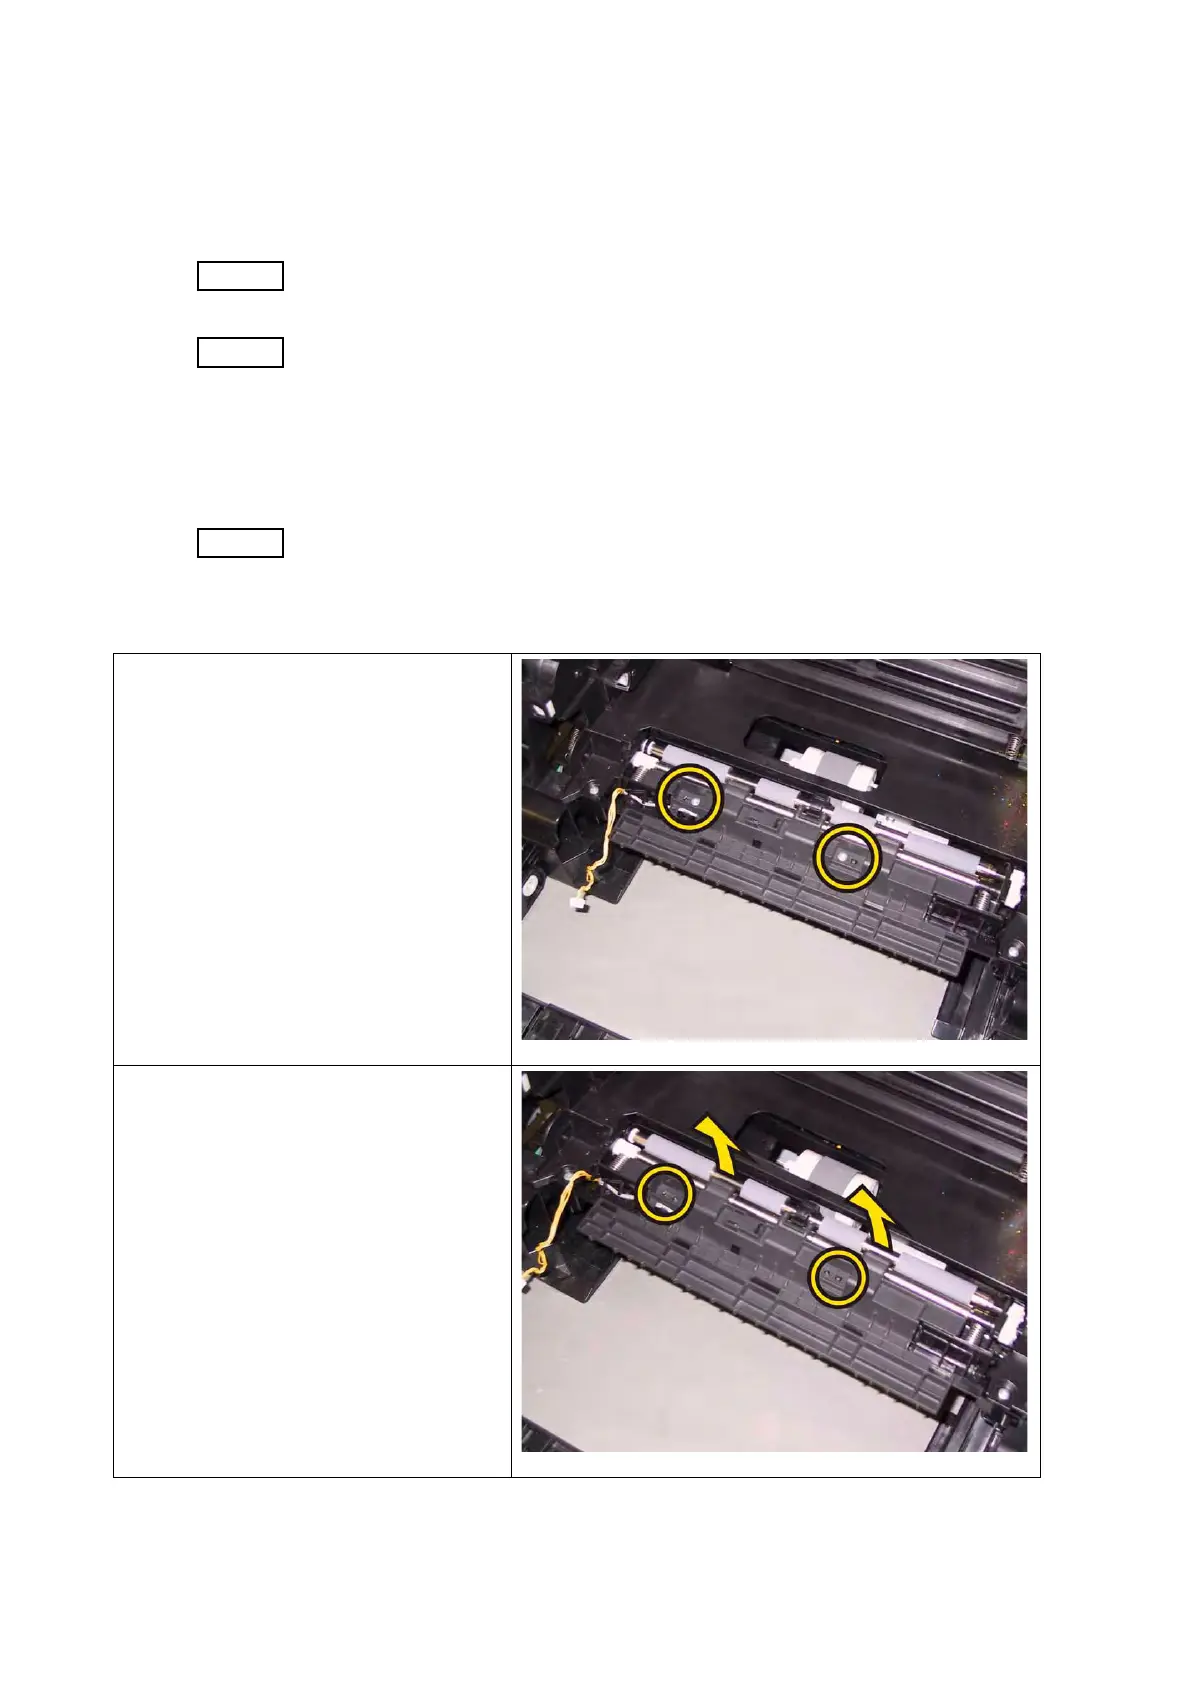
8) Remove the two screws (silver, tap,
8mm) that fix the BRACKET SNS
(PL3.2.28) to the printer, remove the
BRACKET SNS.
9) Lift the rear part of the BRACKET
SNS up to release the two holes of
the BRACKET SNS from the bosses
of the printer.

 Loading...


