3 - 28
Chapter 3 Image Quality Troubleshooting
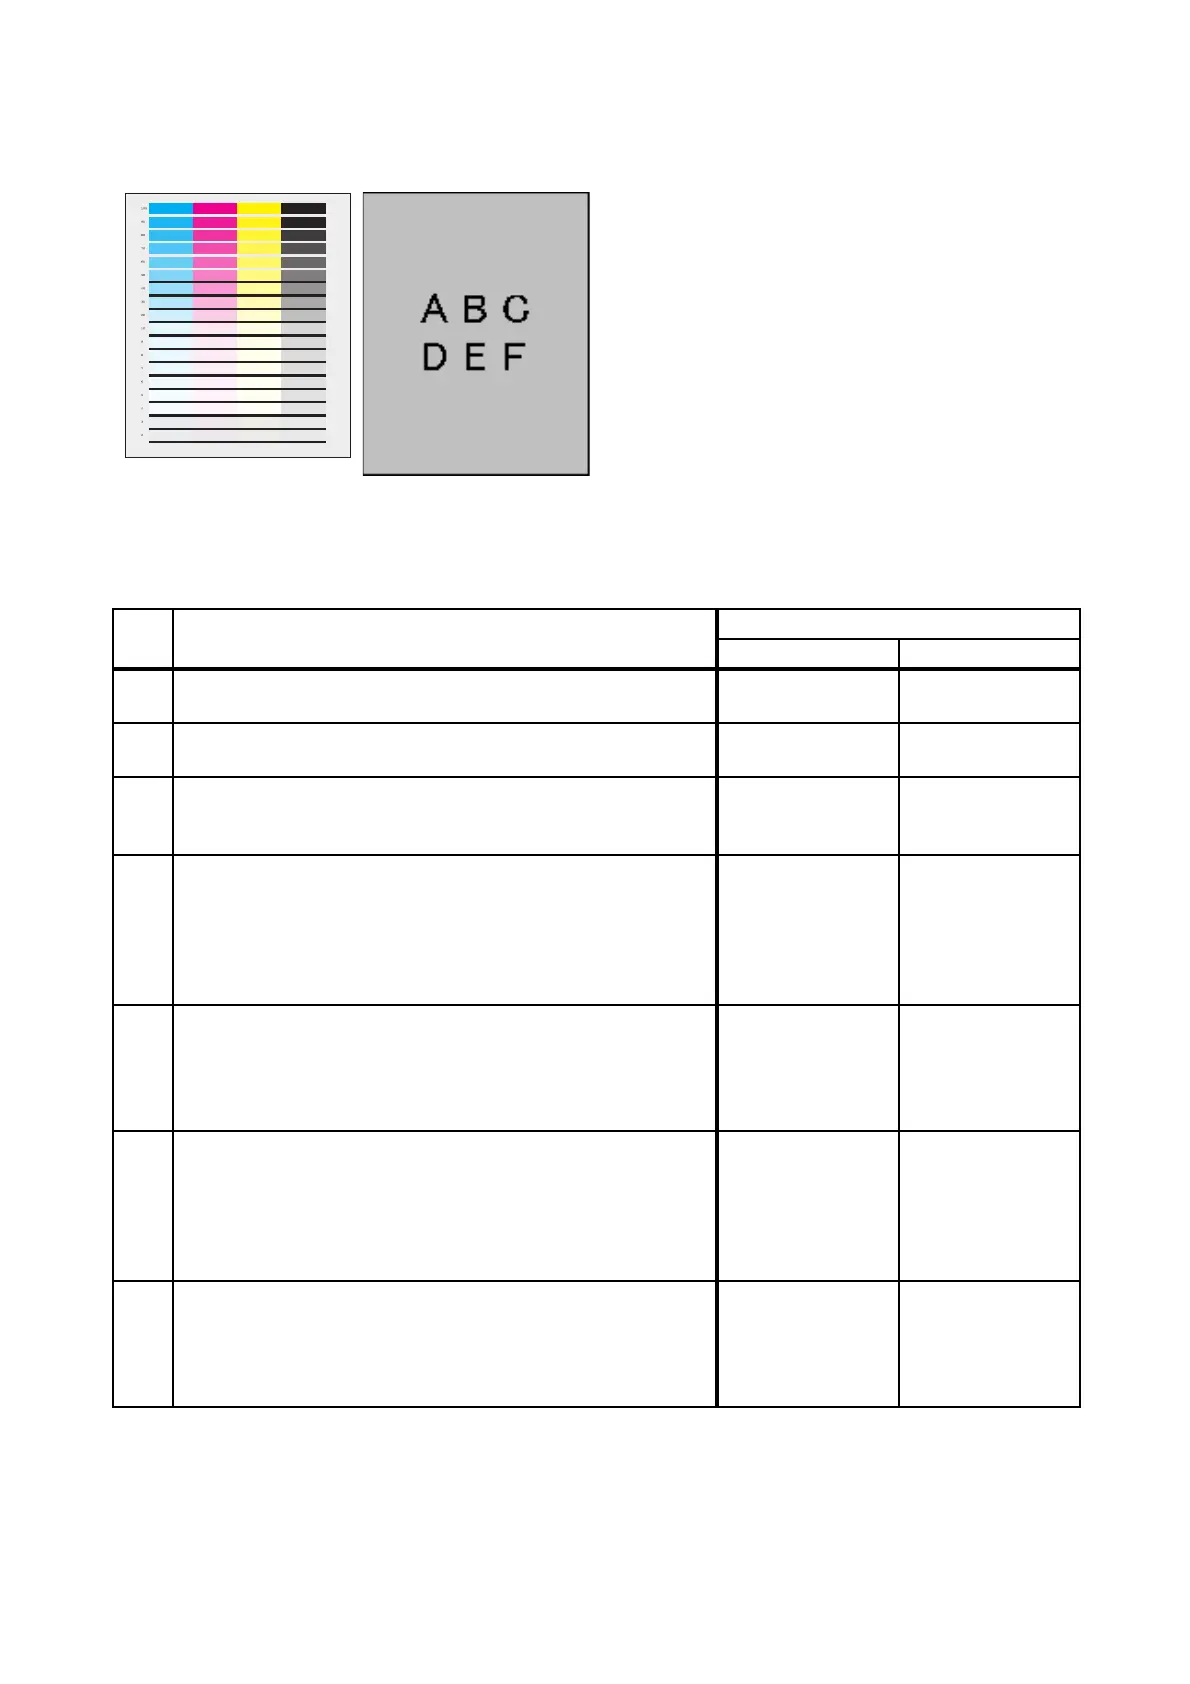
FIP-1.P11 Fog
ESS and possible causative parts
- PWBA HVPS (PL4.1.19)
- PHD ASSY (PL4.1.21)
Before commencing troubleshooting, check the paper transfer path. Make sure there is no foreign
materials on the transfer path, such as staples, paper clips, scraps of paper and so on.
Step Check
Remedy
Yes No
1
Checking the error mode.
Does the error occur only during copying?
Go to step 2. Go to step 4.
2
Checking the original.
Is the original color clean?
Go to step 3.
END, change the
original.
3
Checking the Default setting.
Is the [Lighter/Darker] of the [Copy Default] in the [Copy] of
the [Default Settings] the [Darker 2 or 3]?
Set the [Normal]
or [Lighter 1 to 3].
Go to step 5.
4
Checking the printing.
Checked by [Test Print] - [Gradation] in diagnosis.
Is the image printed correctly?
Printing data is
incorrect,then
check the printing
data which the
problem
generated.
Go to step 5.
5
Changing the printer driver setting.
Reset Image Settings (Brightness/Contrast) to defaults.
- Click [Restore Defaults] in [Image Settings] on the
[Graphics] tab.
Is the image printed correctly?
End of work. Go to step 6.
6
Checking the paper.
Is the installed paper with a new and dry one? or does the
paper satisfy the specification?
Go to step 7.
Replace the paper
with a new and dry
one. or Change
the paper to the
one that satisfies
the specification.
7
Checking after "Drum Refresh Mode".
Execute the "Drum Refresh Mode".
- To execute the "Drum Refresh Mode", click [Drum Refresh
Mode] in [Refresh Mode] on the diagnosis tab of Tool Box.
Is the image printed correctly?
End of work. Go to step 8.
 Loading...


