2 - 139
Chapter 2 Troubleshooting
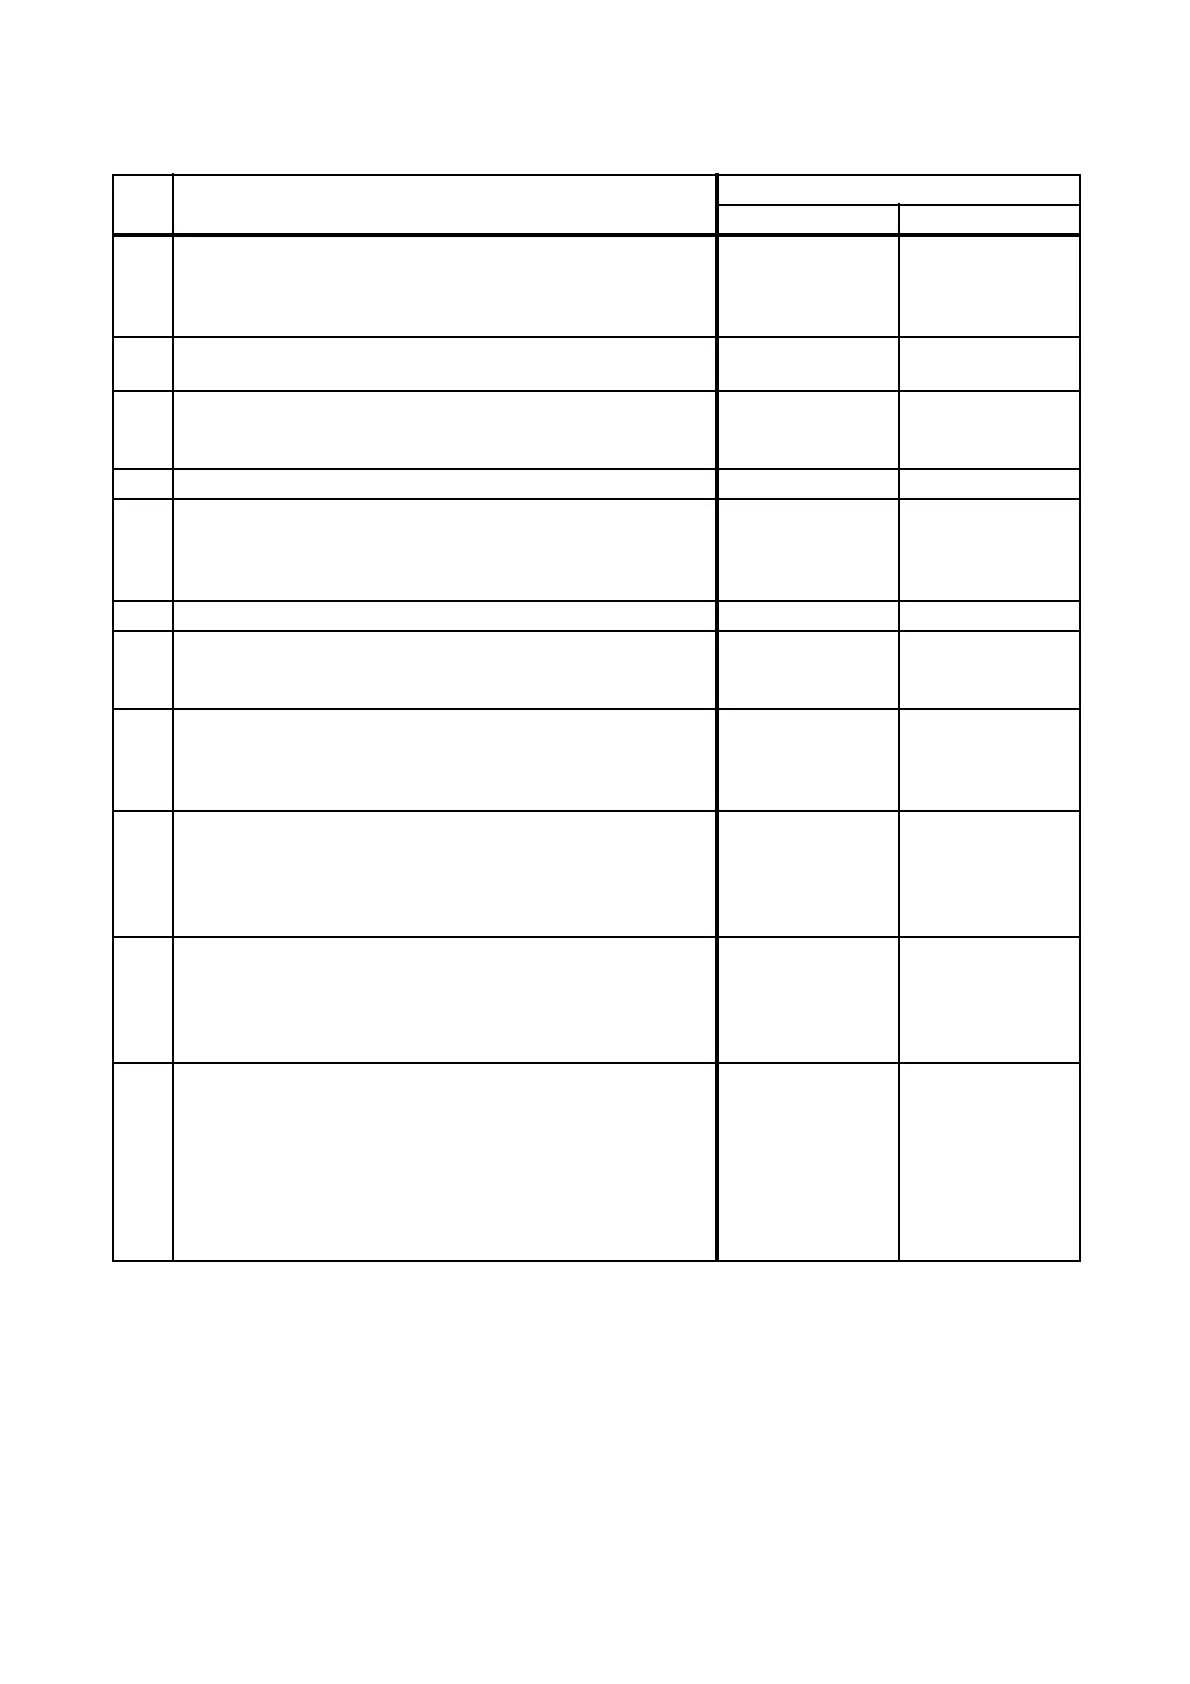
FIP-1.79 077-900: IOT Exit JAM
Step Check
Remedy
Yes No
Possible causative parts:
FUSING UNIT (PL6.1.1)
HARNESS ASSY FUSING UNIT MG AIO (PL6.1.2)
PWBA MCU (PL8.3.6)
1
Checking the paper feeding
Was a paper fed from SSF?
Go to step 2. Go to step 4.
2
Checking the paper setting
Was the paper correctly set to SSF without slant?
Go to step 4.
Set the paper to
SSF correctly, and
go to step 3.
3 Does the error still occur when printing? Go to step 4. End of work.
4
Checking the paper condition
Is the paper wrinkled or damaged?
Replace the paper
with a new and dry
one, then go to
step 5.
Go to step 6.
5 Does the error still occur when printing? Go to step 7. End of work.
6
Checking after reloading a new paper
Reload a new paper.
Does the error still occur when printing?
Go to step 7. End of work.
7
Checking the COVER ASSY FRONT for latching
Open and close the COVER ASSY FRONT, and then latch
correctly.
Does the error still occur when printing?
Go to step 8. End of work.
8
Checking the FUSING UNIT
Are there any remaining paper and/or foreign substance in
the FUSING UNIT?
Warning: Start the operation after the FUSING UNIT has
cooled down.
Remove the paper
and/or substance,
then go to step 9.
Go to step 9.
9
Checking after resetting the FUSING UNIT
Reseat the FUSING UNIT.
Warning: Start the operation after the FUSING UNIT has
cooled down.
Does the error still occur when printing?
Go to step 10. End of work.
10
Checking the Exit Sensor for operation
Does the number on the screen increase by one, when the
actuator of the Exit Sensor in the FUSING UNIT is
operated?
Checked by [Digital Input] - [Exit Sensor] in [IOT Diag] of
diagnosis.
Warning: Start the operation after the FUSING UNIT has
cooled down.
Replace the KIT
PWBA MCU.
(Refer to
REP8.10.)
Go to step 11.
 Loading...


