4 - 174
Chapter 4 Disassembly / Assembly and Adjustments
[Replacement]
3) Close the TRANSFER ASSY.
4) Close the COVER ASSY FRONT.
When the FUSING UNIT is replaced with a new one, perform the following steps.
5) Plug in the power cord to the printer.
6) Initialize the Life Counter of the FUSING UNIT.
7) Turn off the power.
8) Turn on the power while pressing the "" key and "" key on the control panel.
9) Press the "" key several times until "Parameter" is displayed. Press the [OK] key once.
10) Press the "" key several times until "Life FUSING UNIT Sheet" is displayed. Press the [OK]
key once.
11) Press the "" key several times until "Initializing" is displayed. Press the [OK] key once.
12) Press the [OK] key once, and Initializing the Life Counter of the FUSING UNIT is performed.
13) Turn off the power to exit.
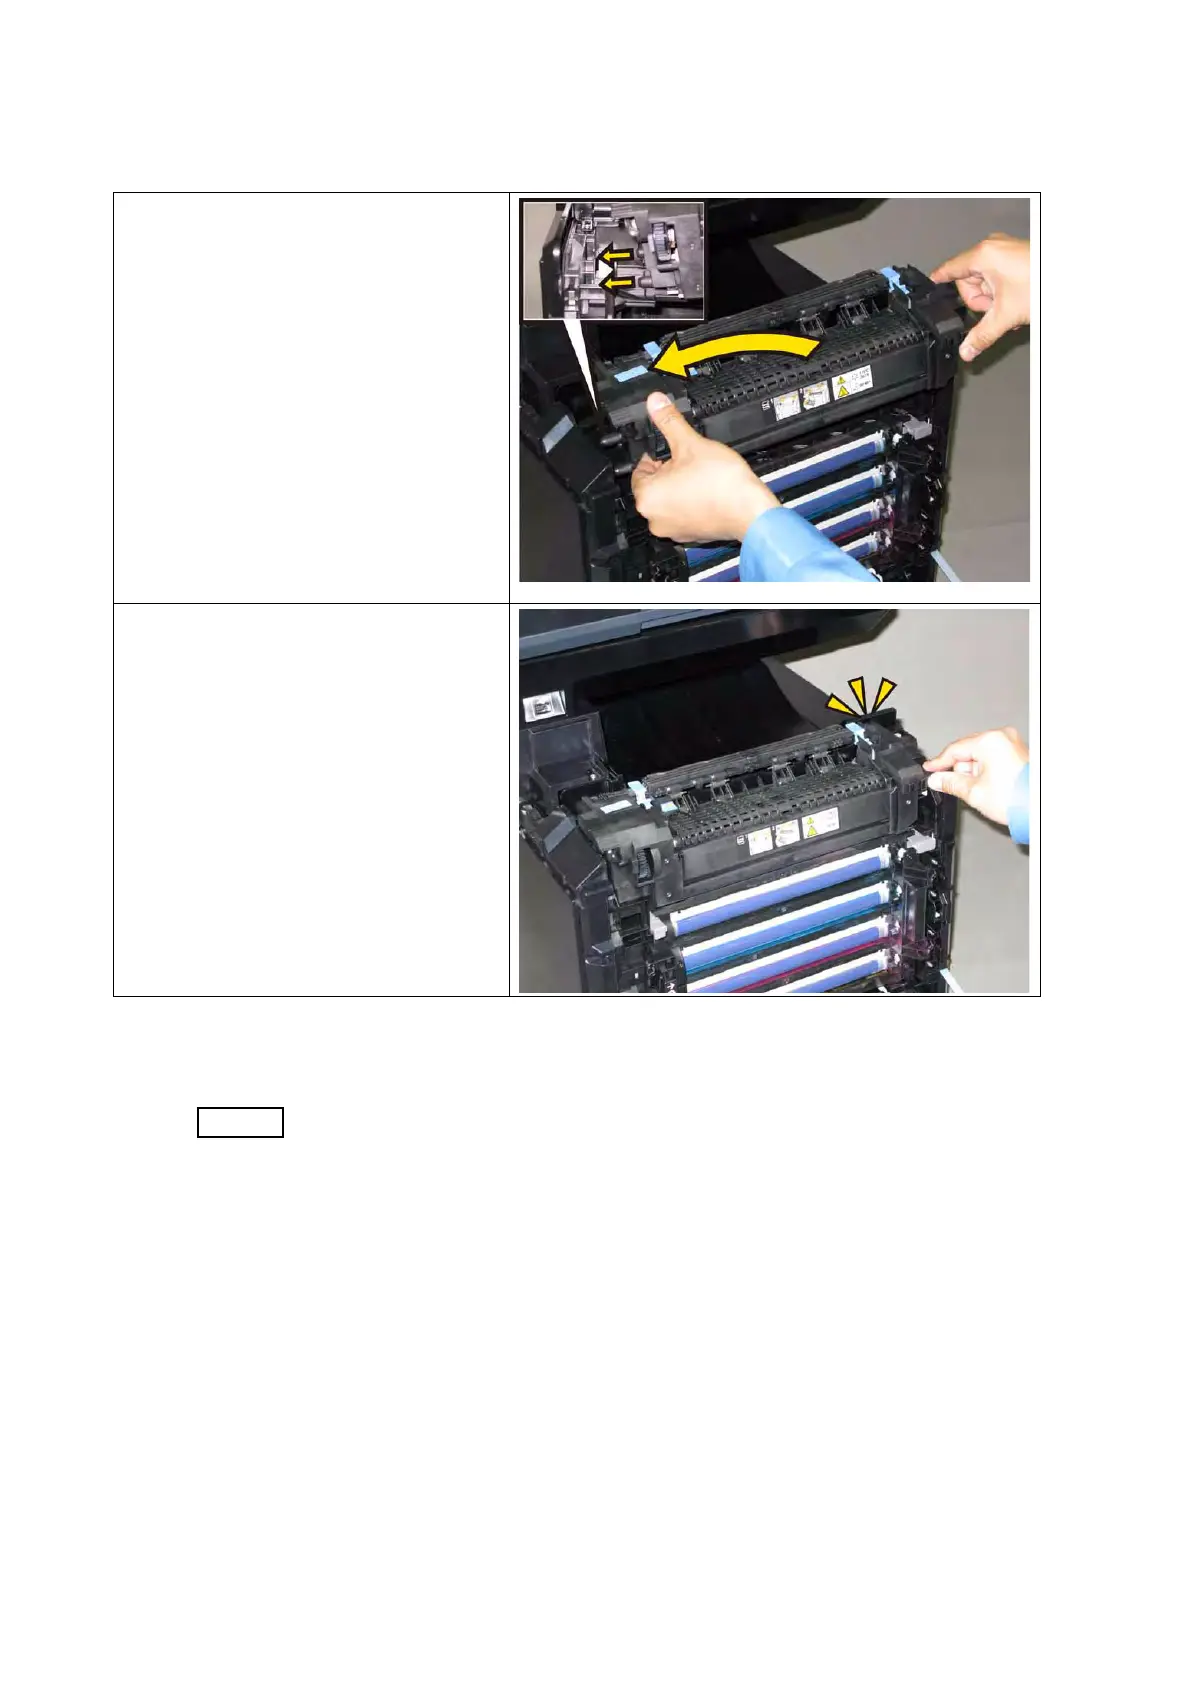
1) Insert the two studs of the FUSING
UNIT into the holes of the printer.
2) Engage the connector (P/J171) of the
FUSING UNIT by pushing the FUS-
ING UNIT.
 Loading...


