6 – 95
Chapter 6 General
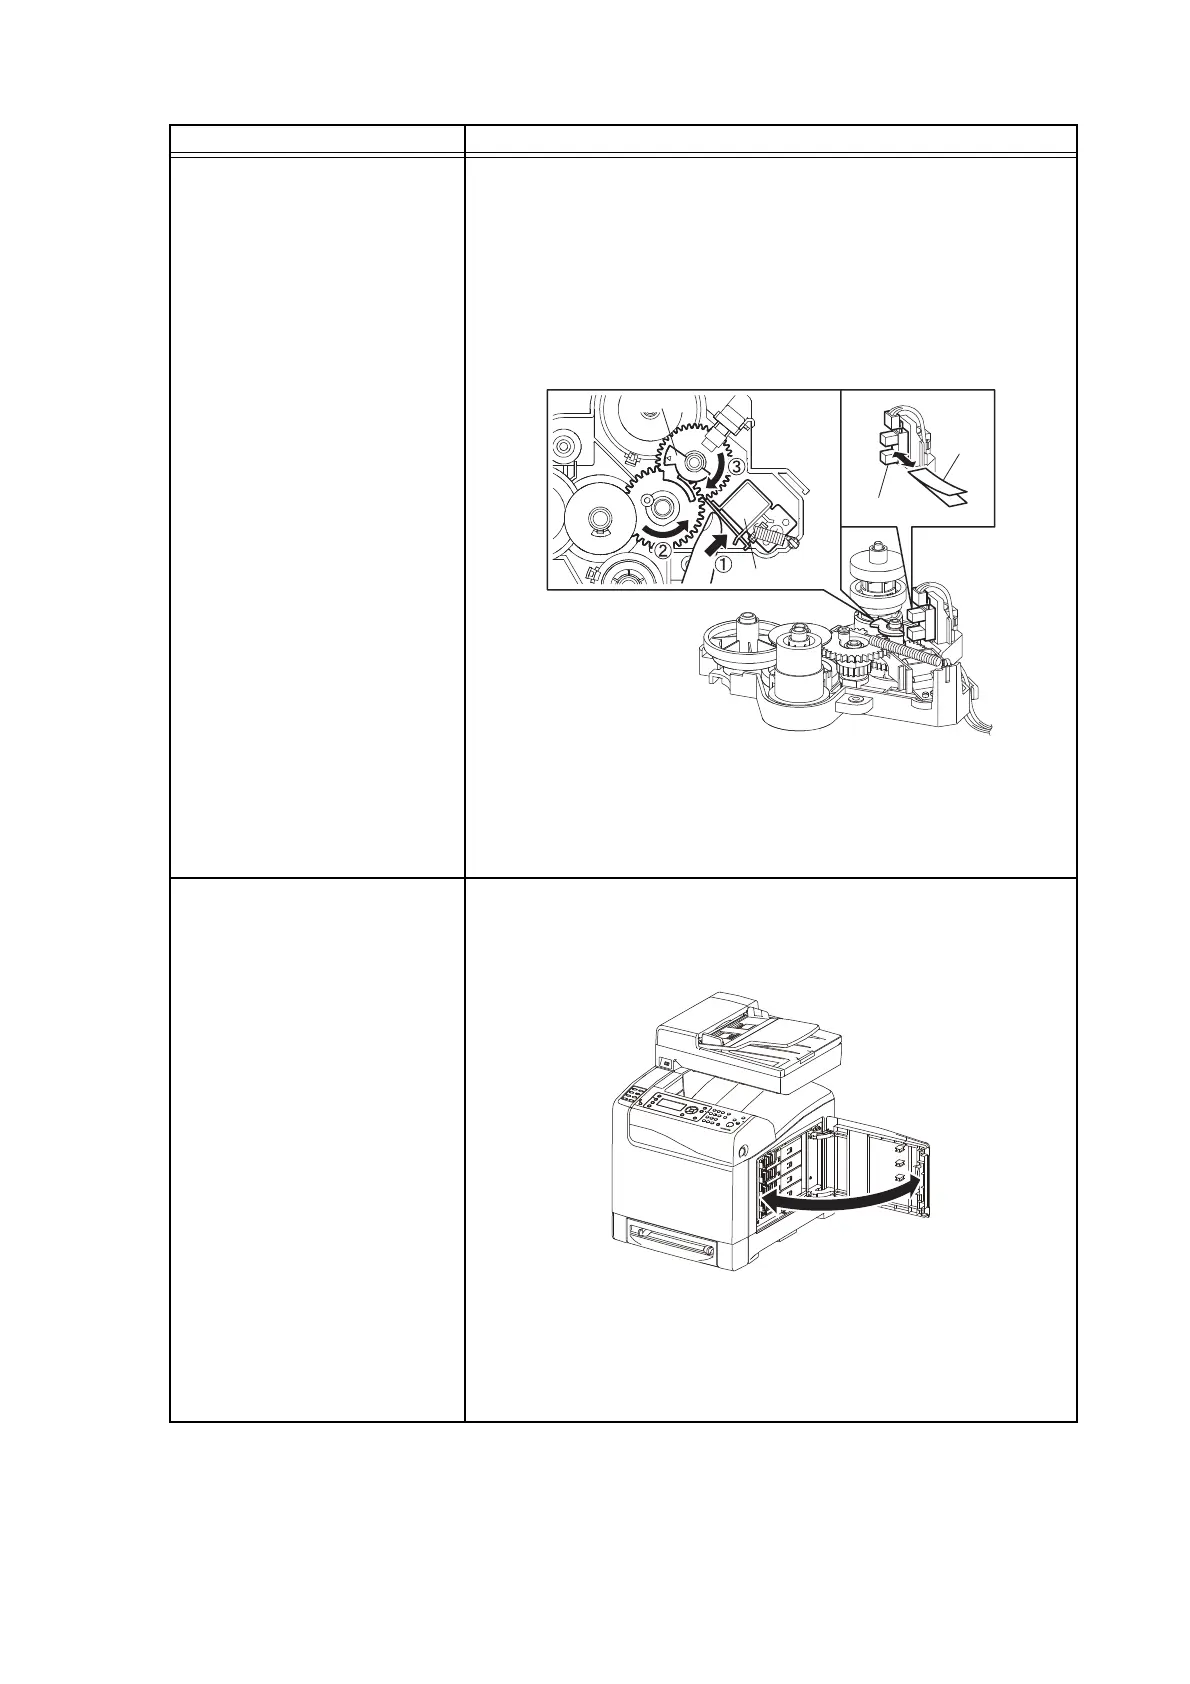
K Mode Sensor
NOTE: These procedures are for the technical staff.
When performing operation for five minutes or longer with the front cover
open, remove the PHD ASSY, and cover the drum to avoid exposure to light.
1) Remove the DRIVE ASSY PH.
2) Power on the printer, and enter the Diag Mode.
3) Execute the the K Mode Sensor.
4) Block the sensor light path by placing a piece of paper or the
like between the light emitting unit and the light receiving
unit to check whether the sensor functions properly.
5) Check that the number in the bottom line of the display
increases by one every time the sensor light path is blocked.
6) Press the "STOP" key to stop the test.
7) Replace the DRIVE ASSY PH.
Side Switch
1) Power on the printer, and enter the Diag Mode.
2) Execute the Side Switch.
3) Open or close the Toner Access Cover to check whether the
sensor functions properly.
4) Check that the number in the bottom line of the display
increases by one every time the Front Cover is opened or
closed.
5) Press the "STOP" key to stop the test.
6) Close the Toner Access Cover.
Sensor Name (Diag. Code) Check Procedure
MiS02007KA
K Mode Solenoid
Actuator
K Mode Sensor
Paper
MiA02008GA

 Loading...


