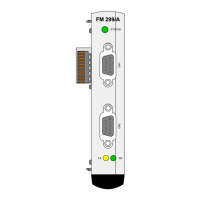
The status display (to the left next to the labeling) shows the following states:
Green: Calibration successfully completed.
Red: Calibration failed.
4.103.3 Description of the elements
Auto calibration steps that are triggered automatically
Button Description
Auto calibration
Starts the auto calibration and then processes the following steps
one after another:
1) Ejector calibration
2) Mold calibration
3) Nozzle calibration (only if nozzle transducer is available)
4) Inject calibration
5) Pump pressure calibration for n pumps
6) Pump velocity calibration for n pumps
7) Servo pressure forward (only if servo valve is available)
8) Servo velocity forward (only if servo valve is available)
9) Screw rotation calibration RPM
10)Injection velocity calibration
11)Servo pressure release calibration (only if servo valve is avail-
able)
12)Hold pressure calibration (only if no servo valve is available)
Stop/Off
Abortion of the auto calibration
Information
If a servo valve is available, calibration group 'Closed loop' won't be executed
automatically.
Automatic calibration for closed loop components has to be triggered man-
ually.
Executing auto calibration step by step
Auto calibration for each component is triggered by activating the correspond-
ing input field Do calibration which is available for each calibration step.
KePlast.HMI.KVB Description of the operating masks
© KEBA 2016
User's manual V3.05 205

 Loading...