Troubleshooting
7-138 Maintenance, Troubleshooting, and Repair
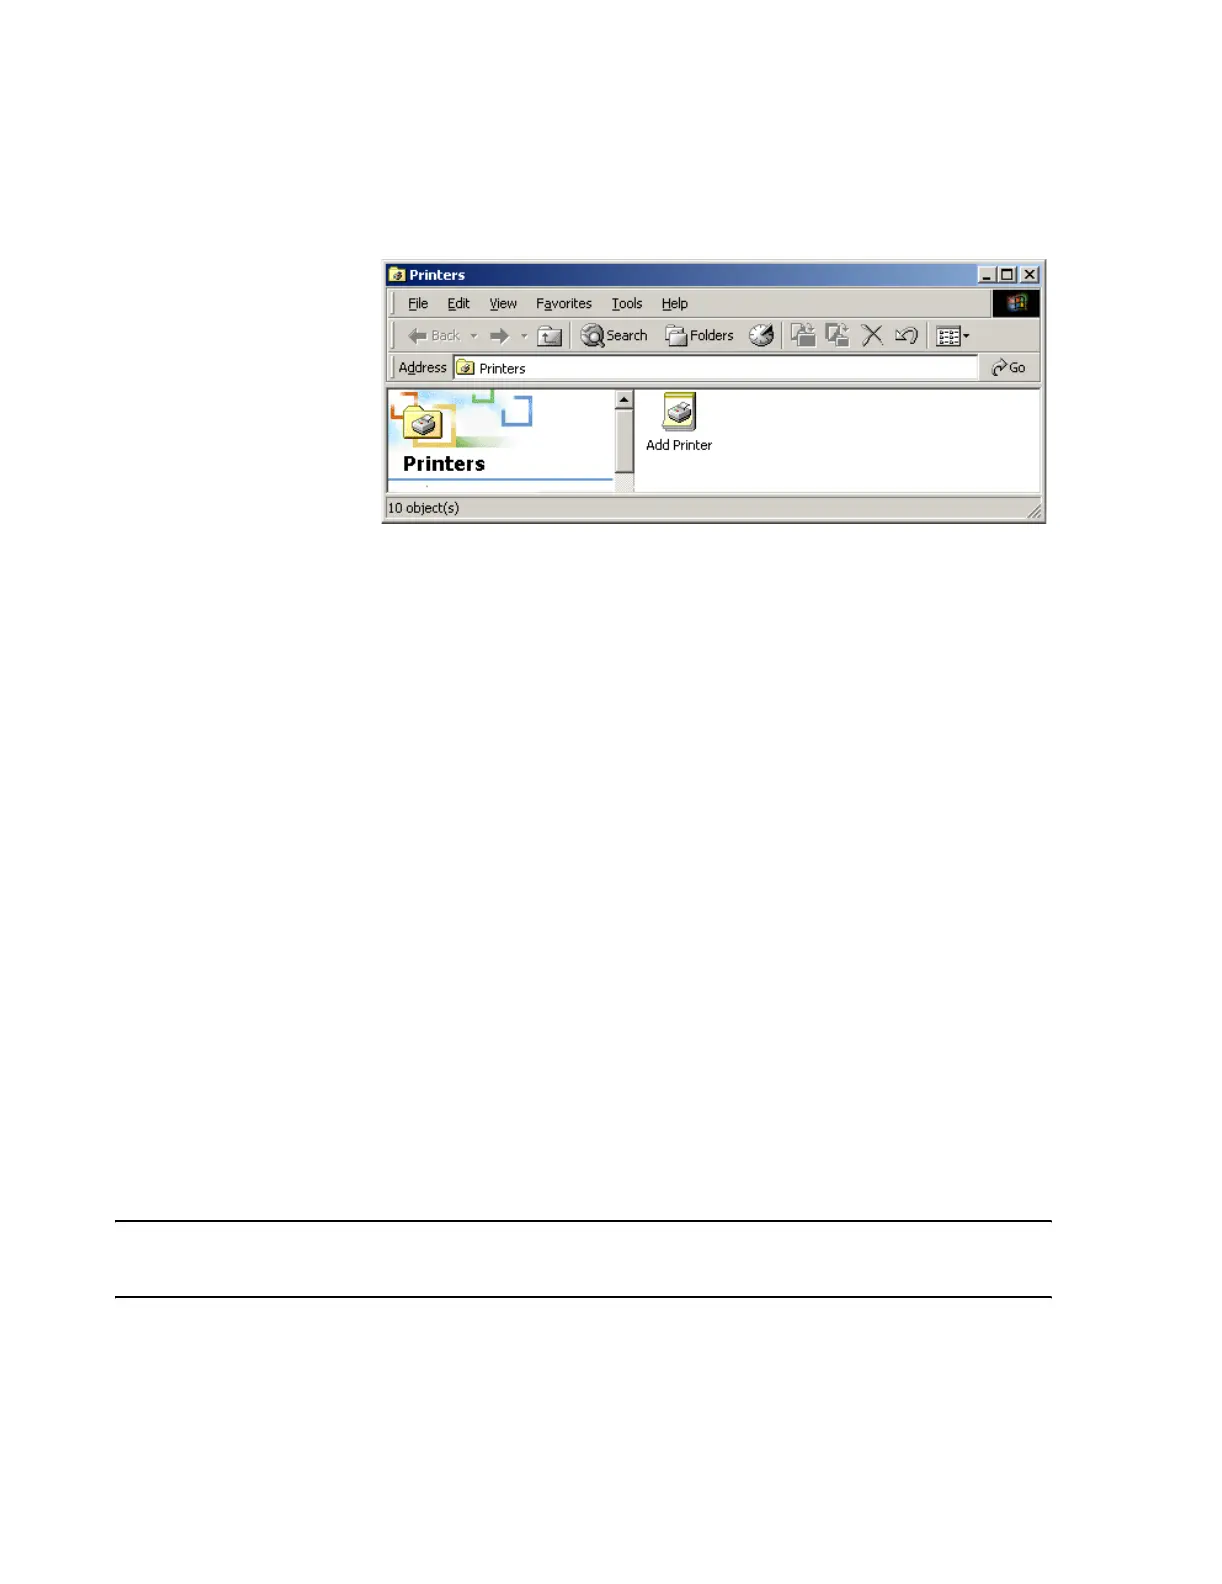
Step 1. Click on Control Panel in the Other Services menu of Service to bring up the
Printers window of Figure 7-64.
Figure 7-64 Printers Configuration Window
Step 2. Double click on the Add Printer icon in the Printers window of Figure 7-64 and
the Add Printer Wizard window appears.
Step 3. Sequence through the Add Printer Wizard dialog boxes using the Next button to
advance to the next box. The following entries should be made to add LaserJet printer
icons.
Step 4. In the Local or Network Printer window, select Local Printer attached to this
computer. Do not check Automatically detect and install my Plug and Play printer.
Leave this disabled.
Step 5. In Select a Printer Port window:
• For a local printer, click Use the following port and accept the recommended (LPT1
and skip to Install Printer Software Window in step ). Click Next.
• For a network printer, click Create a new port and select Standard TCP/IP Port
option in Type of port field. Click Next.
Step 6. When the Add Standard TCP/IP Printer Port Wizard is up, click Next to Add Port
window. Enter 172.31.254.1 in the Printer Name of IP Address field. The Port Name
field is automatically filled in. Click Next.
Step 7. In the Additional Port Information Required window, select Hewlett Packard Jet
Direct.
Step 8. Review the port created and click Finish. The Install Printer Software window
opens. Select HP as the manufacturer, and the HP LaserJet 5P as the printer. Click
Next.
Note At present, the HP LaserJet 5P driver is the proper choice for configuring an HP LaserJet 6P
and 2200 printer to the Philips system.
Step 9. In the Use Existing Driver window, select Keep existing driver (recommended).
Step 10. In the Name Your Printer window,
Printer name:
 Loading...