Control of VTRs, Extended VTRs, and Disk Recorders
When video disk
communications
protocol, Extended
VTR, Sony disk 9-
pin protocol, or
Odetics protocol is
used
Communications
with the device are
being carried out
normally, but status
information is not
received.
Not communicating,
or communicating
but the device type
cannot be read.
Chapter
12
External
Devices
Low
speed
Still image
Low
speed
2 While holding down the [REC] button in the device
control block, press the [PLAY] button.
Recording starts. During recording, the [REC] button
lights red and the [PLAY] button lights amber.
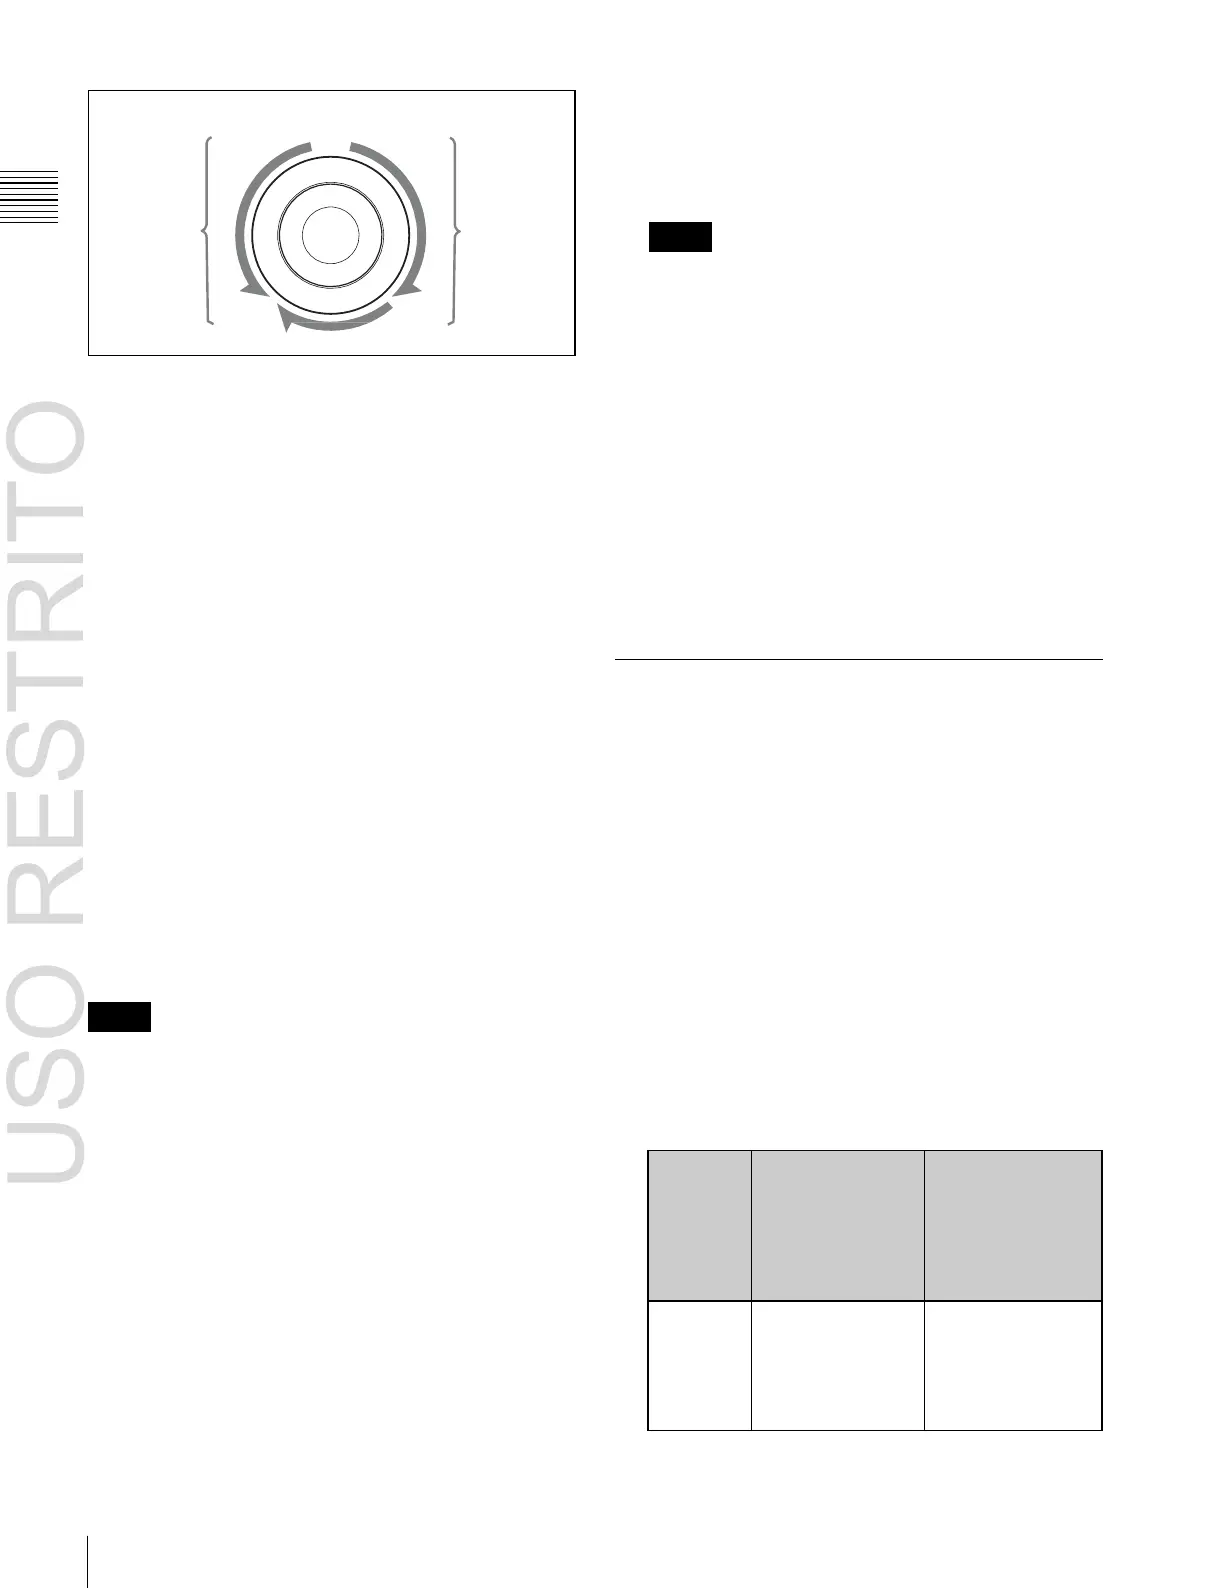
Reverse
direction
×–1
×+3
×+1
Forward
direction
Notes
Note the following points about recording to a disk
recorder.
•
The maximum length of time that can be recorded in
one operation is 30 minutes.
×–1: –1 times normal speed
×+3: +3 times normal speed
×+1: +1 times normal speed
To disable the search dial and end variable mode, press the
[STOP] button. Additionally, pressing any of the [REW],
[PLAY], [FF], [STB OFF], and [ALL STOP] editing
buttons ends the variable mode. For shuttle mode and
variable mode, you can set the valid range of the operating
angle in the Engineering Setup >Panel >Operation
>Sensitivity >Search Dial menu to either of the following.
Narrow operating angle
•
Shuttle mode: approx. –150 to +150°
•
Variable mode: approx. –120 to +210° (+1 times normal
speed is +120°)
Wide operating angle
•
Shuttle mode: approx. –180 to +180°
•
Variable mode: approx. –200 to +348° (+1 times normal
speed is +200°)
Recording to VTRs and disk recorders
You can record to the VTR or disk recorder selected in the
device control block. Proceed as follows.
Notes
•
Recording is not possible if the VTR or disk recorder is
not set to Recorder.
•
The disk recorder type must be specified to use the video
disk communications protocol (see page 646).
•
When using a disk recorder, recording is not possible
unless a new file name is specified.
For details, see “Creating new files” (page 433).
•
Recording is not possible when using the Odetics
protocol.
1 Using the buttons of the device control block, select
the VTR or disk recorder to which you want to record.
You can select more than one button.
The first button pressed lights green to indicate the
reference device, and the subsequent buttons light
amber.
•
If you want to record to a different file than the file
used in the previous recording, use the Device
>DDR/VTR >File List menu to create a new file.
•
If you resume recording without executing [Unload]
from the Device >DDR/VTR >File List menu,
recording starts at the position in the same file where
recording was interrupted.
To stop recording
Press the [STOP] button or the [ALL STOP] button in the
device control block.
Checking VTR/Disk Recorder/
Extended VTR Information
You can check the VTR/disk recorder/Extended VTR
information (timecode information and operating status)
set in the device control block, in the Device menu display.
To check the VTR/disk recorder/Extended VTR
information, press VF3 ‘DDR/VTR’ and HF1 ‘Cueup &
Play’ or HF2 ‘Timeline’ in the Device menu.
The Device >DDR/VTR >Cueup & Play menu or Device
>DDR/VTR >Timeline menu appears, and a list shows the
timecode information and operating status for each device.
The columns of the list show the following information.
DEV (device name): DEV1 to DEV12 represent
respectively device 1 to device 12.
Reg (register): Number of the register to which settings
apply.
Status: Status of each device. The meaning of the
indications is as follows.

 Loading...


