Macro Attachment Assigning
You can enable and disable macro attachments for the
PGM/PST bank and M/E banks individually.
Setting a macro attachment to a fader lever
You can set a macro attachment to any particular position
of a fader lever in the transition control block.
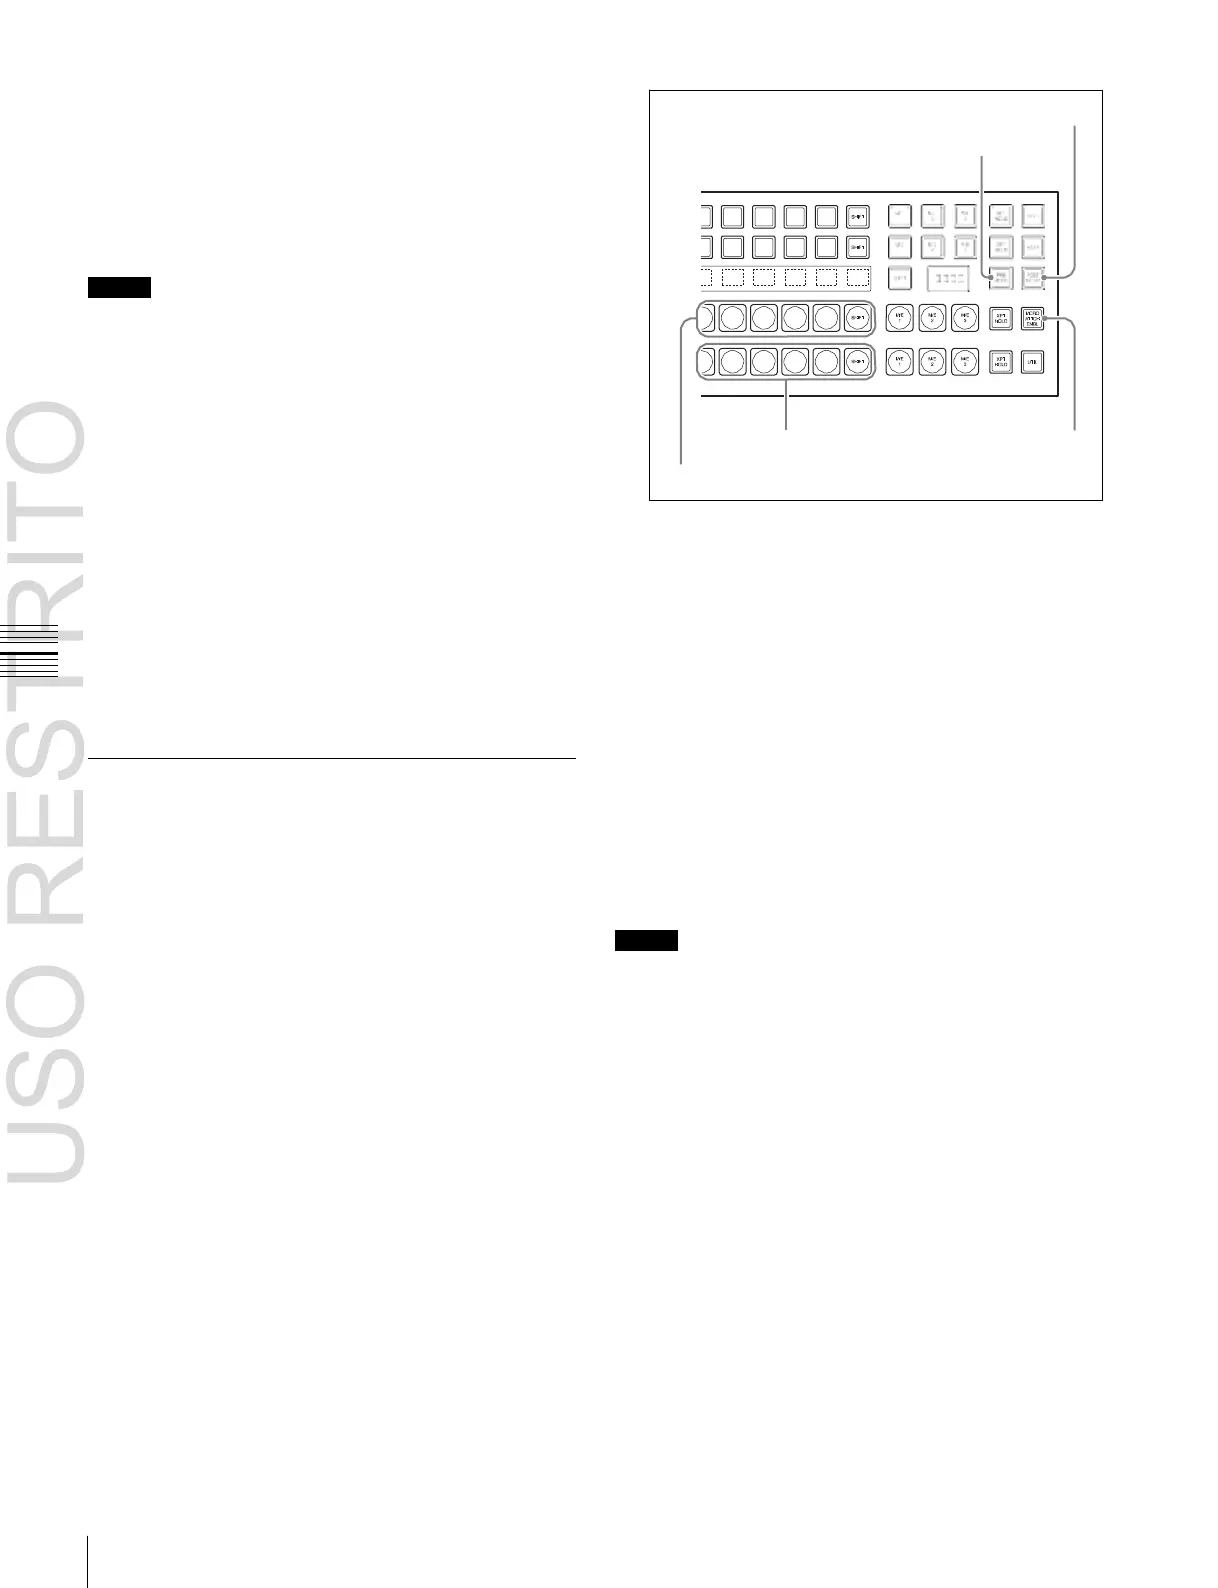
POST MCRO button
PRE MCRO button
Notes
•
In macro-only mode it is not possible to set a macro
attachment.
•
It is not possible to set a macro attachment to a fader
lever in the keyframe control block or downstream key
control block.
•
For a split fader, you can set a macro attachment to the
Background B row
MCRO ATTCH ENBL
main split fader.
Background A row
button
Clearing the macro attachments
You can clear all of the macro attachments in a single
operation.
Displaying the macro attachment list
You can display the macro attachment settings in the form
of a list in the menu display to check them.
The cross-point button you pressed flashes amber, and
the register you recalled in step 1 is assigned to the
button.
If you make both pre macro and post macro
settings for the same button
The later setting is valid.
To set a macro attachment without changing
cross-points
When you set a macro attachment to a cross-point button,
Setting and Canceling a Macro
Attachment
Setting a macro attachment to a button
This section describes the example of setting a macro
attachment for the background A row cross-points.
For details, see “Setting a macro attachment to a button”
(page 516) for the buttons for which a macro attachment
can be set.
1
Recall the macro register (1 to 250) that you want to
assign to the button (see page 500).
2
To set in pre macro mode, hold down the [PRE
MCRO] button in the cross-point control block, and to
set in post macro mode, hold down the [POST MCRO]
button, and then press the desired button in the
background A row.
you can make the setting without changing the bus cross-
points. Carry out this selection in the Engineering Setup
>Panel >Operation menu (see page 606).
To make a macro attachment setting in macro
only mode
Notes
To carry out this operation, it is first necessary to assign the
“Macro Only Set” function to the user preference buttons
in the menu control block or the utility/shotbox control
operation. Carry out this assignment in the Engineering
Setup >Panel >Prefs/Utility menu (see page 589).
To make a macro attachment in macro only mode, use the
following procedure.
1
Recall the macro register (1 to 250) that you want to
assign to the button (see page 500).
2
Press the button to which [MCRO ONLY SET] is
assigned, turning it on.
3
Hold down the cross-point control block [PRE
MCRO] button or [POST MCRO] button, and press
the desired button in the background A row.

 Loading...


