4 - 40
Chapter 4 Disassembly / Assembly and Adjustments
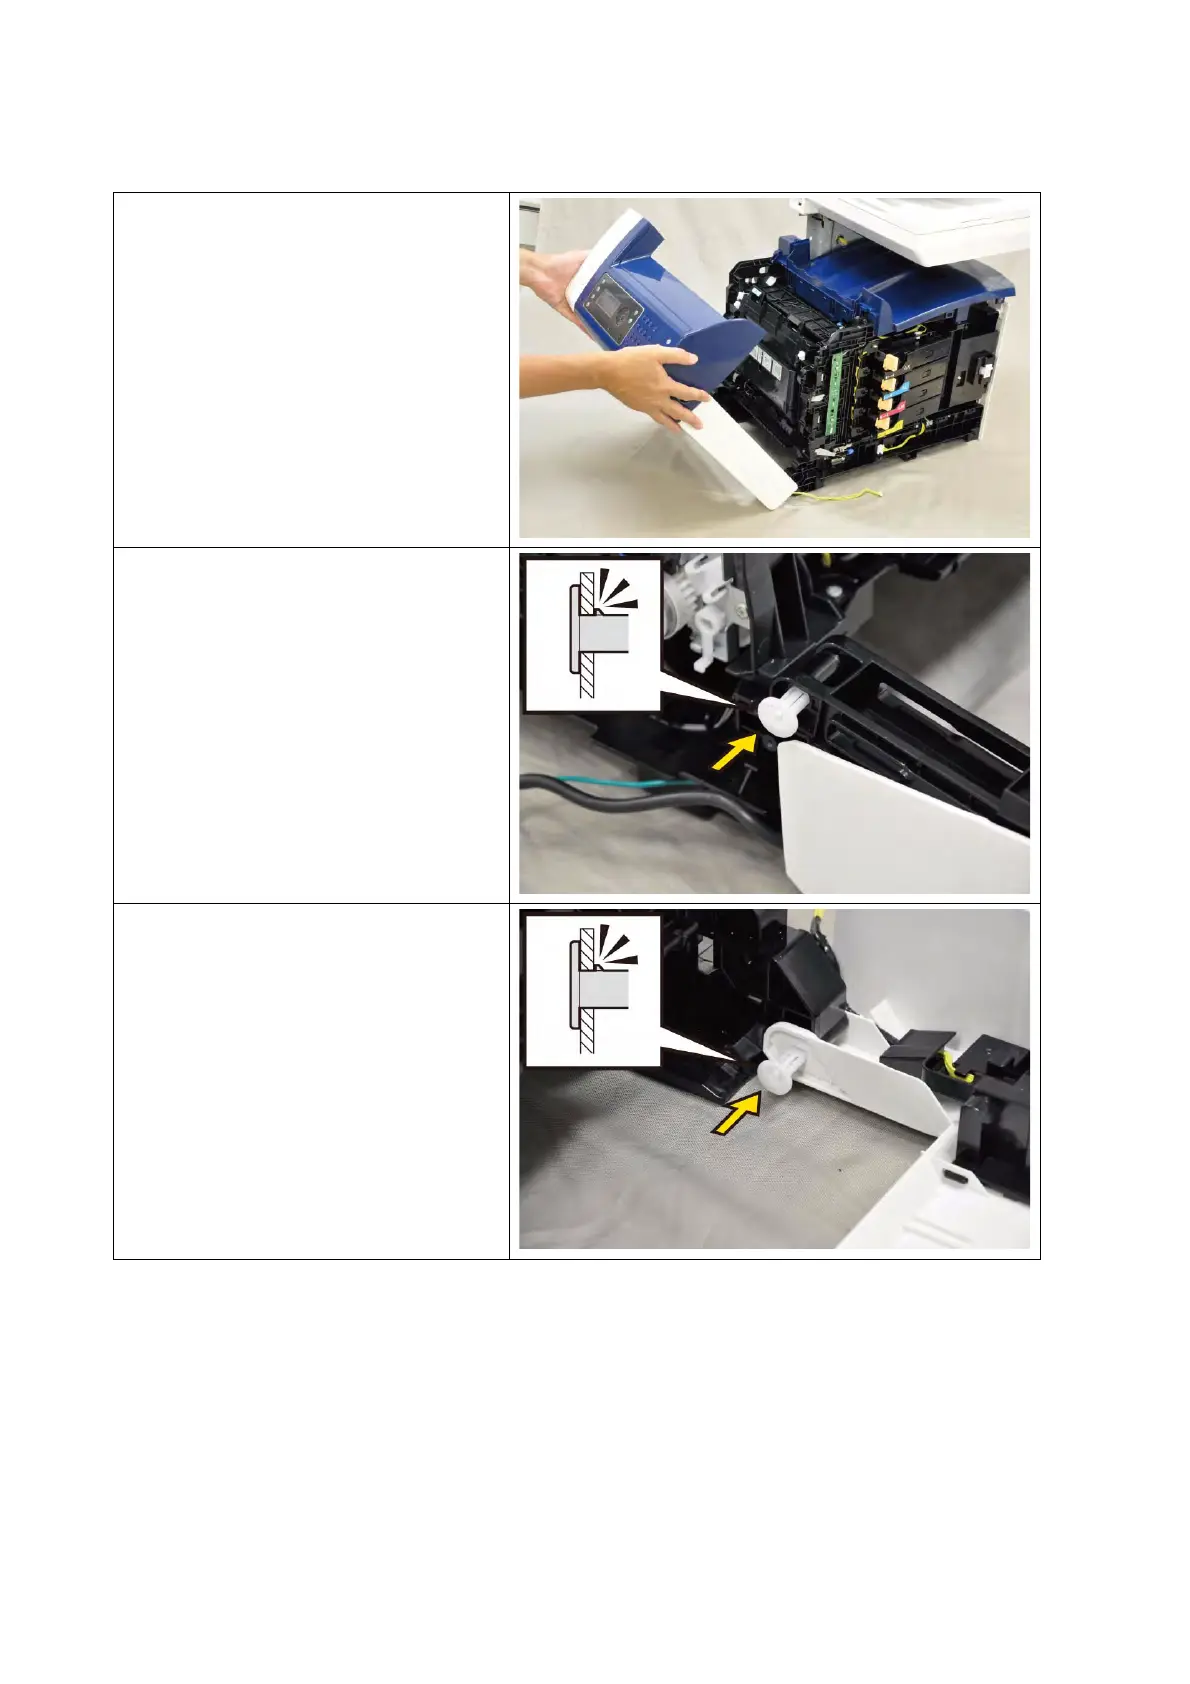
[Replacement]
1) Lift the COVER ASSY FRONT
slightly up to attach it to the
printer.
2) Mate the flat face of the SHAFT
PIVOT with the hole of the COVER
ASSY FRONT, push the SHAFT
PIVOT that is the fixation of the
LINK ASSY FRONT AIO until the
hook is locked.
3) Mate the flat face of the SHAFT
PIVOT with the hole of the COVER
ASSY FRONT, push the right side
SHAFT PIVOT until the hook is
locked.

 Loading...


