4 - 74
Chapter 4 Disassembly / Assembly and Adjustments
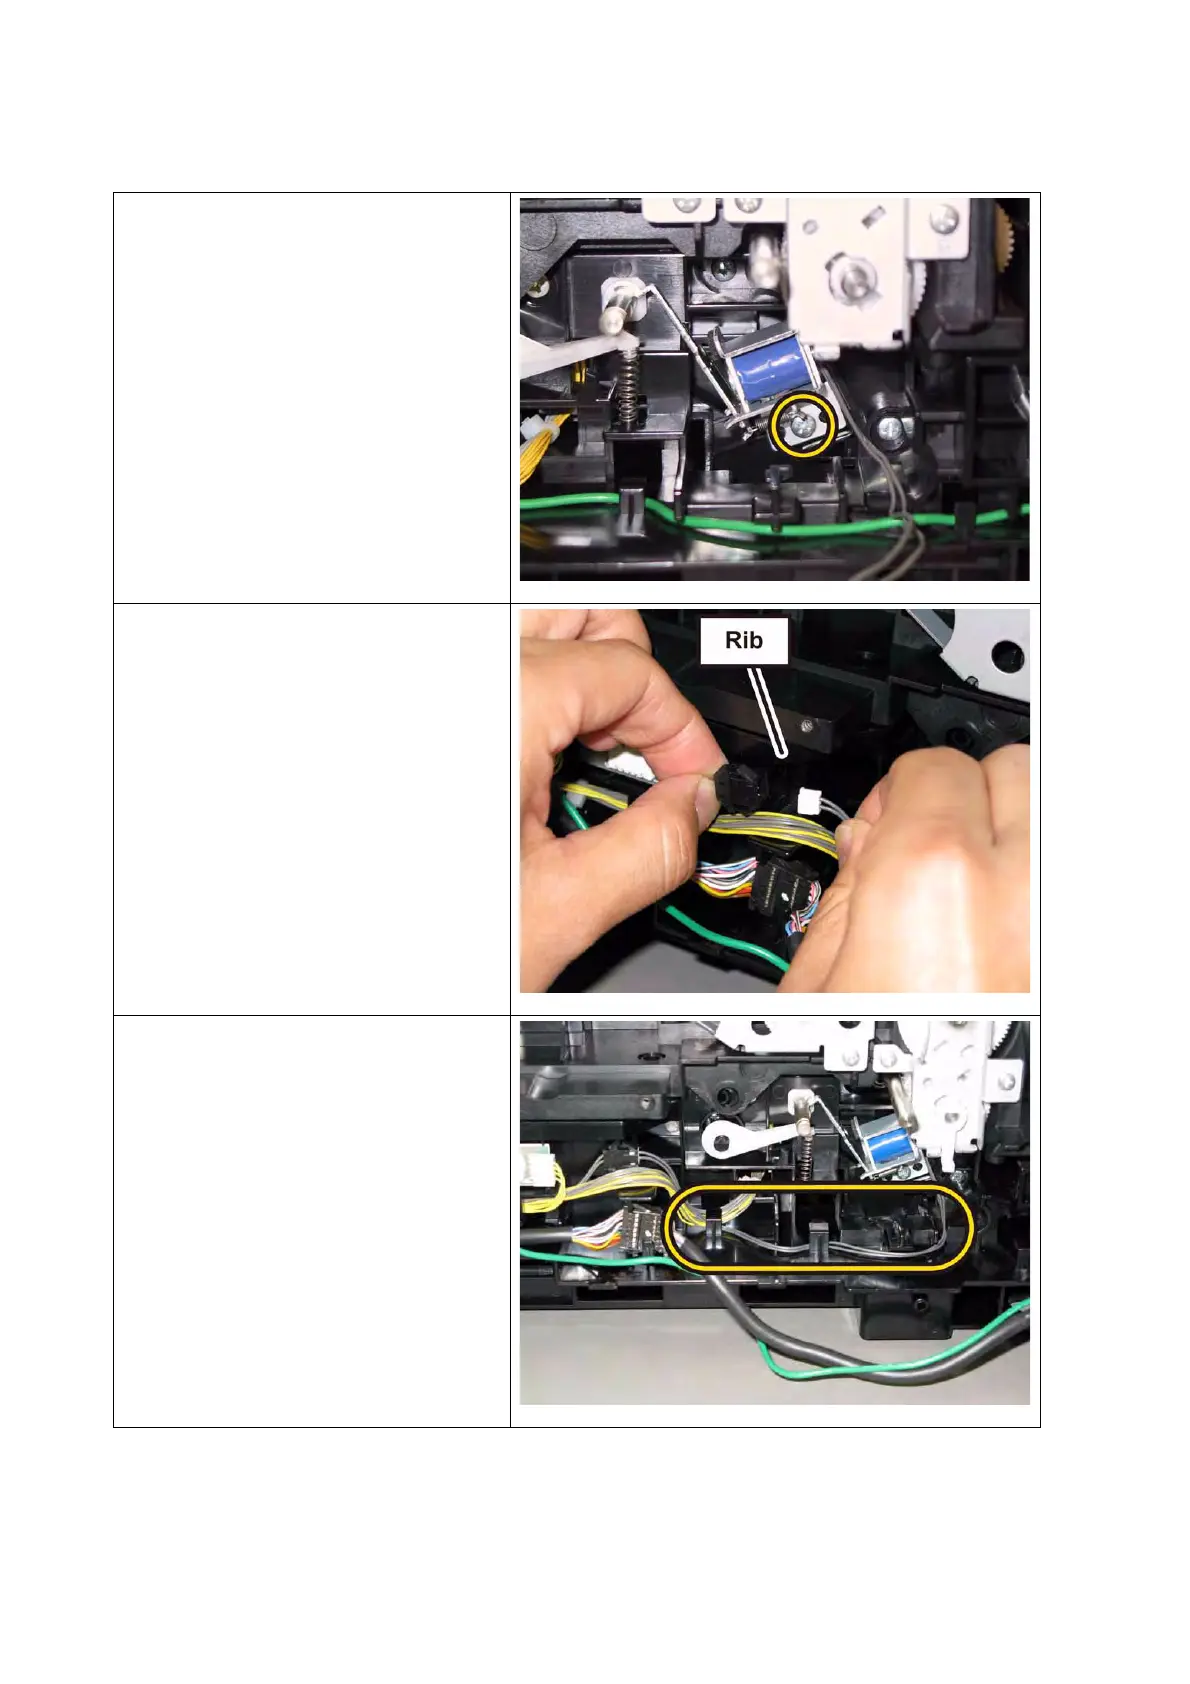
[Replacement]
1) Mate the holes of the SOLENOID
FEED MSI with the two bosses of
the printer, secure the SOLENOID
FEED MSI with the one screw (sil-
ver, tap, 8mm).
2) Engage the connecter (P/J231) of the
SOLENOID FEED MSI, secure the
relay connector with the rib of the
printer.
3) Route the harness of the SOLE-
NOID FEED MSI through the hooks
of the printer.
 Loading...


