4 - 127
Chapter 4 Disassembly / Assembly and Adjustments
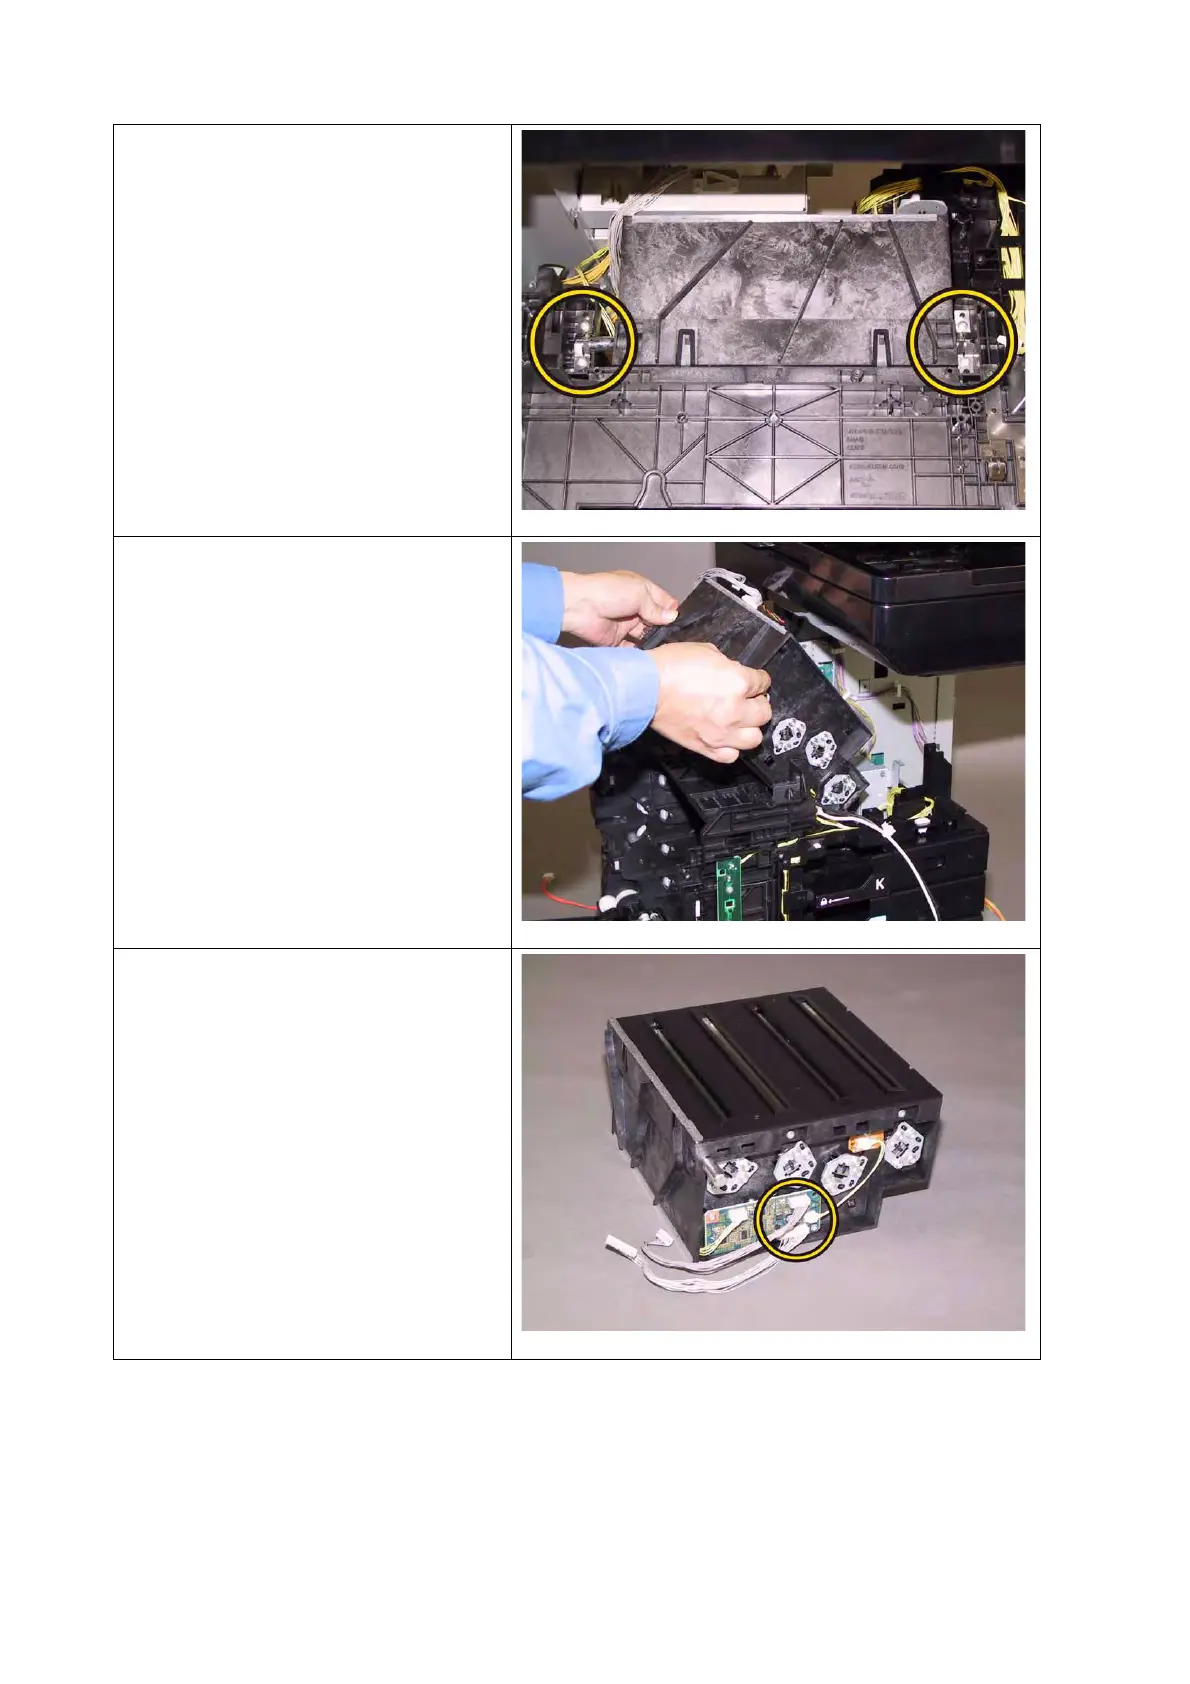
20) Remove the four screws (silver, tap
8mm) that fix the left and right sides
of the SPRING ROSs (PL4.1.2) to
the printer. Remove the SPRING
ROSs from the printer.
21) Lift up the ROS ASSY (PL4.1.1)
slowly from the printer.
22) Disengage the two connectors (P/
J411 and 412) of the ROS ASSY,
remove the HARN ASSY ROS RE
(PL4.1.22) and HARN ASSY ROS
VIDEO (PL4.1.23).
 Loading...


