4 - 201
Chapter 4 Disassembly / Assembly and Adjustments
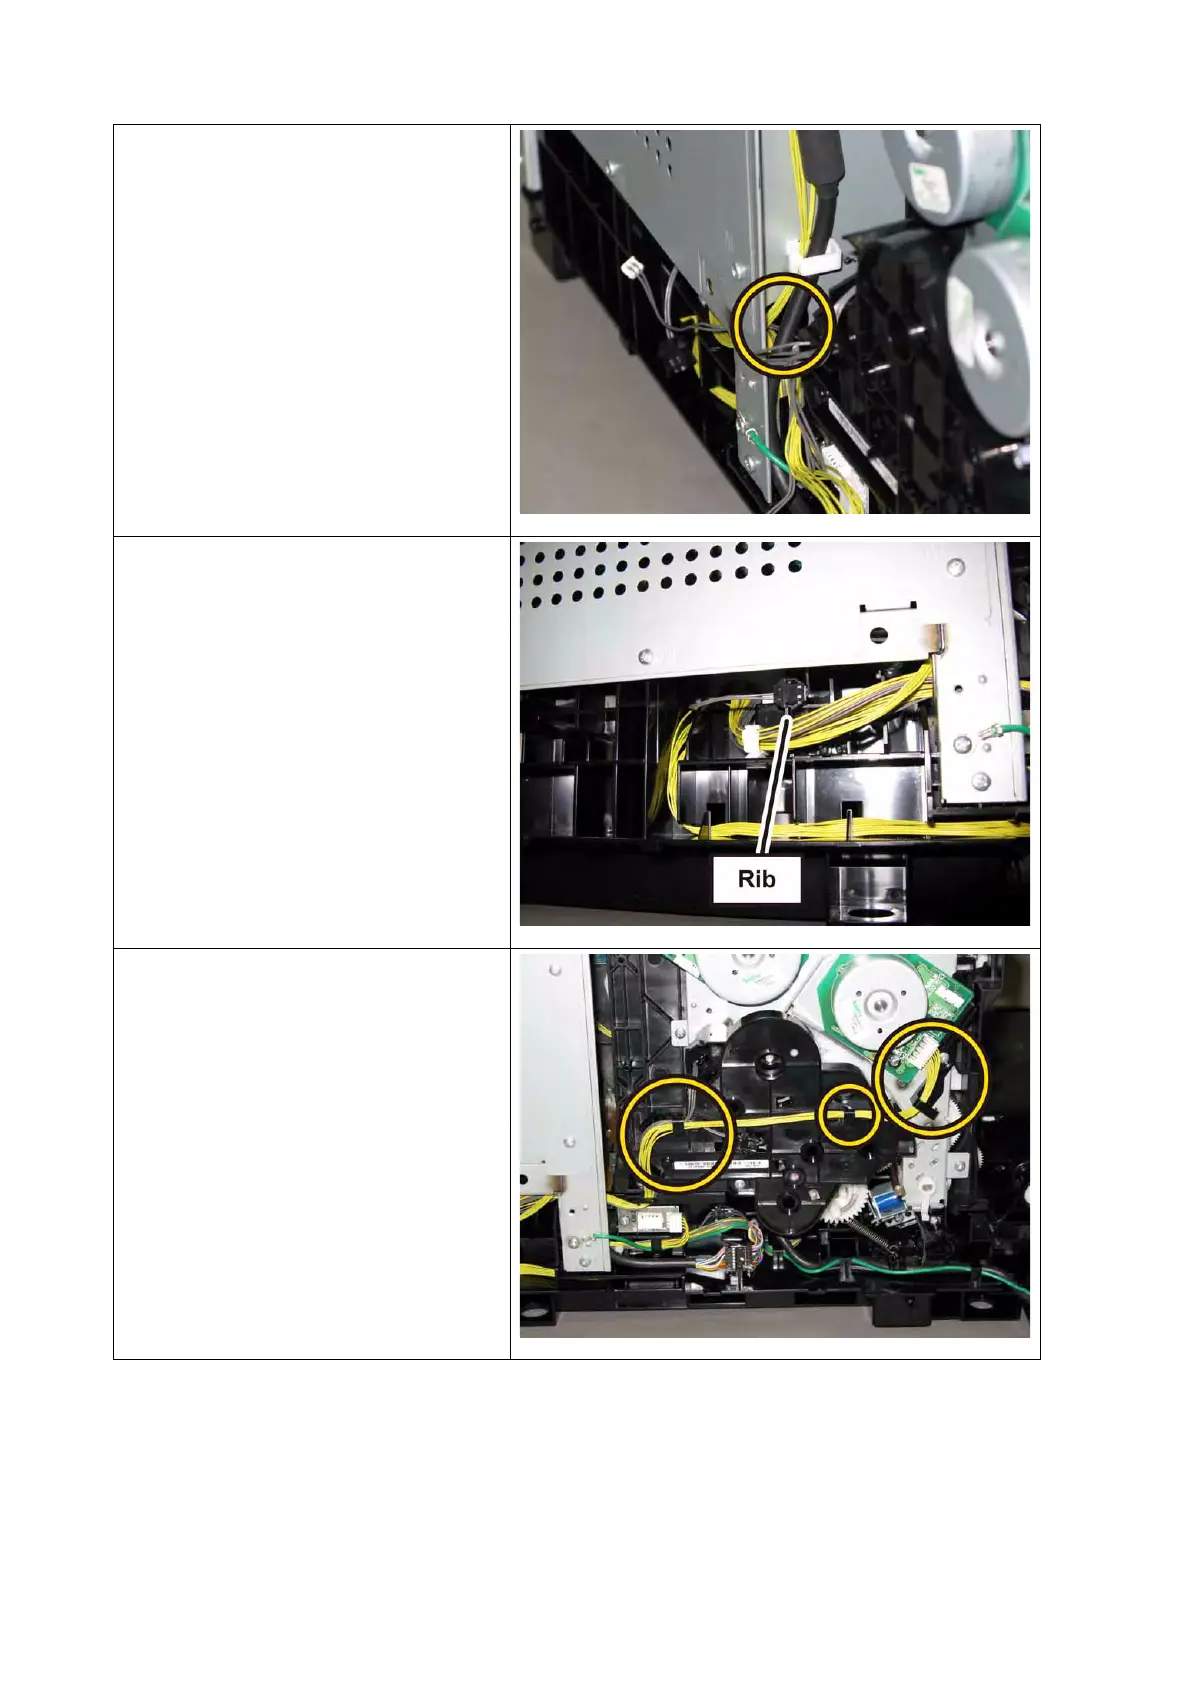
6) Route the harness of the DRIVE
ASSY PH through the hole of the
printer.
7) Engage the connecter (P/J241) of the
DRIVE ASSY PH, secure the relay
connector with the rib of the printer.
8) Route all the harness through the
hooks of the DRIVE ASSY PH,
engage the connector (P/J211) of the
DRIVE ASSY MAIN.
 Loading...


