4 - 285
Chapter 4 Disassembly / Assembly and Adjustments
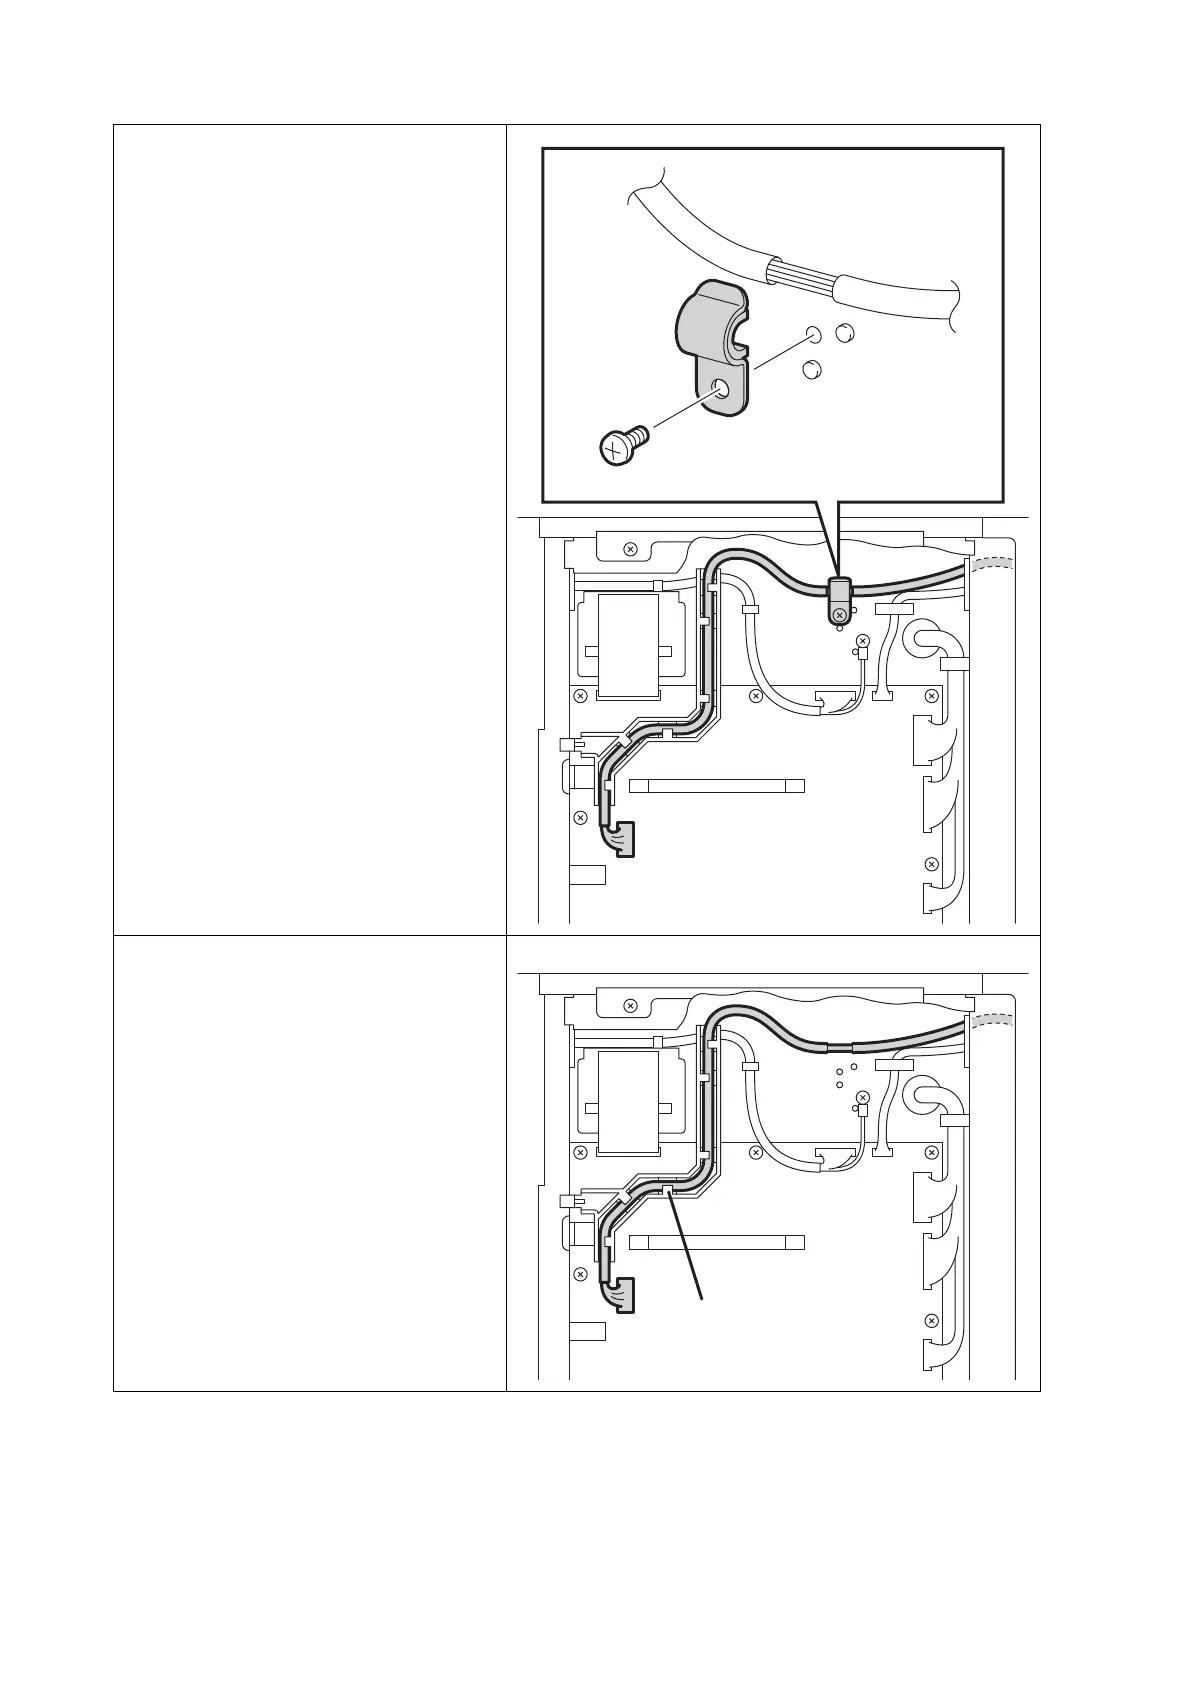
10) Remove the one screw (silver, 6mm)
that fixes the CLAMP (PL8.4.12) to
the printer, remove the CLAMP.
11) Disengage the connector (P/J1301)
of the HARNESS ASSY FRONT
USB (PL10.1.13), release the HAR-
NESS ASSY FRONT USB from the
GUIDE HARNESS USB (PL8.4.5).
Pull out the HARNESS ASSY
FRONT USB from the hole of the
printer, remove the HARNESS
ASSY FRONT USB from the
printer.
 Loading...


