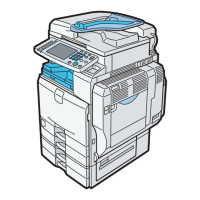
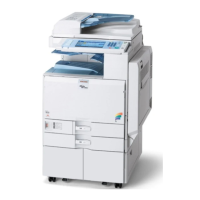
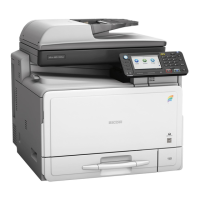
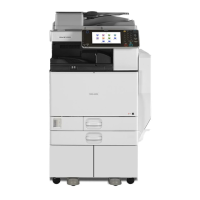
Copier Installation
SM 2-13 D086/D087
Installation
Emblem and Decals
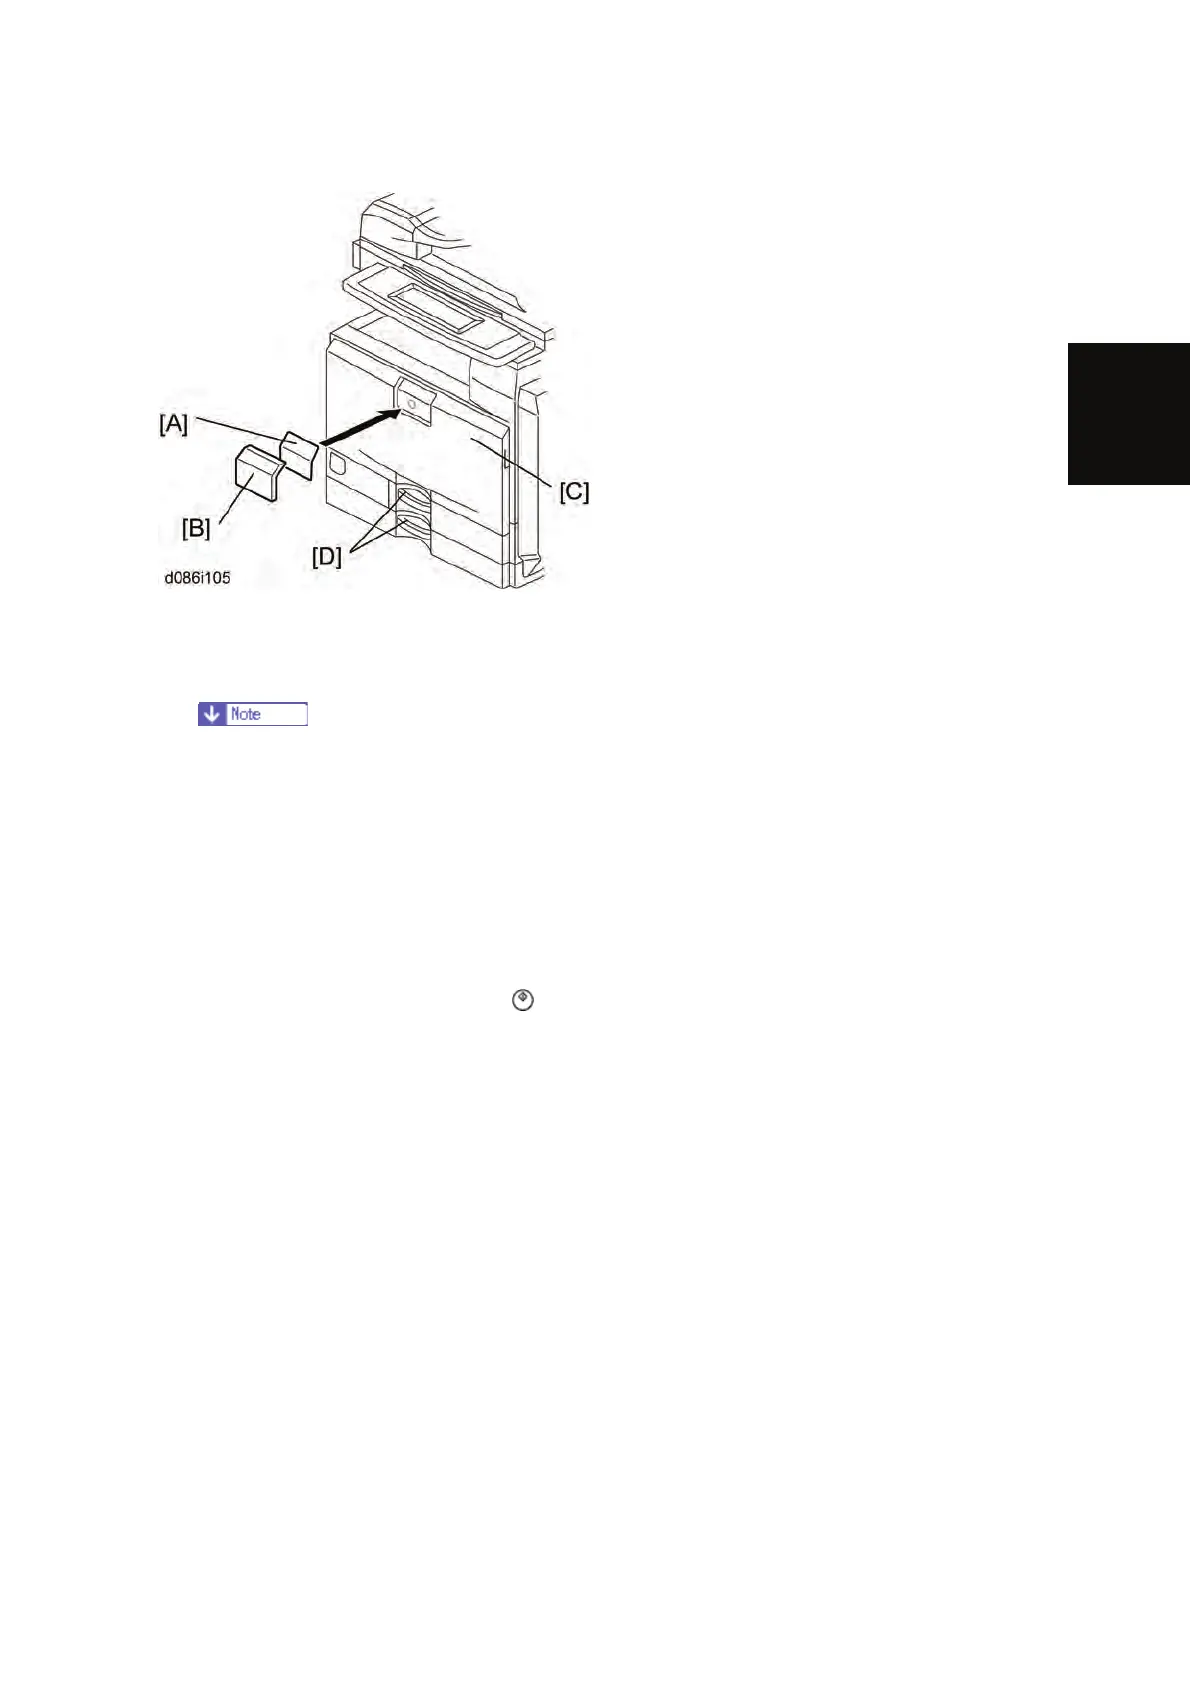
1. Attach the correct emblem [A] and the cover [B] to the front door [C] of the machine, if the
emblem is not attached.
2. Attach the correct paper tray number and size decals to the paper trays [D].
Paper tray number and size decals are also used for the optional paper tray or
the optional LCT. Keep these decals for use with these optional units.
Initialize the Developer
1. Plug in the machine.
2. Make sure that the platen or ARDF is closed and the main power is turned off.
3. Turn the main power switch on. The machine automatically starts the initialization
procedure. The Start button LED (
) turns green when this procedure has finished.
4. Make copies of image samples (text, photo, and text/photo modes).
5. Do the Automatic Color Calibration process (ACC) as follows:
1). Print the ACC test pattern (User tools > Maintenance > ACC > Start).
2). Put the printout on the exposure glass.
3). Put 10 sheets of white paper on top of the test chart.
4). Close the ARDF or the platen cover.
5). Press “Start Scanning” on the LCD panel. The machine starts the ACC.
6. Check that the sample image has been copied normally.
 Loading...