8-7
Lower unit
• Special service tool “1” (to the oil level
plug hole)
2. Check:
• Holding pressure
Pressure is not maintained → Repair the
location of the leak.
Do not overpressurize the lower unit. Oth-
erwise, the oil seals could be damaged.
Apply the specified pressure and check that
the pressure is maintained in the lower unit for
10 seconds or more.
Installing the lower unit
• Make sure to disconnect the battery ca-
bles from the battery, and remove the clip
from the engine shut-off switch.
• When removing or installing the lower
unit with the power unit installed, make
sure to suspend the outboard motor. Oth-
erwise, the outboard motor could fall
suddenly and result in severe injuries.
1. Install:
•O-rings
•Backup rings
•Plate
•Rubber seal
•Dowels
• Lower unit
• Splash plates
•Anode
a. Set the gear shift to the N position.
b. Install the dowels, lower unit “1”, and
anode “2”.
• To install the lower unit using the lifting
hanger, see step 6 in “Uncrating procedure
(outboard motor with lower unit)” (3-4).
• Align the check valves “3” with the holes “a”.
Leakage tester “1”
90890-06840
Leakage tester “1”
(commercially available)
Holding pressure
68.6 kPa (0.69 kgf/cm², 9.9 psi)
(F400ASTU, F400ASTX,
F450AVTU, F450AVTX)
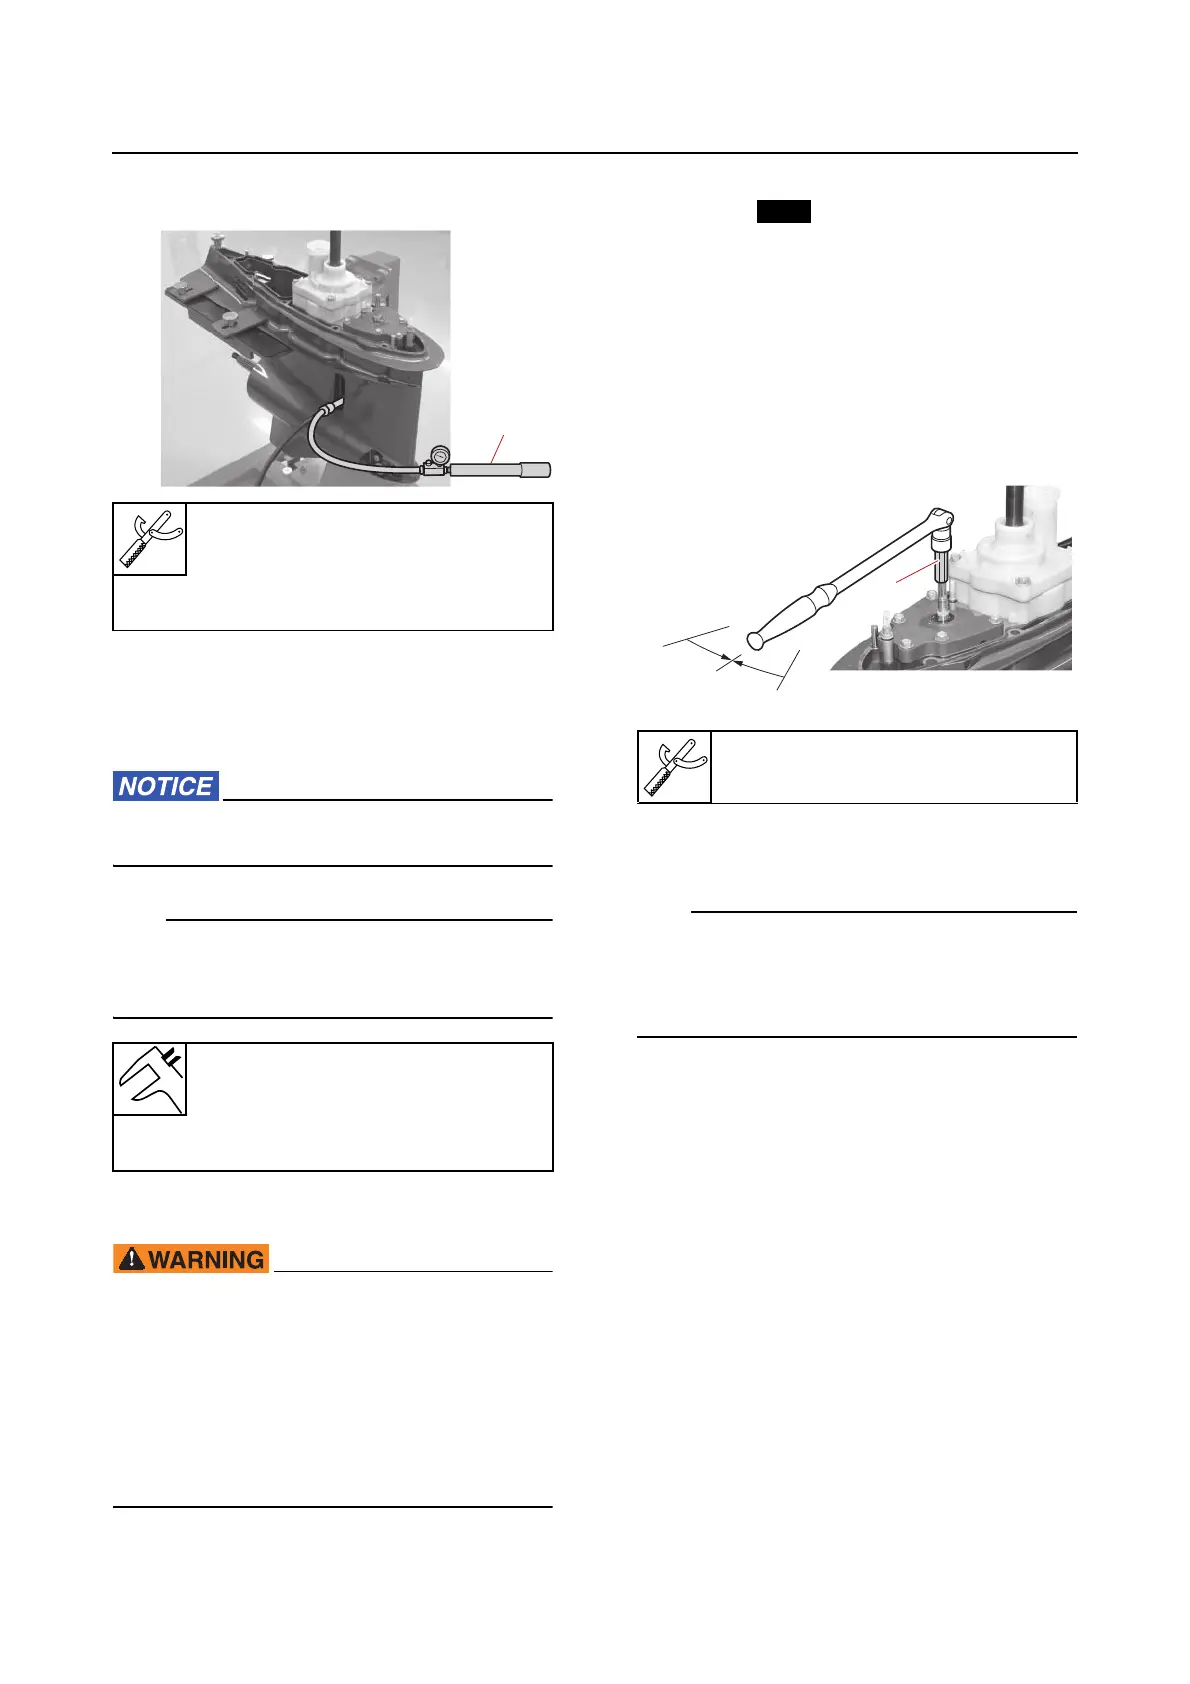
Shift rod socket “1”
90890-06950