3-8
Outboard motor mounting
Outboard motor mounting
Installing the outboard motor
Properly mounting the outboard motor will re-
sult in better engine performance, product re-
liability, fuel economy, customer satisfaction,
etc. This chapter provides a brief summary of
the procedures for mounting the outboard
motor. The first requirement is to make sure
the outboard motor has clearance for full
movement, from port to starboard, as well as
during tilt operation. For the motor dimen-
sions, see “External dimensions” (1-2).
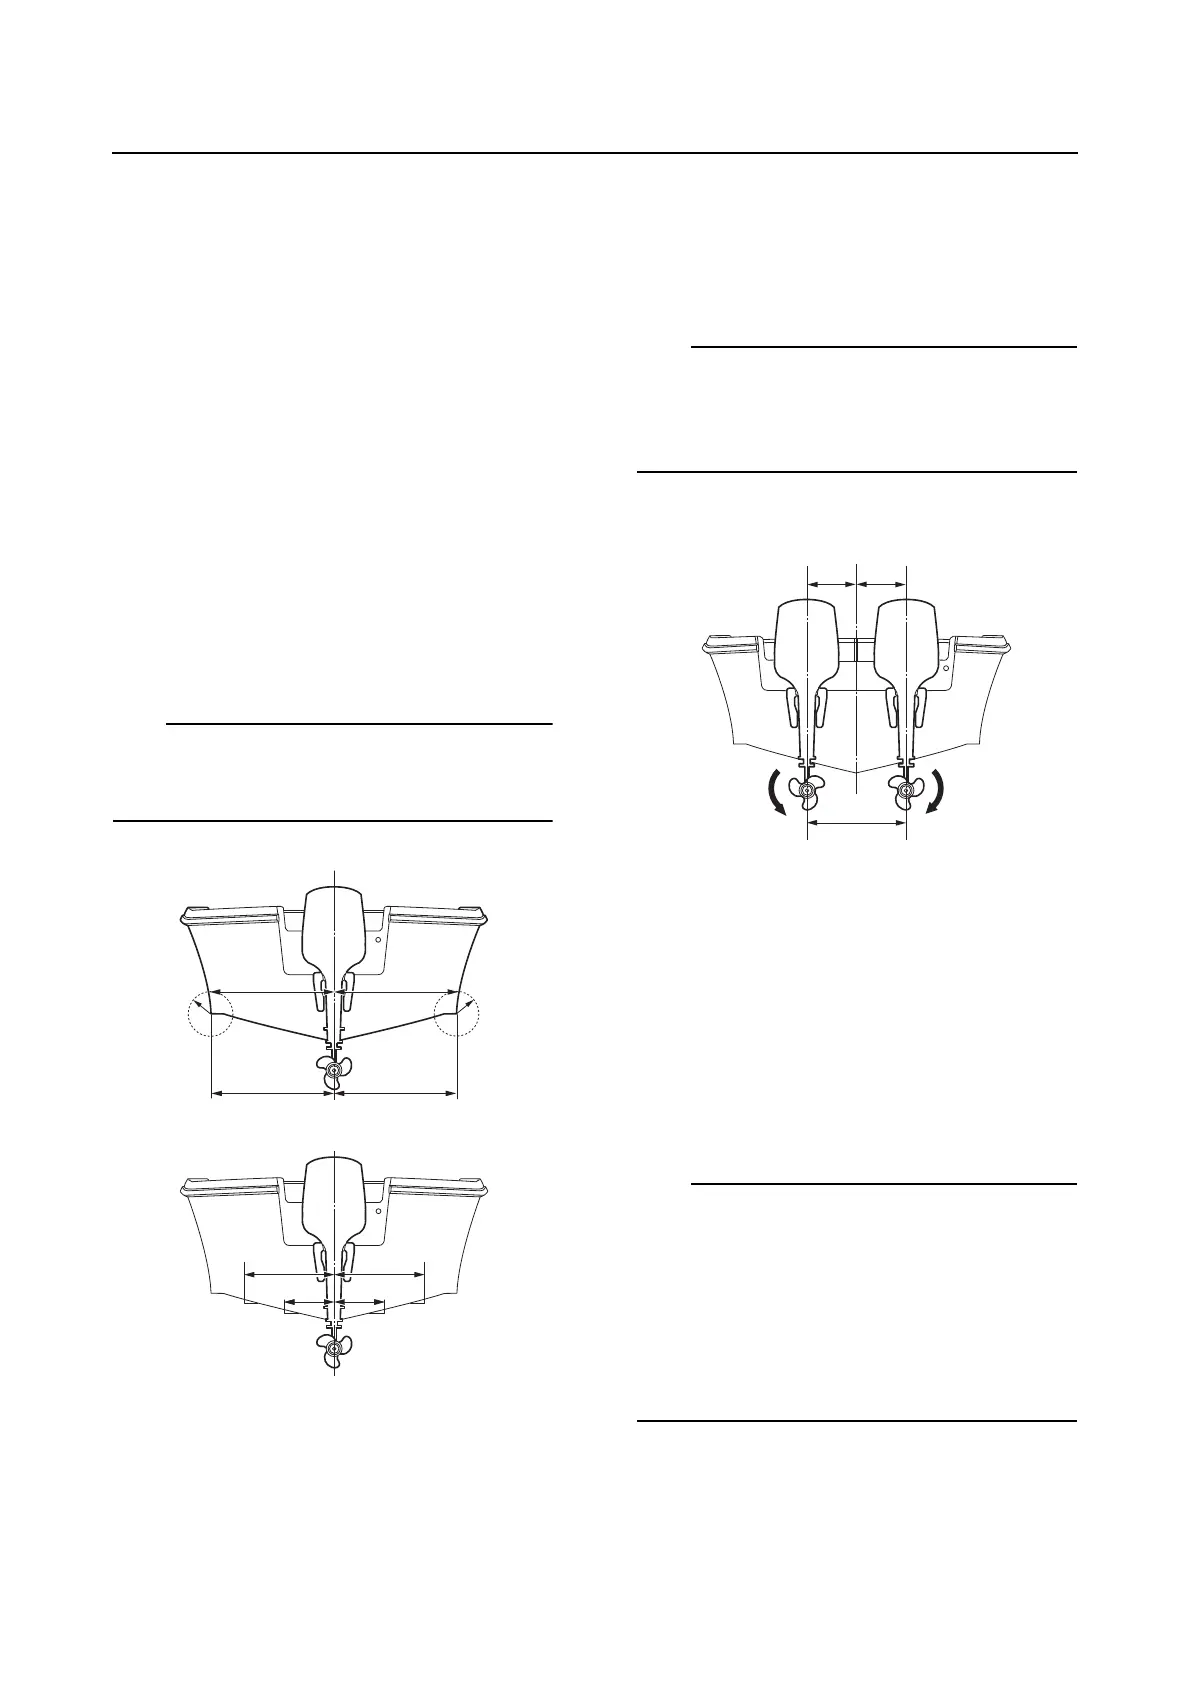
1. For a single outboard motor application,
place the outboard motor on the vertical
centerline of the boat transom. For a hull
without strakes, make the same radius (R)
at both sides of the hull, and use another
measurement point.
Make sure that distance “a” is equal to dis-
tance “b”, and distance “c” is equal to dis-
tance “d”.
For a twin outboard motor application,
place the outboard motors so that the dis-
tance from the C/L of each outboard mo-
tor to the C/L of the boat transom are
equal on both sides.
• Make sure that the distance “e” is equal to
distance “f”.
• For the distance (T1), see “External dimen-
sions” (1-2).
For a triple outboard motor application,
place the center outboard motor so that
the C/L of the outboard motor is aligned
with the C/L of the boat transom. Place
the other two outboard motors on both
sides so that the distance from the C/L of
each outboard motor to the C/L of the
boat transom are equal.
• Make sure that the distance “g” is equal to
distance “h”.
• If the boat has a V shape hull, the center out-
board motor should have a longer transom
height than the outboard motors on both
sides.
• For the distance (T1), see “External dimen-
sions” (1-2).
A. Hull without strakes
B. Hull with strakes
C/L.Centerline of the transom
C/L.Centerline of the transom