10-13
General periodic maintenance
b. Leave the outboard motor off for 5–10
minutes.
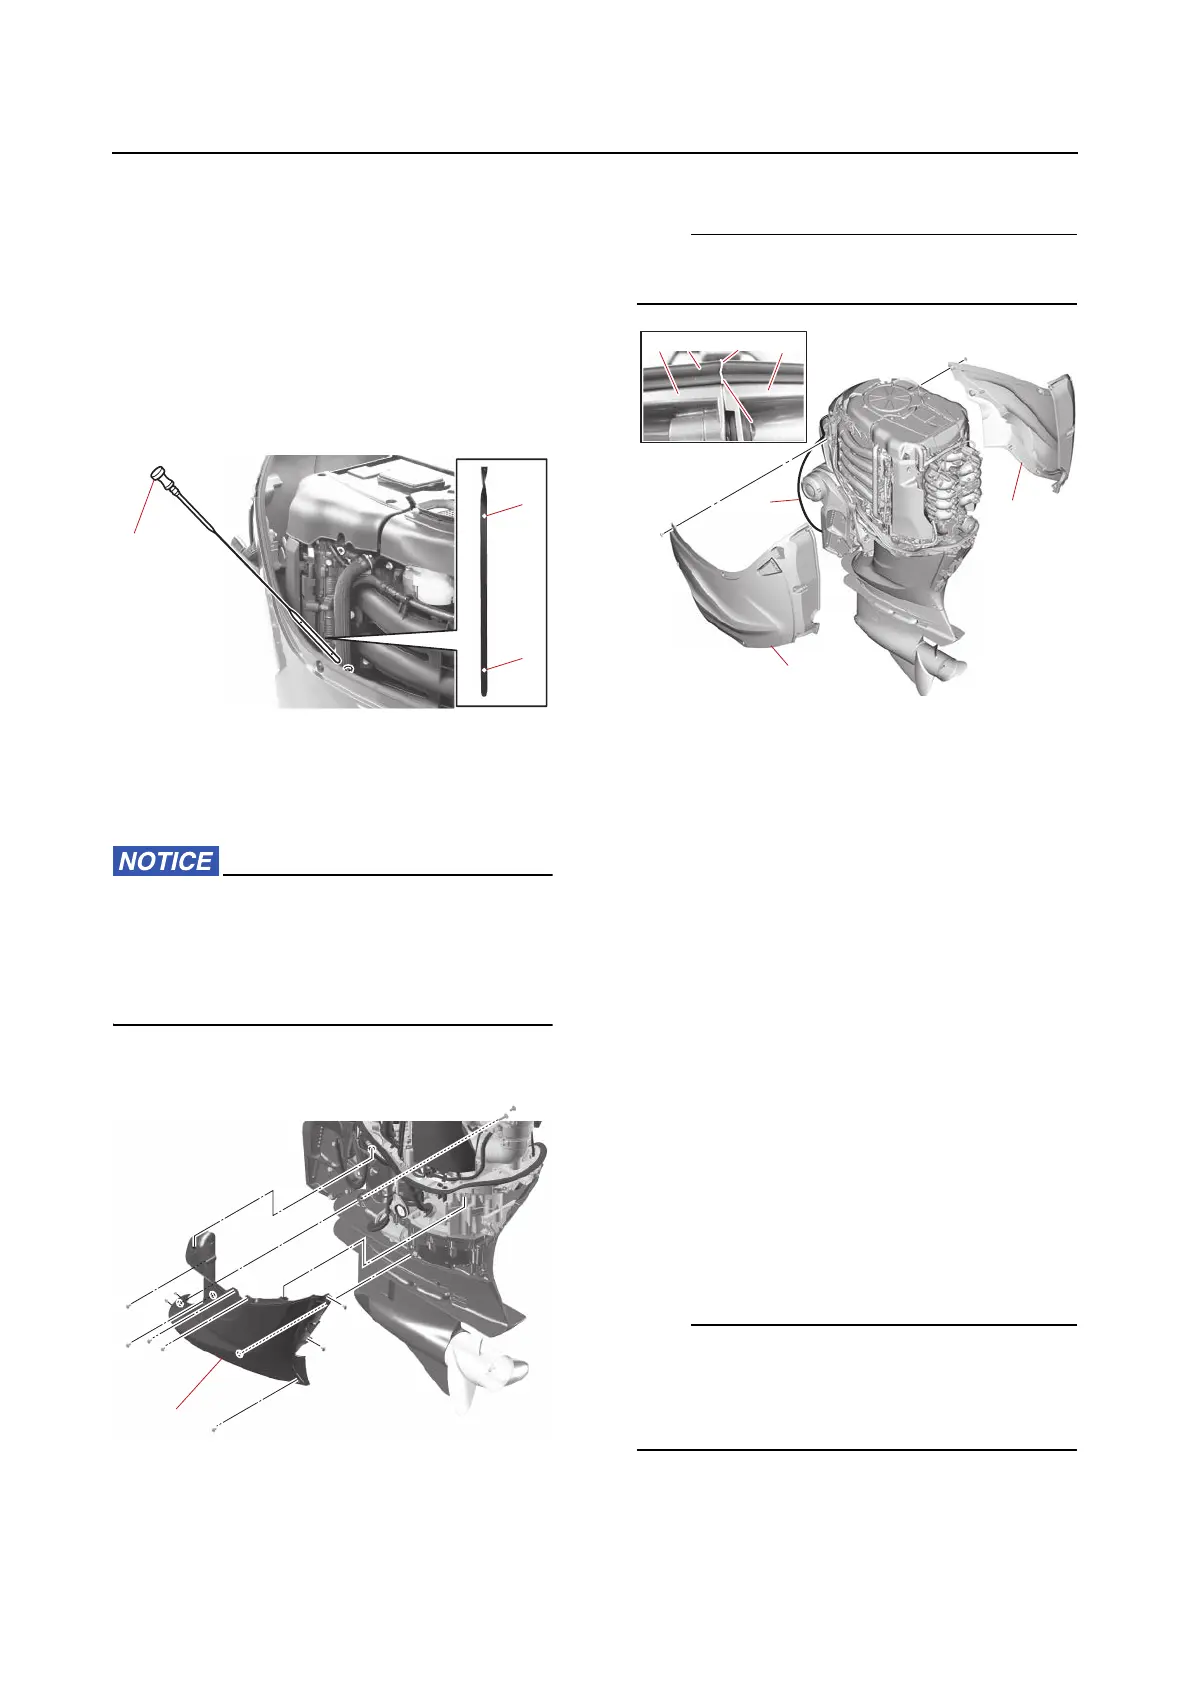
c. Remove the dipstick “1” and wipe it
clean.
d. Insert the dipstick “1” completely for a
correct measurement and remove it
again.
e. Check that the oil level indicated on the
dipstick “1” is between the upper mark
“a” and the lower mark “b”.
f. Start the engine and check that the oil
pressure alert indicator does not come
on. Also, check that there is no oil leak-
age.
If the oil pressure alert indicator comes on
or if there is oil leakage, stop the engine
and find the cause. Continued operation
with a problem could cause severe engine
damage.
9. Install:
• Apron (PORT) “1”
10. Install:
• Bottom cowling “1”, “2”
•Rubber seal “3”
•Top cowling
Align the seam “a” of the rubber seal “3” with
the mating surface “b” of the bottom cowling.
Replacing the oil filter
1. Warm up:
•Engine
See step 1 in “Changing the engine oil us-
ing an oil changer” (10-10).
2. Remove:
•Top cowling
• Bottom cowling cover
• Apron cover
•Rubber seal
• Bottom cowlings
• Apron (PORT)
See steps 2–4 in “Changing the engine oil
by removing the drain bolt” (10-11).
3. Drain:
•Engine oil
See step 3 in “Changing the engine oil us-
ing an oil changer” (10-10) or step 5 in
“Changing the engine oil by removing the
drain bolt” (10-11).
If the engine oil was changed by removing the
drain bolt, install the drain bolt. See step 7 in
“Changing the engine oil by removing the
drain bolt” (10-11).
4. Replace:
• Oil filter