9-18
Bottom cowling (front) and flushing hose
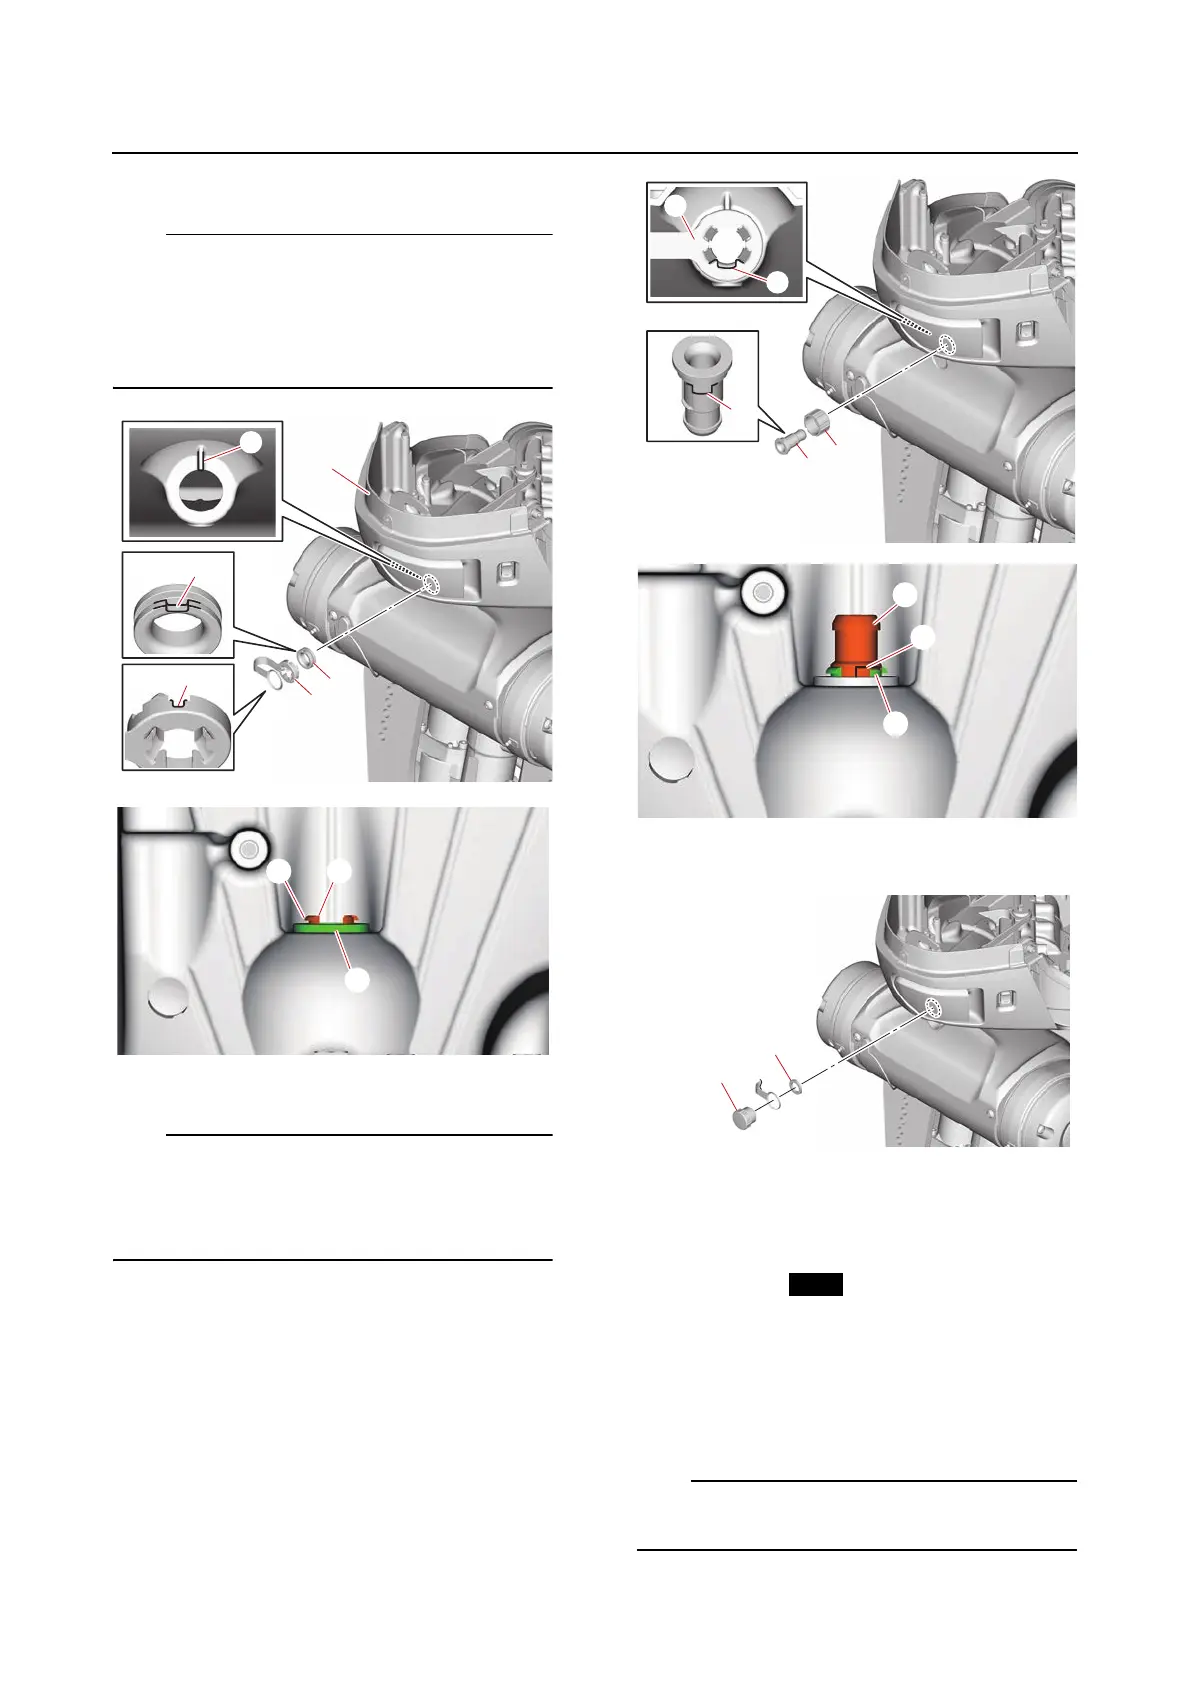
a. Install the grommet “1” and holder “2”.
• Align the slots “a” on the grommet “1” and
holder “2” with the protrusion “b” on the bot-
tom cowling (front) “3”.
• Confirm that the claw “c” of the holder “2”
sticks out from the grommet “1”.
b. Install the joints “1” and “2”.
• Align the protrusion “a” on the joint “2” with
the slot “b” on the holder “3”.
• Confirm that the holder “3” is fitted into the
groove “c” of the joint “2”.
c. Install the gasket “1” and flushing plug
“2”.
3. Install:
•Grommets
•Hoses
•Joint
•Plastic ties
•Nipple
a. Install the grommet “1” onto the hose
“2” so that the grommet is aligned with
the edge of the white paint mark “a” to-
ward the white mark “b” as shown.
Apply instant glue to the indicated points “c”
to affix the grommet “1” to the hose “2”.