Service Parts Disassembly
Phaser 3610, WorkCentre 3615 Service Manual 4-113
IIT / DADF Repairs
REP 6.1 IIT Assembly
PL 6.1 IIT Scanner / DADF
Removal
WARNING: Allow the Fusing Assembly to cool before servicing the product.
1. Remove (REP 1.14 Right Inner Cover (3615)).
2. Remove (REP 1.12 Control Panel (3615)).
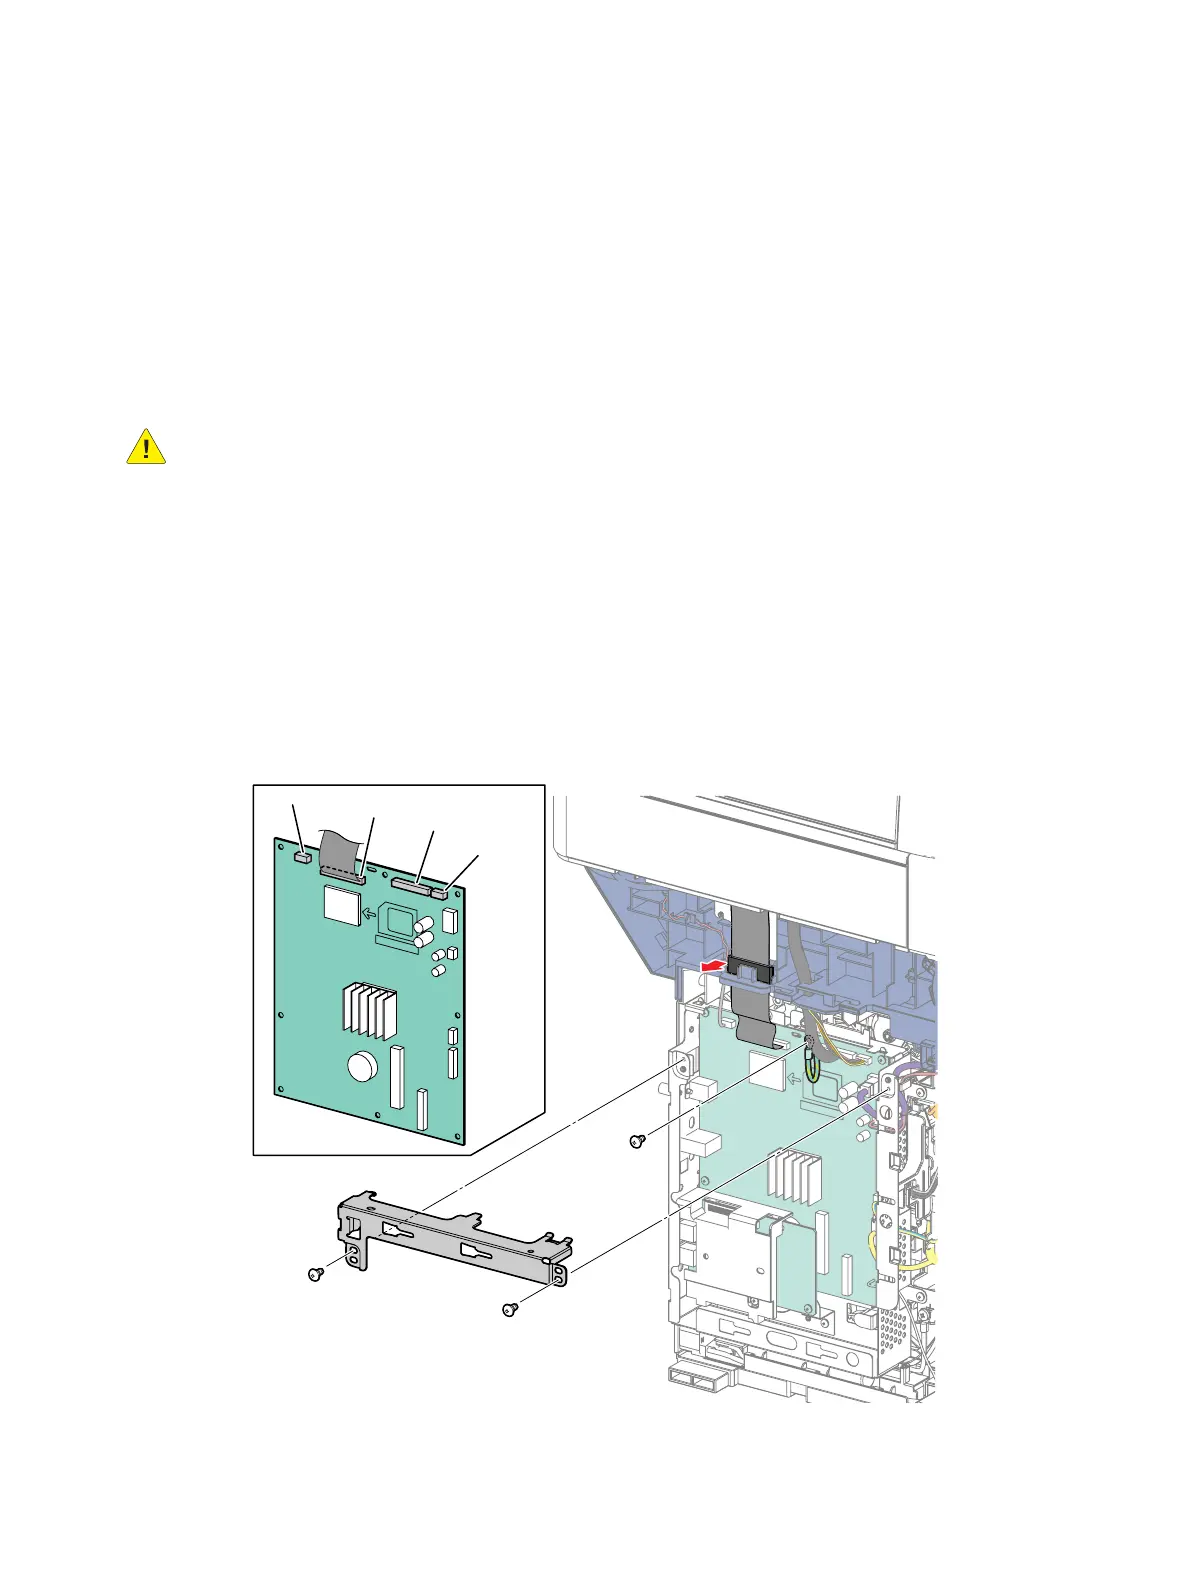
3. Disconnect the HVPS. (Figure1)
a. Remove 2 screws (silver, M3, 6mm) and the ESS PWB Housing Top Plate.
b. Disconnect P/J454, and P/J452 from the ESS PWB,
c. Gently pull the flat cable (P/J 451) from the PWB,
d. Release the flat cable holder from the chassis, and lift the cable up through the chassis.
e. Remove 1 screw (silver, M3, 6mm) to remove the ground wire and disconnect P/J 453.
f. Route the wire harnesses to the IIT Assembly up through the chassis to release them.
Figure 1
P/J453
P/J451
P/J452
P/J454
b)
c)
a)
d)
e)

 Loading...


