R5905948 /12 Event Master Devices214
1 Align Left to align the left edges of all selected PIPs to that of the leftmost PIP.
2 Align Top to align the top edges of all selected PIPs to that of the topmost PIP.
3 Align Right to align the right edges of all selected PIPs to that of the rightmost PIP.
4 Align Bottom to align the bottom edges of all selected PIPs to that of the bottommost PIP.
5 Align Relative HCenter to take into consideration the center of the horizontal offsets of all selected
PIPs and aligns them on their vertical axes there.
6 Align Relative VCenter to take into consideration the center of the vertical offsets of all selected PIPs
and aligns them on their Horizontal axes there.
7 Distribute Horizontally uniformly distributes the horizontal spacing between the leftmost and
rightmost of all selected PIPs. Three or more layers in a Screen Destination must selected to use this
tool.
8 Distribute Vertically uniformly distributes the vertical spacing between the topmost and bottommost of
all selected PIPs. Three or more layers in a Screen Destination must selected to use this tool.
9 Align all selected PIPs along the destination’s left edge.
10 Align all selected PIPs along the destination’s top edge.
11 Center Horizontally to center all selected PIPs horizontally, along the destination’s vertical axis. PIPs
do not change vertical position.
12 Center Vertically to center all selected PIPs vertically, along the destination’s horizontal axis. PIPs do
not change horizontal position.
13 Center to center all selected PIPs vertically and horizontally, along the destination’s horizontal and
vertical axes.
14 Align all selected PIPs along the destination’s bottom edge.
15 Align all selected PIPs along the destination’s right edge.
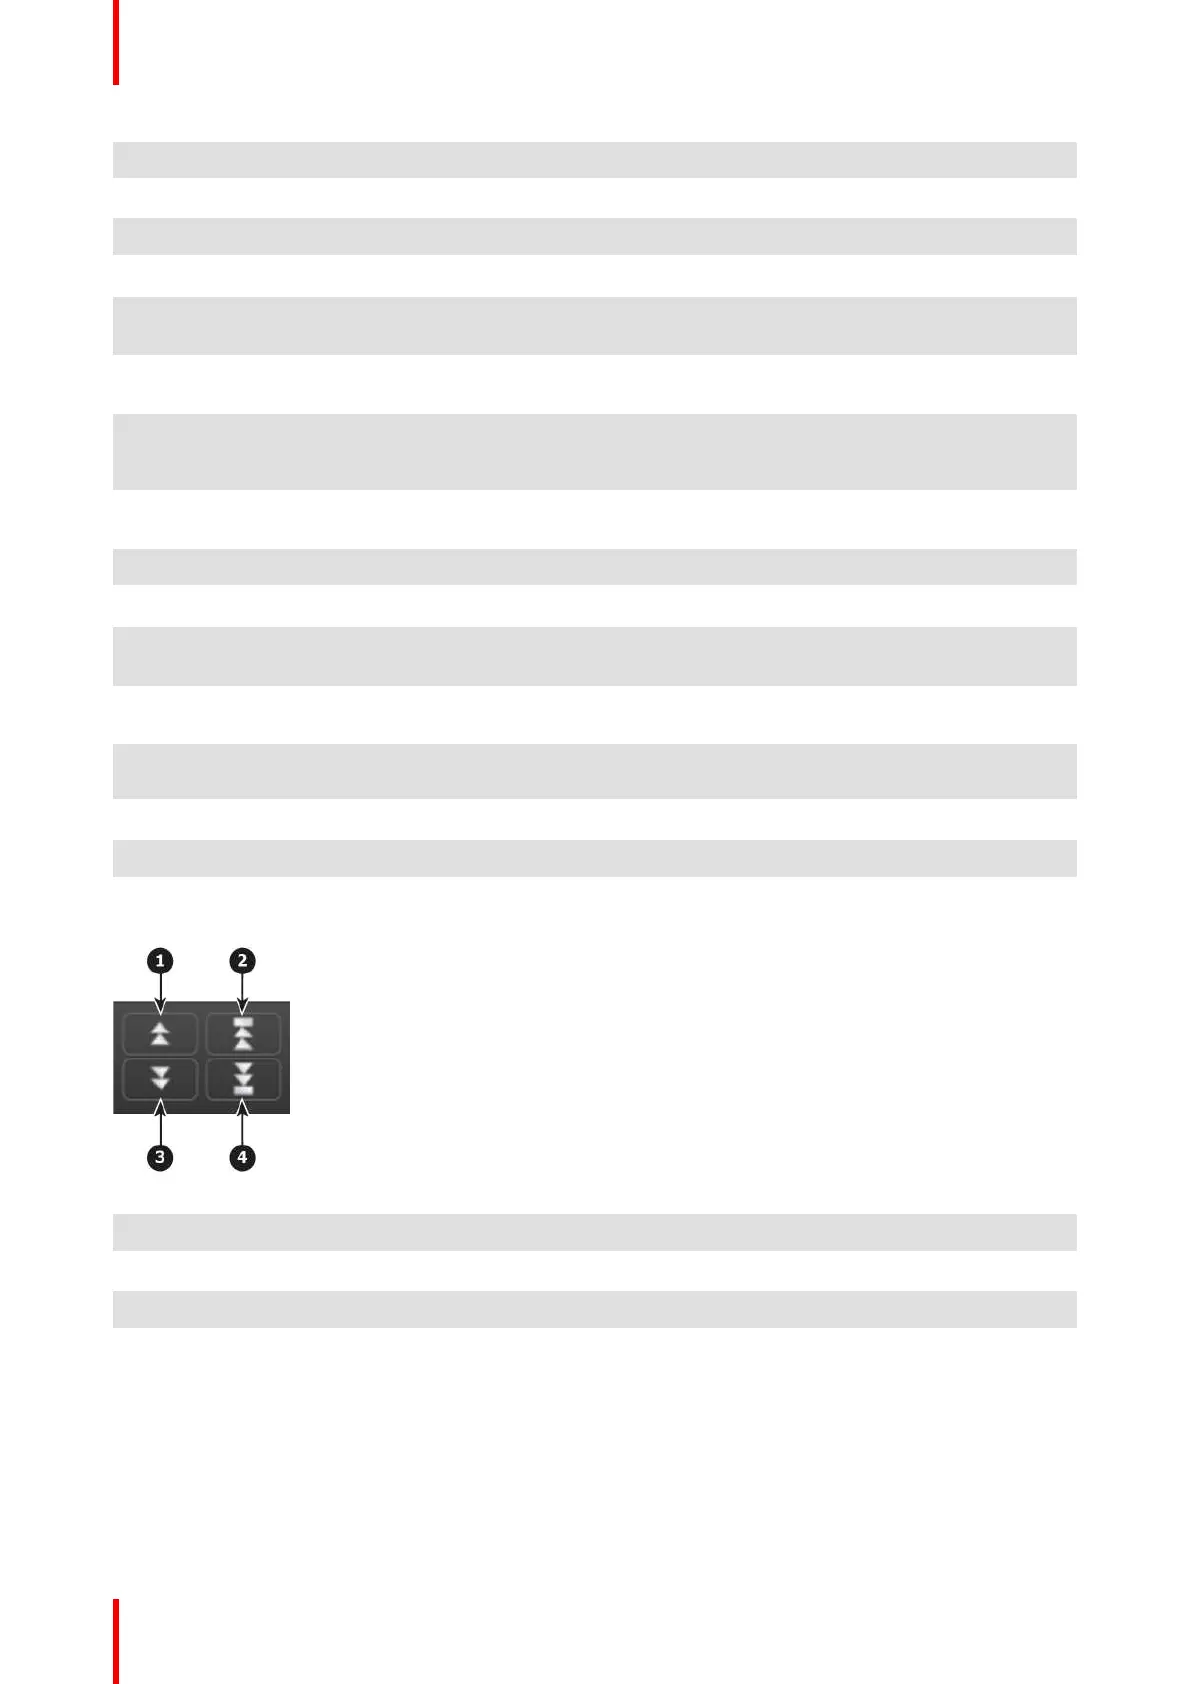
Visual Priority (Z-order adjustment)
Image 6-75
1 Moves the selected layer up in priority and swaps with the layer previously above.
2 Moves the selected layer to the top of the priority and swaps it with the layer previously on top.
3 Moves down in priority and swaps the z-order of the selected layer with the layer previously below.
4 Moves the selected layer to the bottom of the priority and swaps it with the layer previously at the
bottom.
Example:
EM GUI orientation