R5905948 /12 Event Master Devices362
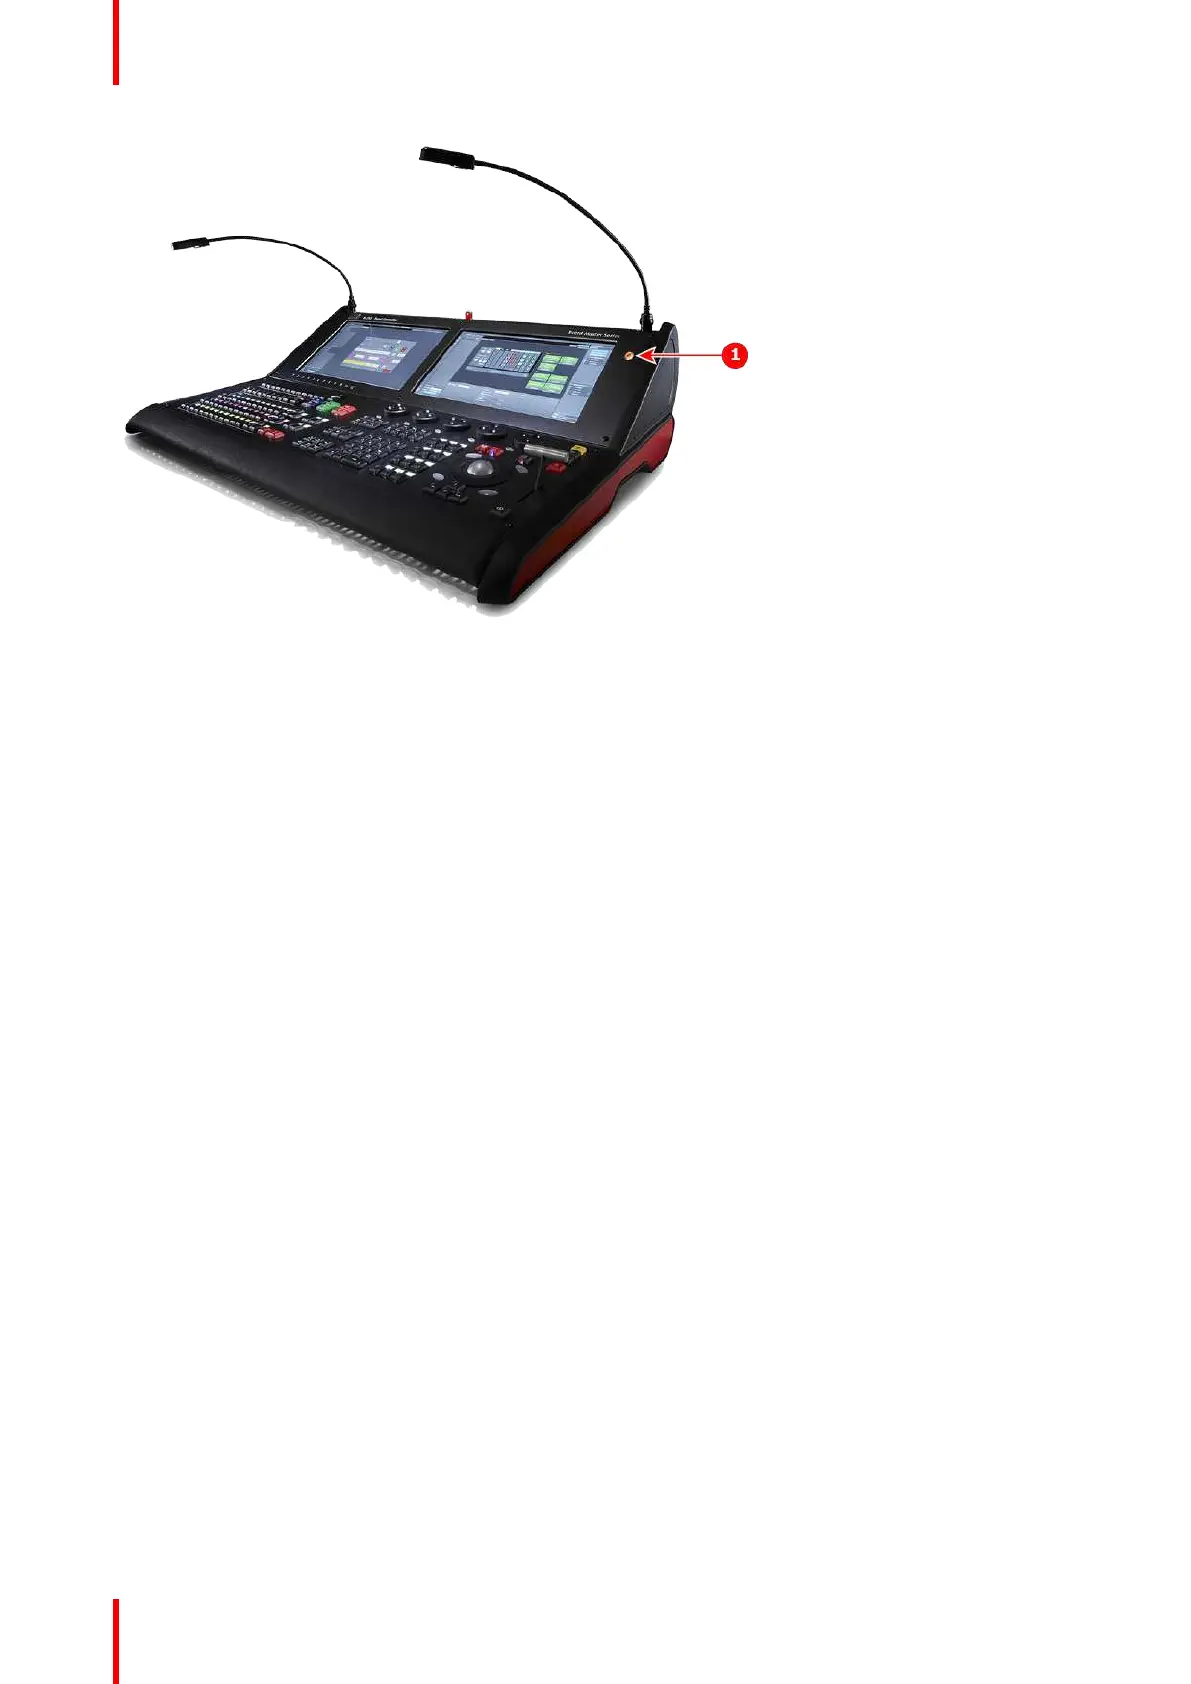
Image 12-3: EC-210
1 Power button
12.4 How to select destinations
General
Once the row of Destination buttons have been mapped they can be used to select or deselect screens,
AUXes, and destination groups.
A range of actions can be performed with this selection:
• Transition via Cut or All-Trans.
• Included in the record of a Preset;
• Prepare the destination for Layer manipulation.
• Change time of the destinations Transition. Note: time is assigned to each destination individually.
Destinations selected via the console have the same actions available as are available in the Event Master
Toolset, just in a more hands-on direct way.
12.5 How to use the Layer buttons
General
Similar to the Destination Buttons the Layer buttons create a selection for further actions.
Buttons are as standard in the same select mode as the destinations, latch on, latch off.
A range of actions can be performed with this selection:
• Assign a Source file via the Assign buttons from the Source bus.
• Layer Transition or Cut via the Red Layer Executors to the right of the Layer button row.
• Freeze via the Blue Layer Executors to the right of the Layer button row.
• Arm via the Green Layer Executors to the right of the Layer button row.
• Match Program via the Green Layer Executors to the right of the Layer button row.
A layer selection via the console has the same actions available as are available in the Event Master Toolset,
just in a more hands-on direct way.
If a layer is not on preview or program, pressing the button will add the layer to preview and select it for
modification.
Controller Operation