DMTA-10040-01EN, Rev. E, February 2018
Using the Instrument 121
maximum width of 0.178 mm (0.007 in.); block overall dimensions
25.4 mm×101.6 mm×6.35 mm (1 in.×4 in.×0.25 in.); P/N: SRS-0824A [U8860536]
To set the initial NORTEC 600 configuration
1. Connect the probe and cable to the PROBE connector on the NORTEC 600.
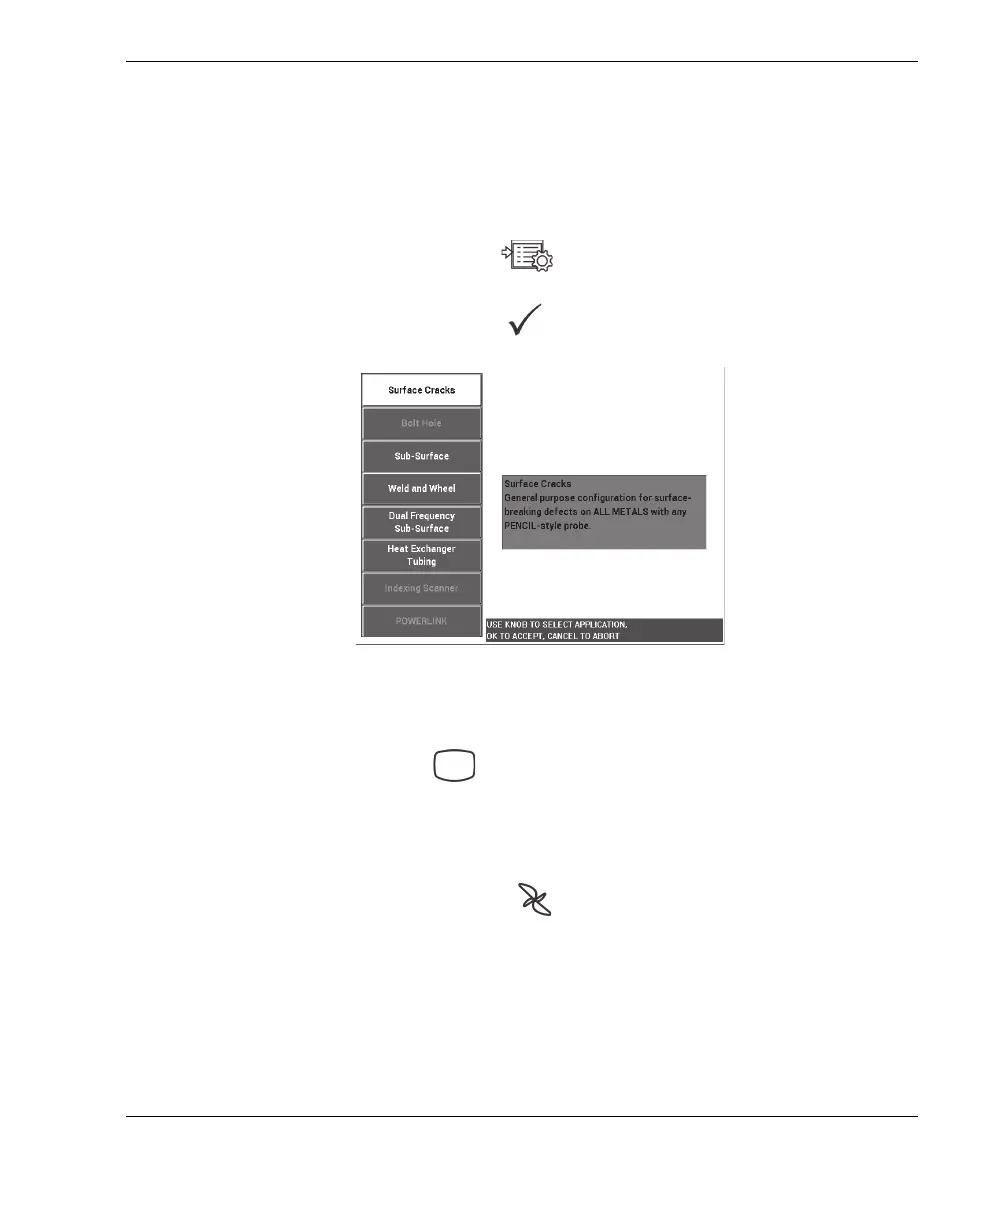
2. Press the ADV SETUP menu key ( ) once, followed by the A key (APPL
SELECT) to open the application selection menu. Select Surface Cracks with the
knob (SmartKnob), and then press to accept (see Figure 5-2 on page 121).
Figure 5‑2 The Surface Cracks application
3. Press the DISP menu key ( ) once, and set the POSITION (C key) to BOT
CNTR with the knob.
To calibrate the signals
1. Press the MAIN FILTER menu key ( ) once, and set the FREQ (A key) to
500 kHz with the knob.
Depending on the probe that is used to follow this procedure, you may need to
select a different frequency.