DMTA-10040-01EN, Rev. E, February 2018
Using the Instrument 167
• PS5-AL indexing scanner (product discontinued)
• Reflection probe for PS5: 200 kHz to 1 MHz, RD 0.250 (reflection differential
6.4 mm [0.25 in.]); P/N: 9217572 [U8616045]
• Eddy current hole standard for demonstration purposes (not certified); P/N:
RSTD-10135 [U8863213]
To set the initial NORTEC 600 configuration
1. Connect the probe to the rotating scanner (align the connector marks), and then
connect the scanner cable to both the rotating scanner and the PROBE connector
on the NORTEC 600.
2. When prompted, select CONTINUE (A key) to accept the PowerLink
information.
3. Press the ADV SETUP menu key ( ) once, and then select APPL SELECT
(A key) to open the application selection menu. Select Indexing Scanner with the
knob, then press to accept (see Figure 5-63 on page 167).
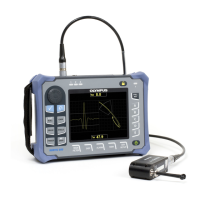
Figure 5‑63 The Indexing Scanner application
To calibrate the signals
1. Adjust the probe’s Z position (for indexing) so that it extends halfway down into
the calibration hole.
For more information on operating the PS5 indexing scanner, refer to the
scanner’s User’s Manual.

 Loading...