DMTA-10040-01EN, Rev. E, February 2018
Using the Instrument 125
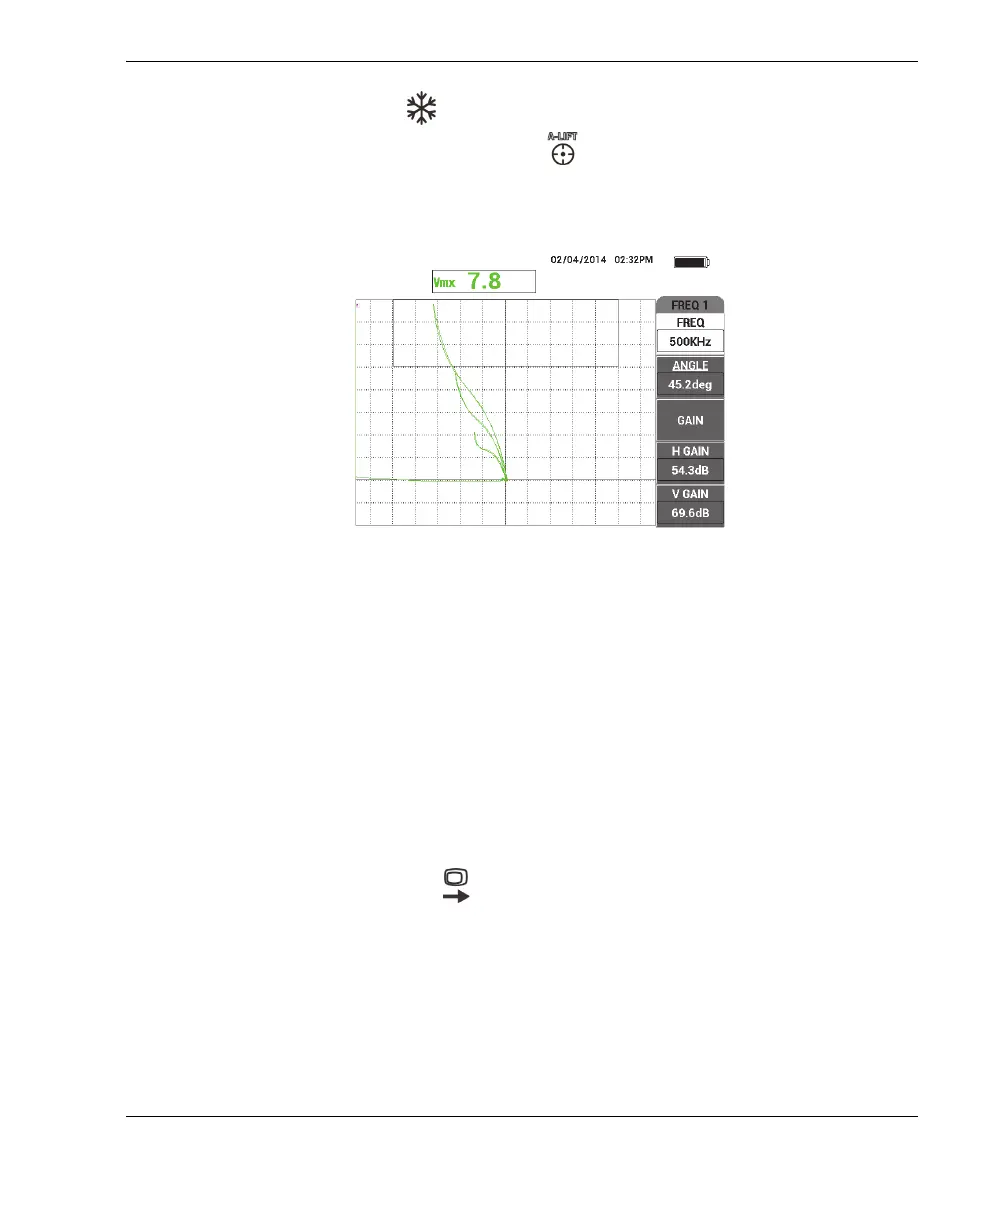
9. Press the FREEZE key ( ) to unfreeze the instrument, place the probe on the
standard, press the A-LIFT NULL key ( ), and then scan the standard to
perform a final calibration check (see Figure 5-7 on page 125).
If the signals are not satisfactory, repeat steps 5–8.
Figure 5‑7 The final calibration check
To fine-tune the instrument settings
1. Depending on your requirements, set the alarm parameters, horn, or external
horn (louder).
For more details about alarms, see “Alarm Menus” on page 292.
2. Depending on your requirements, set the display erase or persistence values to
automatically refresh the screen.
For more details about screen erase options, see “D ERASE (display erase)” on
page 89 and “PERSIST (variable persistence)” on page 89.
3. Press the FULL NEXT key ( ) to toggle to the full-screen mode, and then scan
the standard.
The results should resemble the image in Figure 5-8 on page 126. The list of all
parameters is shown in Figure 5-9 on page 126.
Note that the value of the maximum vertical amplitude is displayed by default in
the bottom-right corner. For more details about the reading type or position in the
impedance plane display, see “Displaying Real-Time Readings” on page 56.