DMTA-10040-01EN, Rev. E, February 2018
Chapter 5152
5. Repeat step 4 for each of the other shim thicknesses (1.5 mm, 1.0 mm, and
0.5 mm).
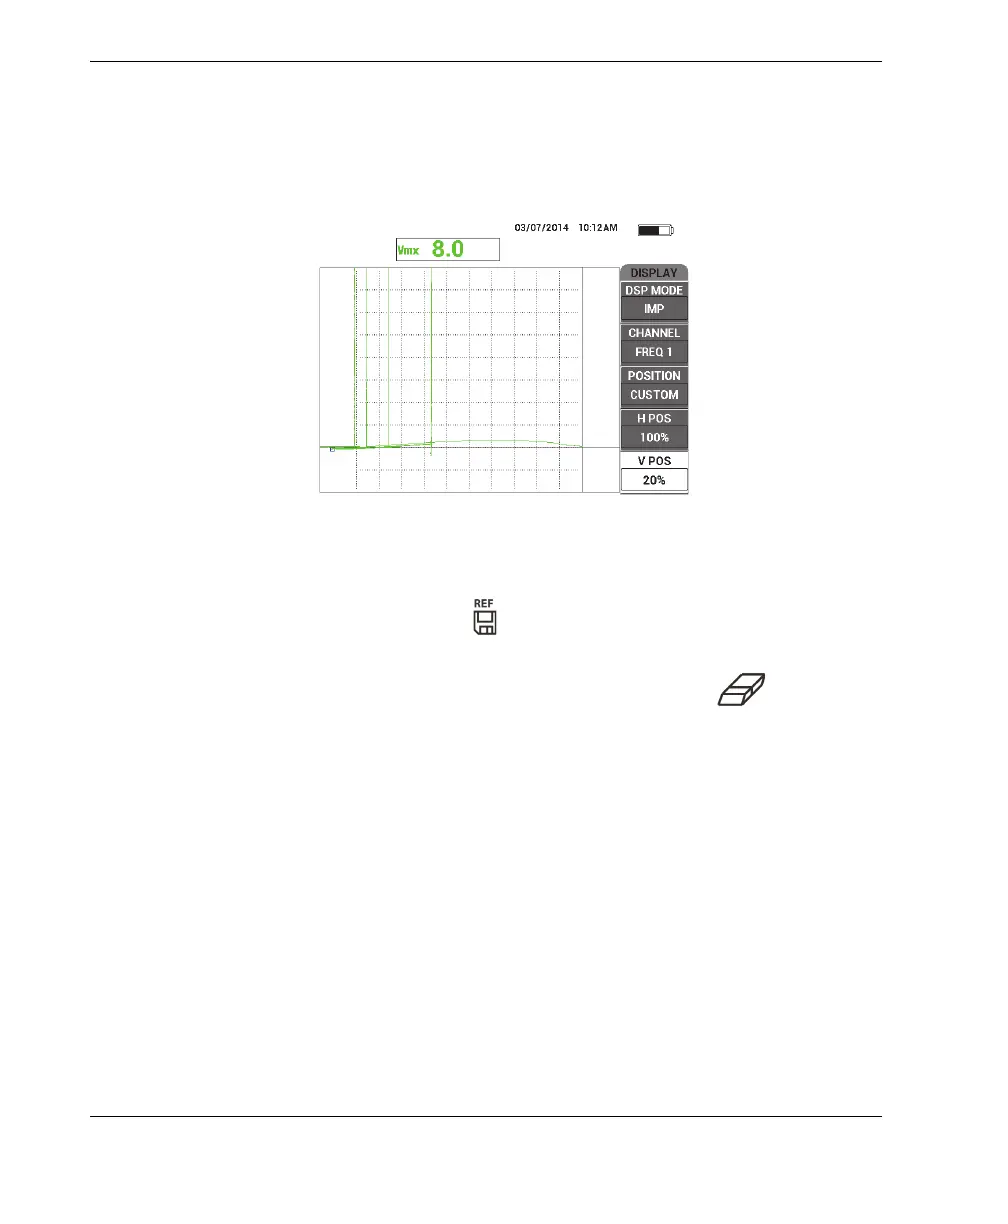
The instrument records a vertical line for each simulated paint thickness (see
Figure 5-44 on page 152).
Figure 5‑44 The vertical lines for different thicknesses
6. Press and hold the REF SAVE key ( ) to set the current signal as the reference
signal.
7. Set the V POS (E key) to 50 %, and then press the ERASE key ( ).
The paint thickness setup is now complete and ready to be used in evaluations.
8. Evaluate your subsequent paint thickness reading using the vertical reference
marks (see Figure 5-45 on page 153).
If necessary, you can increase your resolution by calibrating with a greater
number of thinner shims.