DMTA-10040-01EN, Rev. E, February 2018
Using the Instrument 275
Always use combined horizontal and vertical gain (H/V GAIN).
5. Press the FREEZE key ( ) to enable signal acquisition.
6. Rescan the 60 % wall-loss flaw to verify the calibration, and adjust the GAIN as
required.
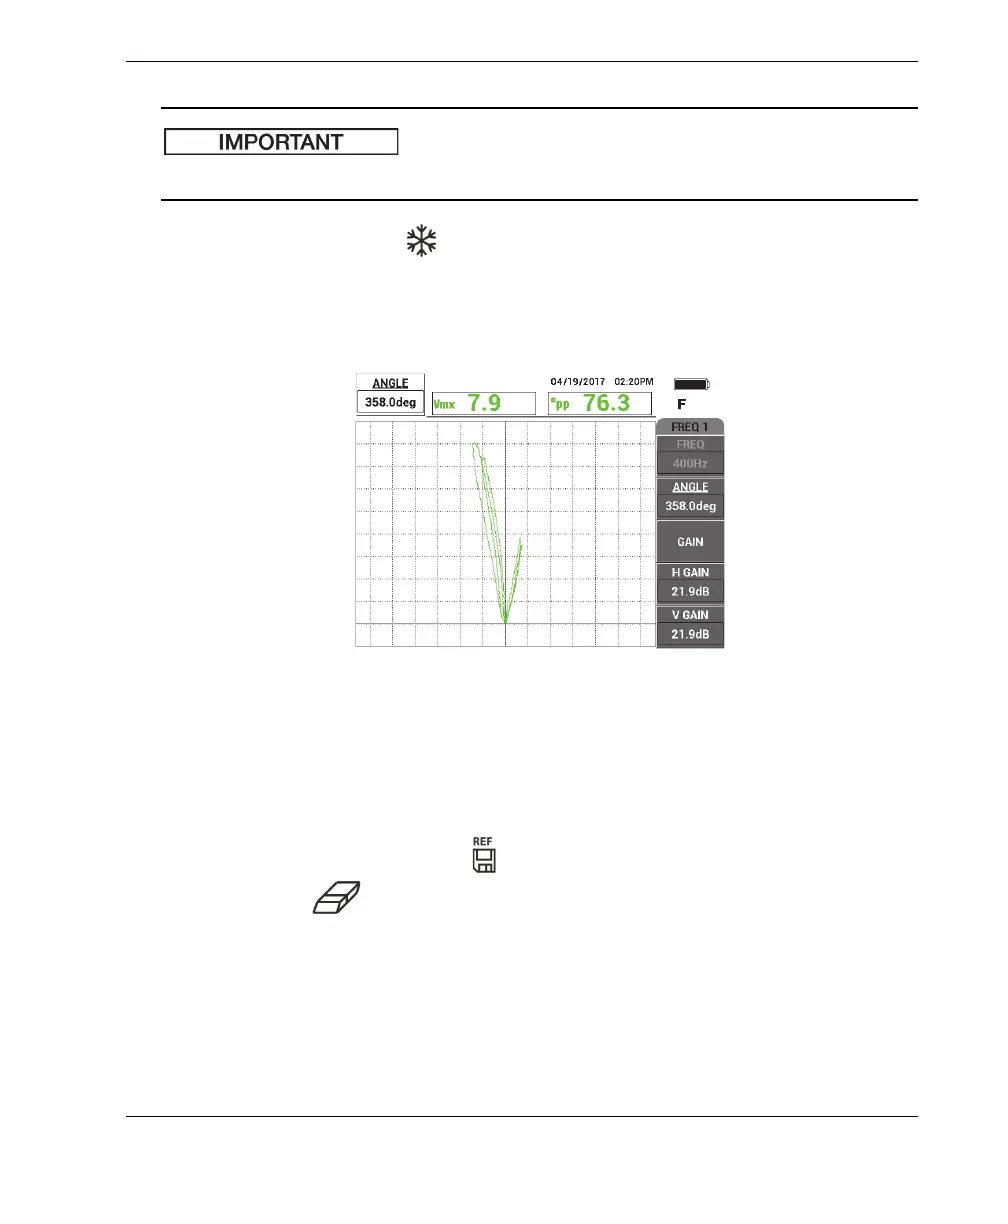
7. Adjust the ANGLE as required (see Figure 5-215 on page 275).
Figure 5‑215 Adjusting the gain and angle
8. Place the probe in a defect-free area of the calibration standard near the 40 % OD
flaw, and then press the NULL foot switch.
9. Scan the 40 % OD and 60 % OD flaws.
10. Press and hold the REF SAVE ( ) key until you hear a beep, and then press the
ERASE key ( ) or ERASE foot switch.
This will provide a reference image in a complimentary color on the screen for
reference purposes (see Figure 5-216 on page 276).