F3 – Setup Menu
Gem-5 User’s Manual 111
Wait before Count : (0 to 30s, default 1s) to be applied when F3 – Setup, F5 –
Configuration, Monitor Steps is set to “One-Step” and not available for other modes.
It is intended to give the occupant enough time to get into position before the count
starts.
Wait before Barrier Close: (0 to 30s, default 1s) to be applied when Ctrl+F10 –
Factory Setup, F4 – Access Configuration as assigned a barrier(s). It is intended to
give the occupant enough time to get into position before the barrier closes.
F3 – Detection Zones
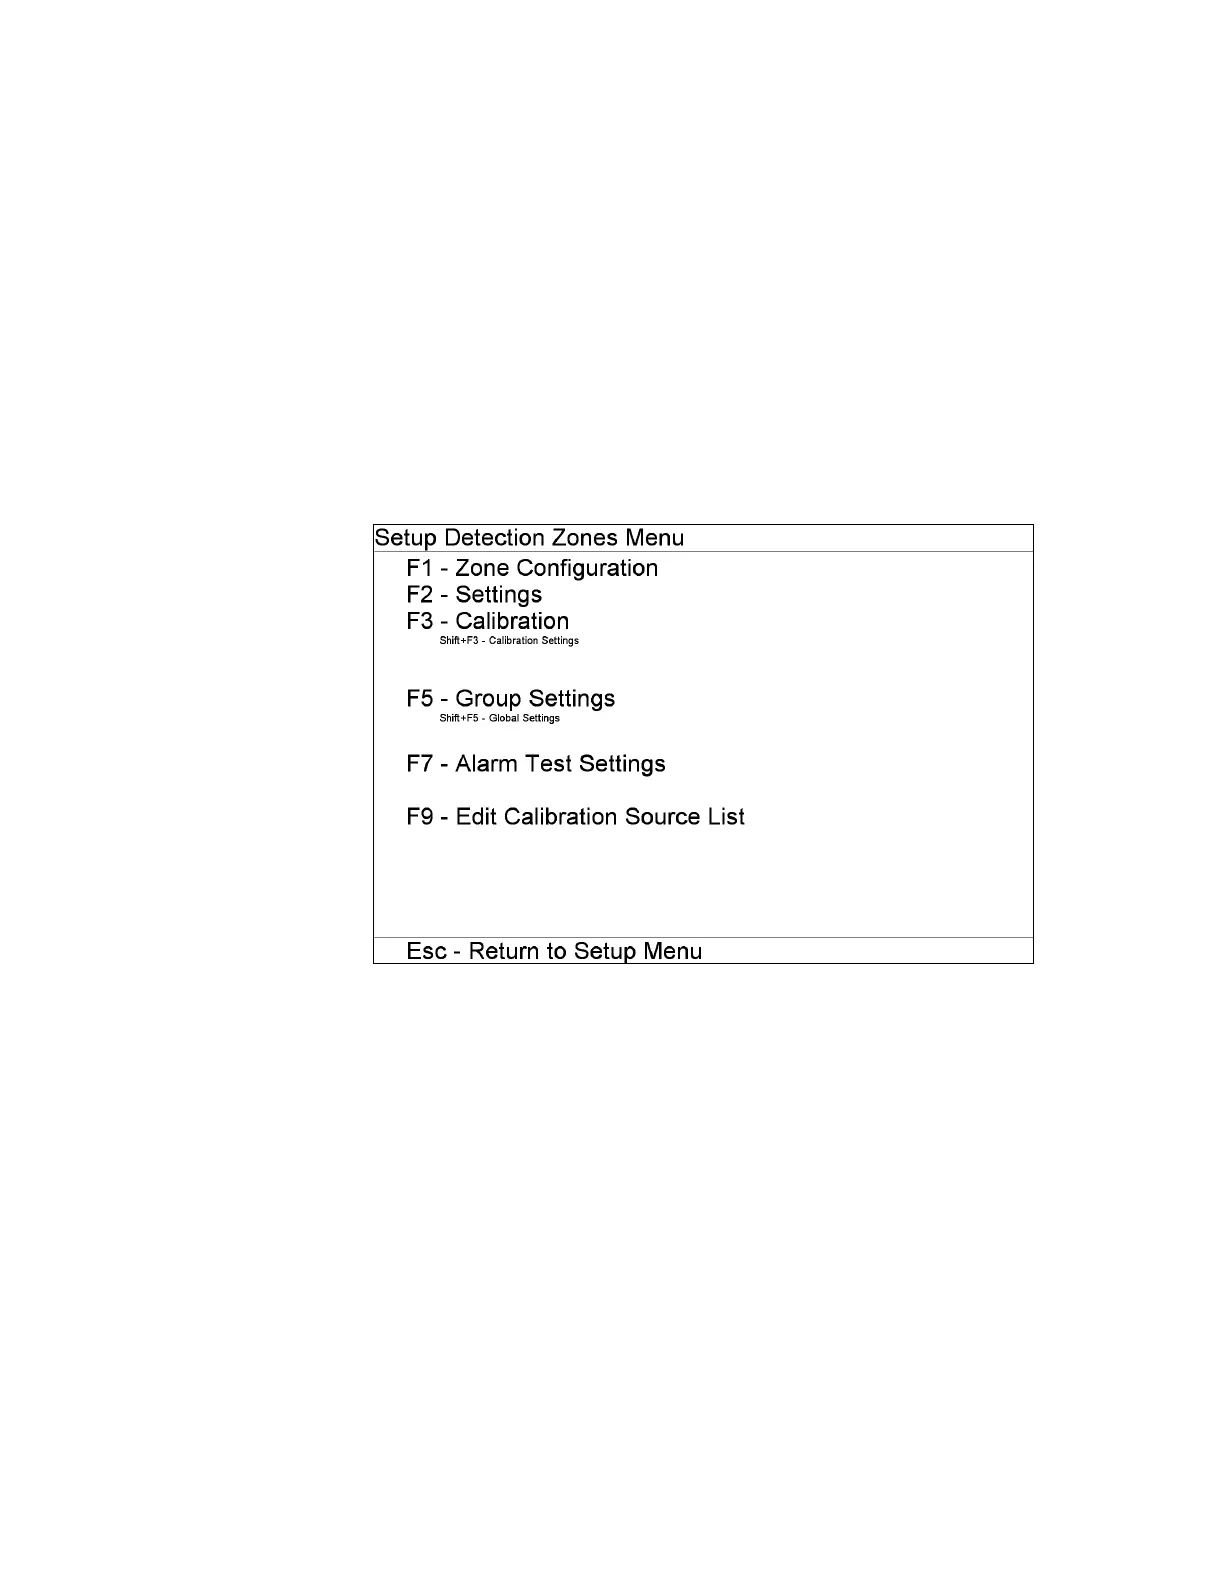
Selecting F3 – Detection Zones from the F3 – Setup Menu displays a secondary menu
(Figure 53), allowing the choice of several screens related to detection zone
configuration and calibration. Entering this menu stops collection but leaves HV on.
Figure 53 The Setup Detection Zones Menu
Gamma scintillation detectors contain only one detection zone.
A detection zone can be a single detector section or a sum zone consisting of 2 (pair),
3 (triple), 4 (quad), or All detector sections. Zone pairs can be inter pairs, meaning
that the component zones are in different physical detectors.
The role of zones in monitoring the occupant is established for each zone individually
using the F2 – (Zone) Settings screen on page 116.
On screens where Zone(s) can be selected the zone number is displayed in the top
right corner. For detector zones, the description that appears on Monitor Zone Status
and various printouts is shown to the left of the zone number.