Creating Wave Files
Gem-5 User’s Manual 307
Creating Wave Files
If alternative WAV files are to be u
sed, then the WAV file(s) to be substituted should
u
se the name(s) of the existing files in the \SOUNDS or \VOICE# directory. WAV files
should be 30 seconds or less in length. The format for the WAV files is as follows (with
settings currently used by Mirion Technologies (Canberra CA) Ltd. in Bold):
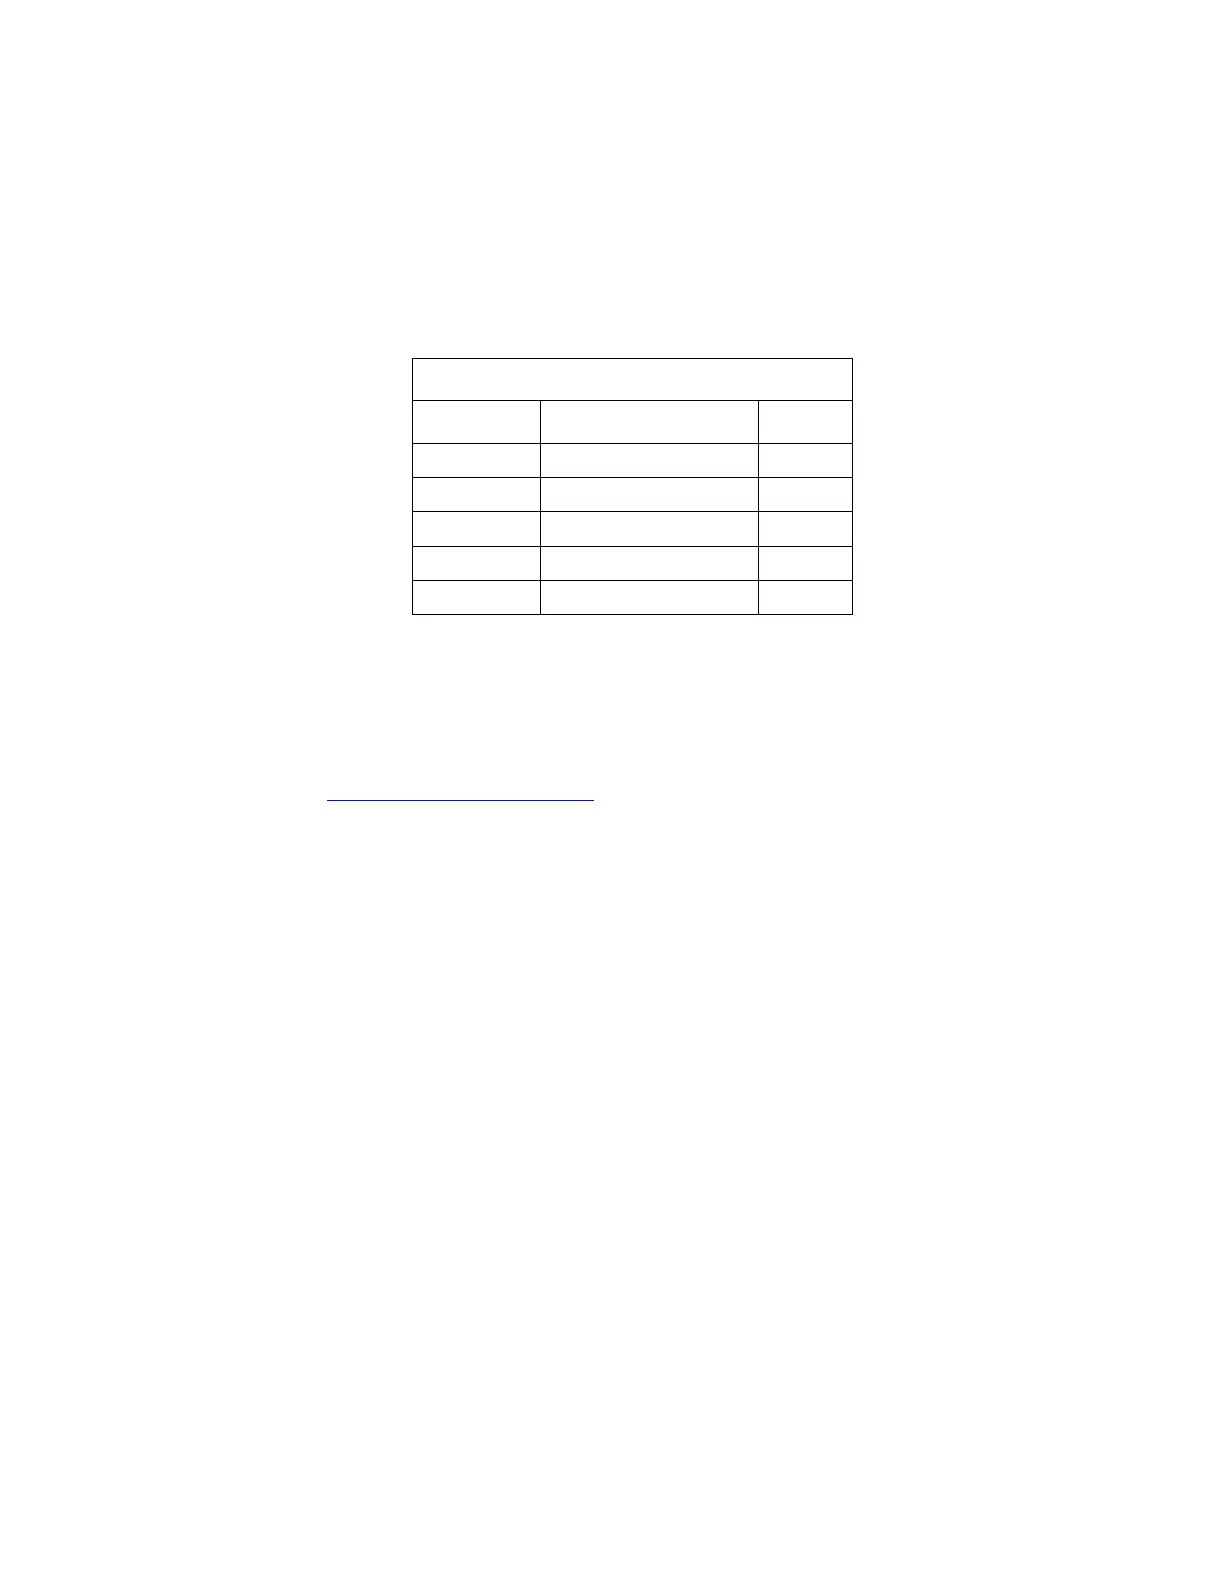
Table 22 WAV File Settings
Type Sample Frequency Output
8-bit 11 kHz Mono
16-bit 22 kHz Mono
16-bit 44 kHz Stereo
T
his requires a computer with a good quality sound system. Product availability
changes quite frequently so this is a general description. The capabilities should be
the same but the exact keystrokes or commands might differ.
Use a third party program like Audacity (can be obtained from
http://audacity.sourceforge.net/) to record and edit either from the “Line In” or from a
microphone. The Microsoft Windows “Sound Recorder” can record the WAV files but
is not as good for editing them.
Mirion Technologies (Canberra CA) Ltd. currently uses a USB Microphone especially
designed for high end audio production fed directly into a PC and recorded with the
Audacity software downloaded from the link above. Record all the contents of the
messages required at once in a quiet location (i.e., minimal background noise) and edit
the long sound file afterwards. Alternatively
, one can record all of the messages to a
cassette tape in a quiet location and then feed the tape output into the Line In on a PC’s
sound card. A stereo microphone with an RCA stereo phone connector can also be used.
The monitor will ignore a missing WAV file. Note that all numbers from 99.WAV to
01.WAV can be used but it can be tedious for the occupant to listen to them all.
Also, note that F6 – Operation Voice & Screen setup has an option to substitute a
clock tick (BEEP) sound for missing numeric WAV files.
Open an existing WAV file to find the volume level and become familiar with the
look of the WAV file. There should be some “View” options to see the entire
contents (Fit Wave in Window) as a graph or to zoom into an area. Use the play
button to check the playback volume. The “Options Mixer Settings” allows the
various volumes to be adjusted. If using an analog microphone, the gain may need
adjusting; we use the x4 gain for both Left and Right channels. If recording from
tape via the Line In then the tape deck's output level can be adjusted as well as the
sound board’s Line Input level.
 Loading...