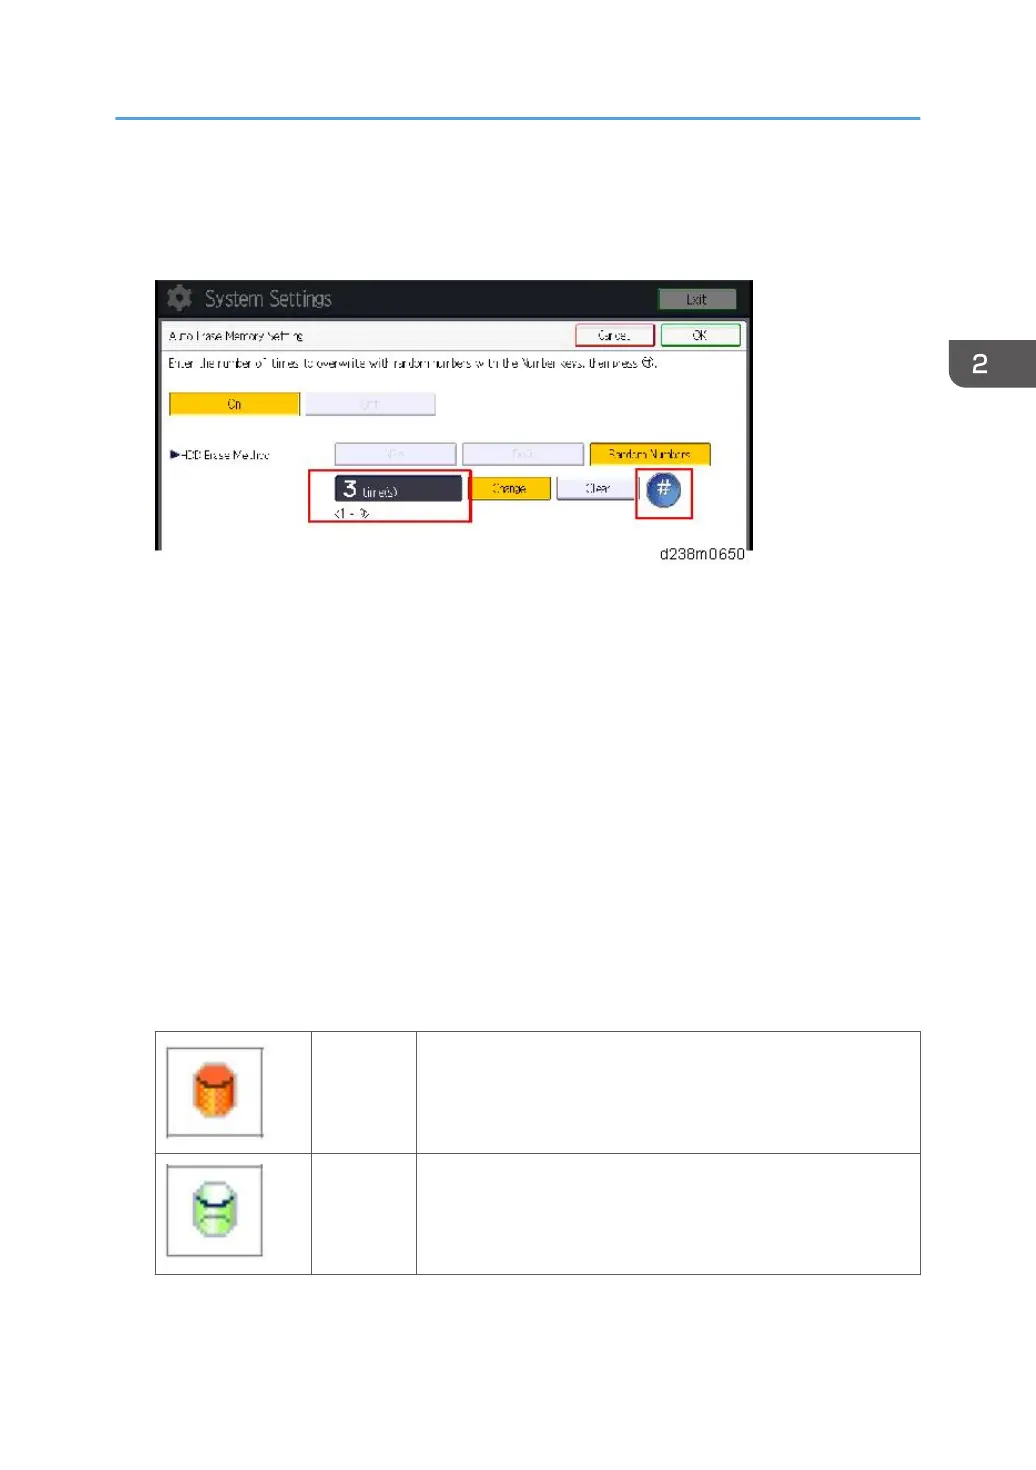
9. Press [Change].
10. Enter the number of times that you want to overwrite using the ten keys, and then press
[#].
The Random Numbers method overwrites the data using random numbers. You can set the
overwrite to be performed anywhere from 1-9 times, with a default of 3 times.
11. Press [OK].
12. Make sure that the Data Overwrite icon is displayed in the bottom right hand corner of
the screen.
13. Take a test copy, and then make sure that the Data Overwrite icon changes from "Dirty"
(solid) to "Dirty" (blinking), and then to "Clear".
• If the Data Overwrite icon does not change to Clear, check to see if there are any active
Sample Print or Locked Print jobs. A Sample Print or Locked Print job can only be overwritten
after it has been executed.
• The Dirty icon blinks while an overwrite is in progress.
• If you use your machine for a while with Auto Erase Memory disabled, and then suddenly
enable it, the overwrite process may take 10 or more hours depending on HDD usage.
Data Overwrite icon:
Icon [1]
This icon is lit when there is temporary data to be overwritten,
and blinks during overwriting.
Icon [2]
This icon is lit when there is no temporary data to be
overwritten.
SP descriptions
• SP5-801-014 (Memory Clear: Clear DCS Setting)
DataOverwriteSecurity Unit Type M19 (D3BS-03)
453