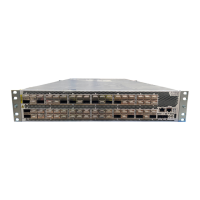
1. Attach the ESD grounding strap to your bare wrist, and connect the strap to a site ESD
point.
2. If the power supply slot has a power supply in it that needs to be removed, remove
the power supply. See “Removing a Power Supply from a QFX3100 Director Device”
on page 310.
3. Taking care not to touch power supply components, pins, leads, or solder connections,
remove the power supply from its bag.
4. Using one hand on the faceplate handle and the other hand on the bottom of the
power supply to support its weight, gently slide the power supply straight into the
power supply slot until the power supplyreachesa point where backpressure prevents
the power supply from pushing forward; do not force the power supply fully into the
slot at this point of the procedure.
5. Use your thumb to move the ejector lever at the top of the power supply faceplate to
the right, and push the power supply flush into the back of the chassis. Release the
latch.
Figure 89: Installing a Power Supply in a QFX3100 Director Device
Related
Documentation
AC Power Supply in a QFX3100 Director Device on page 30•
• AC Power Cord Specifications for a QFX3100 Director Device on page 135
• Rear Panel of a QFX3100 Director Device on page 26
Removing a Fan Module from a QFX3100 Director Device
QFX3100 Director devices have three fan modules on the rear panel. The fan modules
are hot-removable and hot-insertable field-replaceable units (FRUs). You can remove
and replace a fan module without powering off the QFX3100 Director deviceor disrupting
QFX3100 Director device functions.
Before you begin removing a fan module from a QFX3100 Director device:
Copyright © 2012, Juniper Networks, Inc.312
QFX3000 Hardware Documentation