6. Insert the cable connector into the optical transceiver.
7. Secure the cables so that they are not supporting their own weight. Place excess cable
out of the way in a neatly coiled loop. Placing fasteners on a loop helps cables maintain
their shape.
CAUTION: Do not bend fiber-optic cables beyond their minimum bend
radius.Bending the cablesbeyond their minimum bend radius can damage
the cables and cause problems that are difficult to diagnose.
Do not let fiber-optic cables hang free from the connector. Do not allow
fastened loops of cables to dangle, which stresses the cables at the
fastening point.
Related
Documentation
Interface Specifications for SFP+ Transceivers for QFX3500 Device Access Ports on
page 108
•
Connecting a QFX Series Device to a Management Console
QFX Series devices have a console port with an RJ-45 connector. Use the console port
to connect the device to a management console or to a console server.
Ensure that you have an RJ-45 to DB-9 rollover cable available. An RJ-45 cable with an
RJ-45 to DB-9 adapter is provided with the device.
NOTE: If your laptop or PC does not have a DB-9 male connector pin and you
want to connect your laptop or PC directly to a QFX Series device, use a
combination of the RJ-45 cable and RJ-45 to DB-9 adapter supplied with the
device and a USB to DB-9 male adapter. You must provide the USB to DB-9
male adapter.
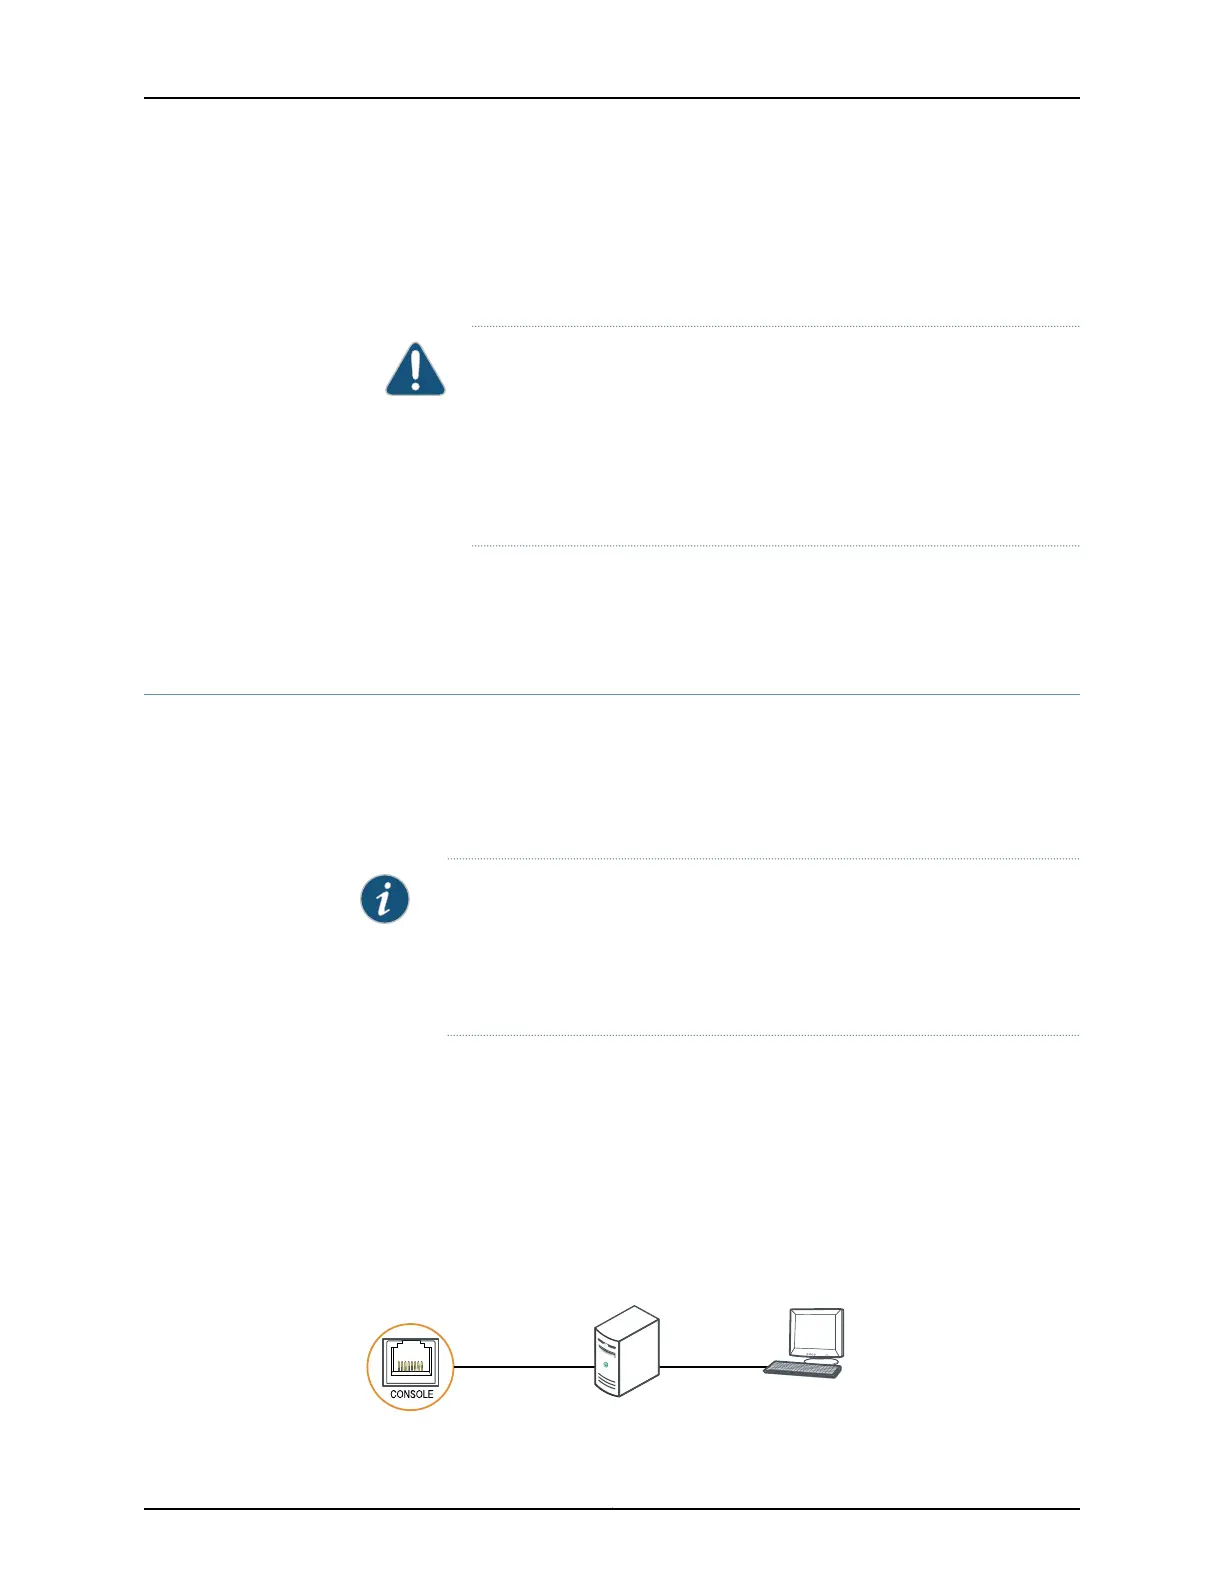
To connect a QFX Series device to a management console (see Figure 86 on page 285
and Figure 87 on page 286):
1. Connect one end of the Ethernet cableto the consoleport (labeledCON or CONSOLE).
2. Connect the other end of the Ethernet cable into the console server (see Figure 86
on page 285) or management console (see Figure 87 on page 286).
Figure 86: Connecting a QFX Series Device to a Management Console
Through a Console Server
g050109
Console server PC
To Console port
(on device)
285Copyright © 2012, Juniper Networks, Inc.
Chapter 22: Cabling the QFabric Switch