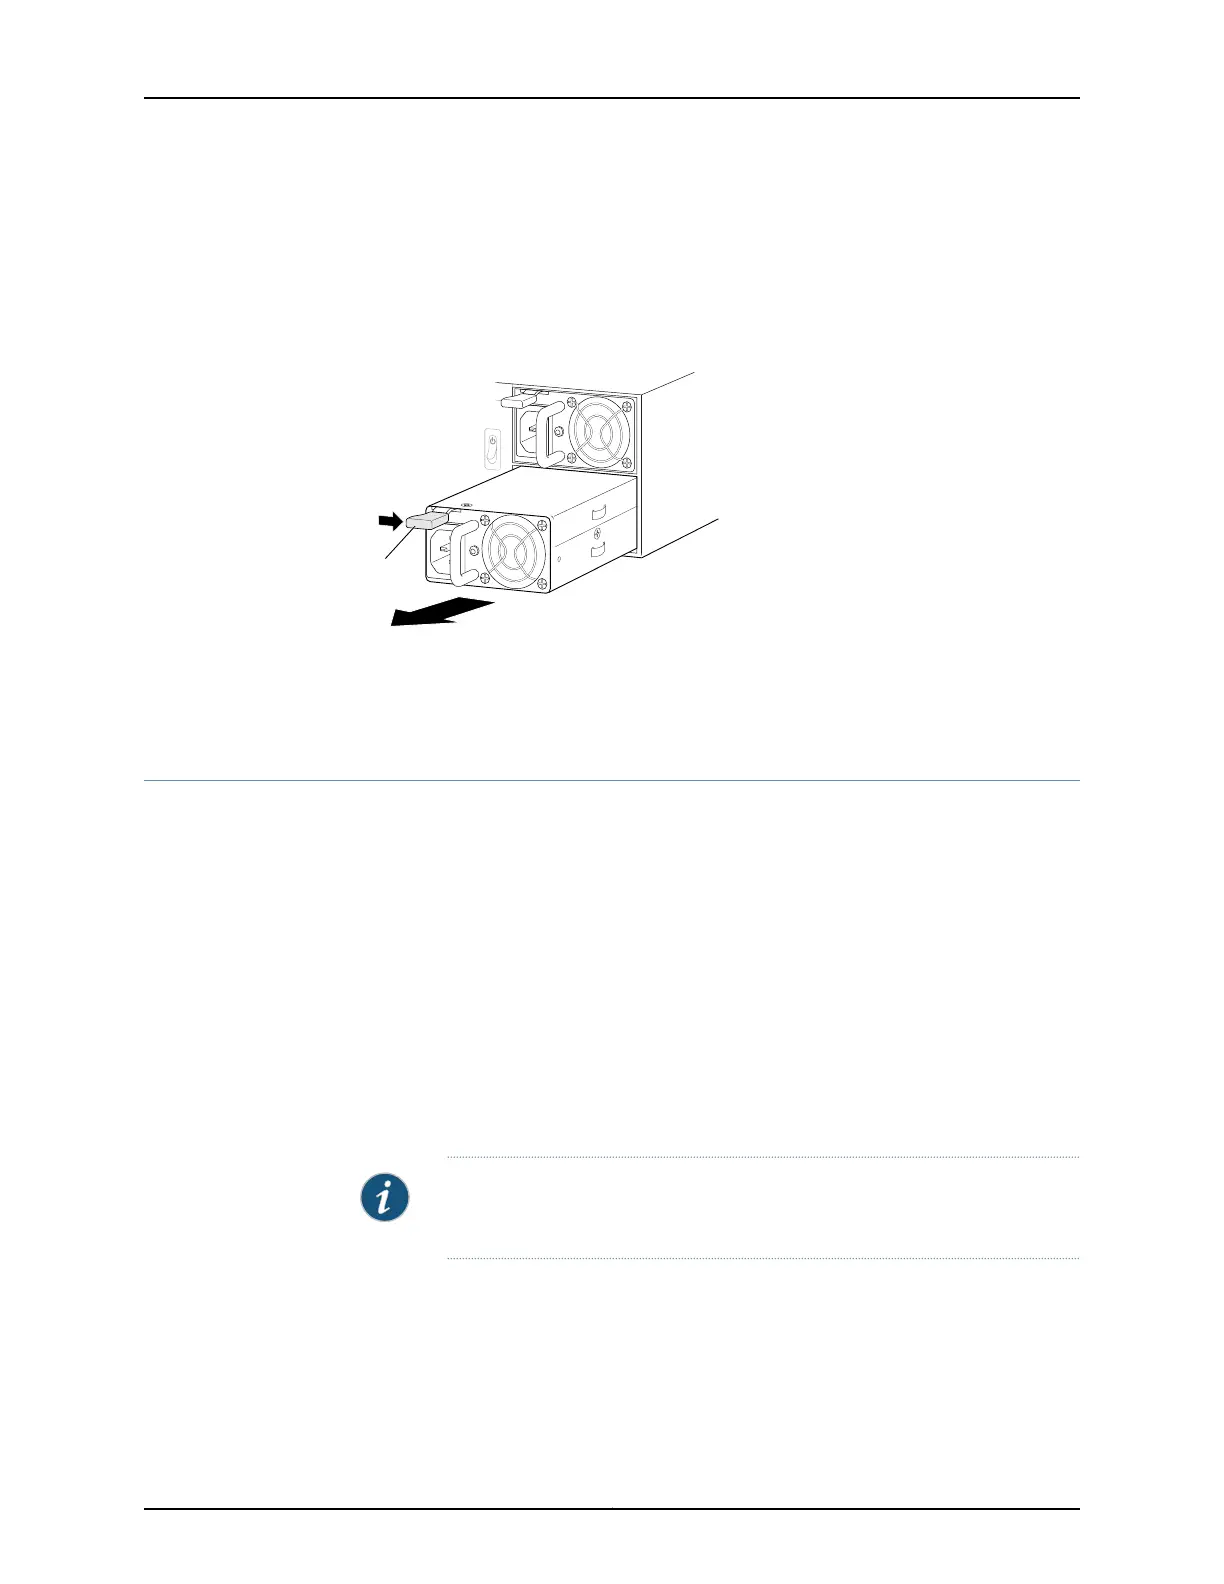
4. Taking care not to touch power supply components, pins, leads, or solder connections,
place one hand under the power supply to support it. Grasp the power supply handle
with your other hand and pull the power supply completely out of the chassis.
5. Place the power supply in the antistatic bag or on the antistatic mat.
Figure 88: Removing a Power Supply from a QFX3100 Director Device
Related
Documentation
Installing a Power Supply in a QFX3100 Director Device on page 311•
• AC Power Supply in a QFX3100 Director Device on page 30
Installing a Power Supply in a QFX3100 Director Device
The AC power supply in a QFX3100 Director device is a hot-removable and hot-insertable
field-replaceable unit (FRU) located on the far right side of the rear panel. Two AC power
supplies are installed in a QFX3100 Director device. You can remove and replace a single
AC powersupply without powering off the QFX3100 Director deviceor disrupting QFX3100
Director device functions.
Before you install an AC power supply in the QFX3100 Director device:
•
Ensure that you understand how to prevent electrostatic discharge (ESD) damage.
See “Prevention of Electrostatic Discharge Damage” on page 192.
Ensure that you have the following parts and tools available to install an AC power supply:
•
ESD grounding strap
NOTE: Each AC power supply must be connected to a dedicated AC power
source outlet.
To install an AC power supply in the QFX3100 Director device (see Figure89 on page 312):
311Copyright © 2012, Juniper Networks, Inc.
Chapter 25: Replacing QFX3100 Components