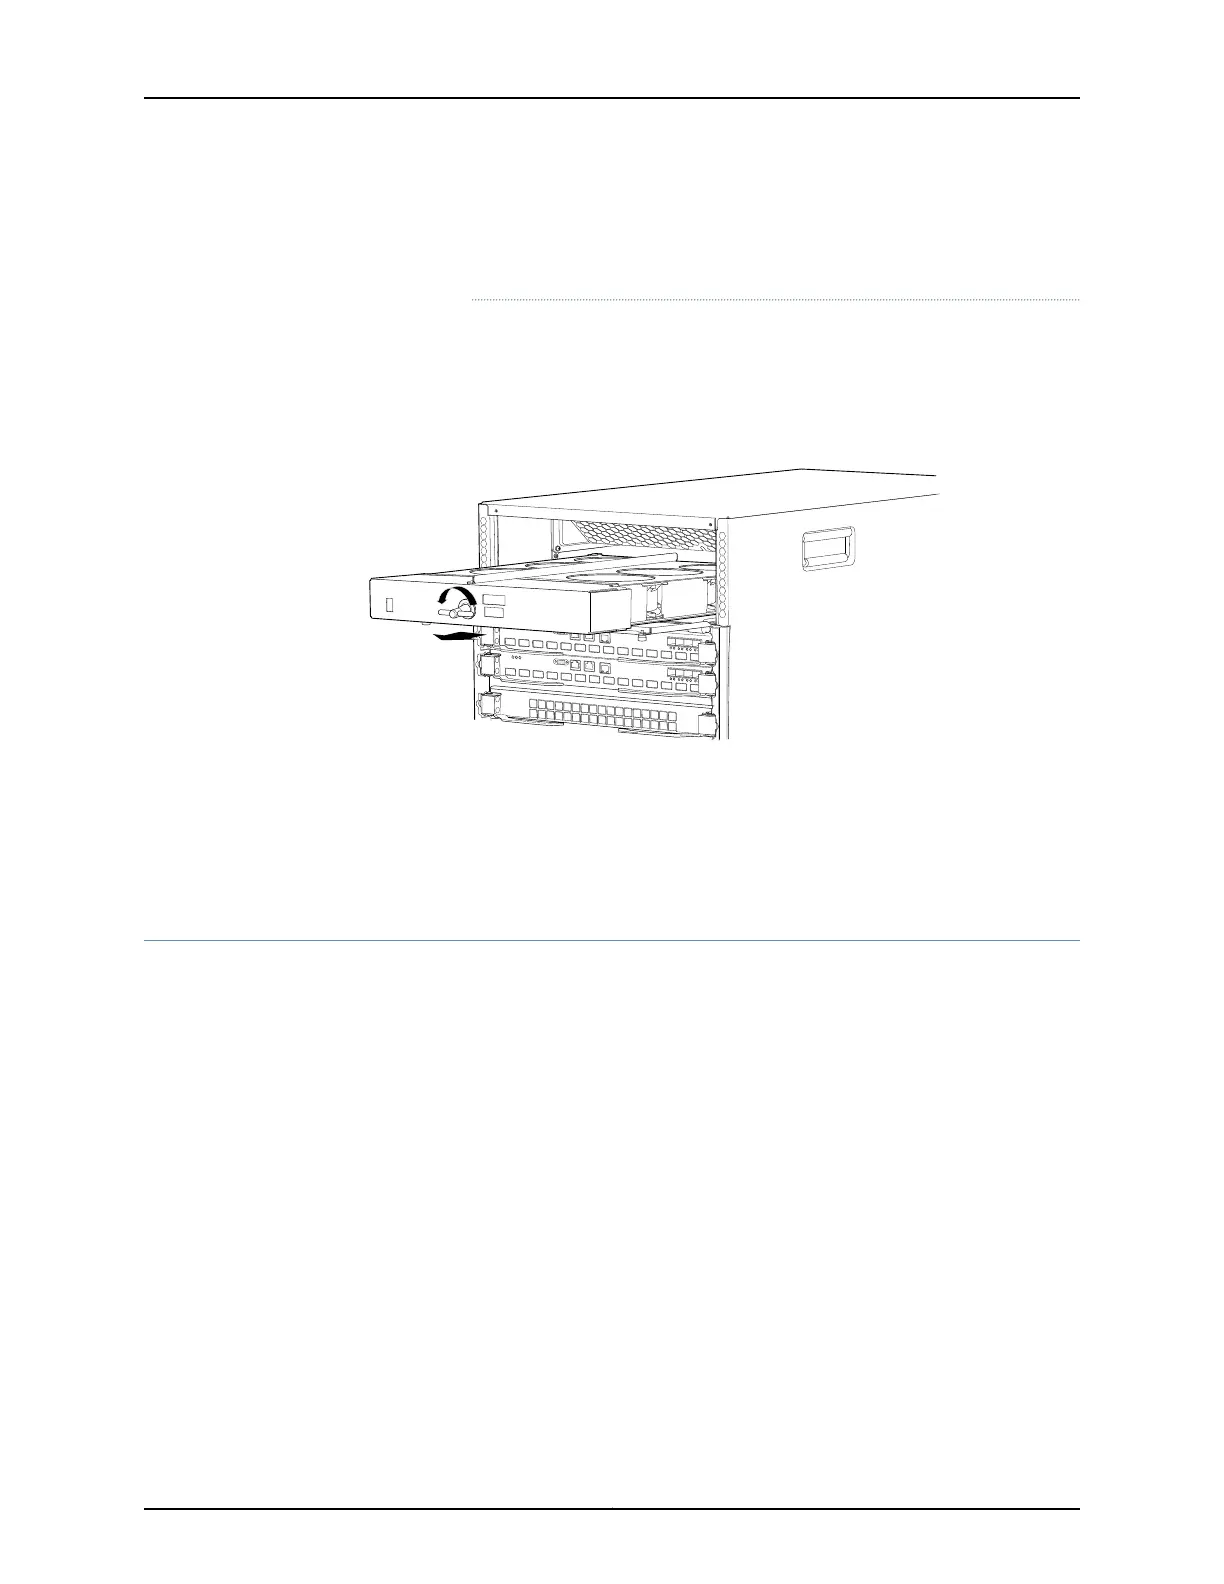
To avoid injury, do not touch the fans with your hands or any tools as you
slide the fan tray out of the chassis—the fans might still be spinning.
6. Wait for approximately 15 seconds to allow all the fans to stop spinning.
7. Slide the fan tray completely out of the chassis.
Figure 104: Removing a Top Fan Tray from a QFX3008-I Interconnect
Device
Related
Documentation
Installing a Top Fan Tray in a QFX3008-I Interconnect Device on page 337•
• Cooling System and Airflow in a QFX3008-I Interconnect Device on page 44
• Field-Replaceable Units in a QFX3008-I Interconnect Device on page 38
Installing a Top Fan Tray in a QFX3008-I Interconnect Device
A QFX3008-I Interconnect device top fan tray is field-replaceable. and is hot-removable
and hot-insertable; you can remove and replace the fan tray while the device is running
without turning off power to the device or disrupting switching functions.
The top fan tray installs horizontally at the top on the back of the chassis, behind a cover
door. There are two captive screws at the top of the cover door to secure the cover door
to the chassis.
Before you begin to install a fan tray, ensure that you understand how to prevent ESD
damage. See “Prevention of Electrostatic Discharge Damage” on page 192.
Ensure that you have the following parts and tools available to install a fan tray in a
QFX3008-I Interconnect device:
•
Electrostatic discharge (ESD) grounding strap
•
Replacement fan tray
337Copyright © 2012, Juniper Networks, Inc.
Chapter 26: Replacing QFX3008-I Components