P a g e | 423
UCM6510 IP PBX User Manual
Version 1.0.20.31
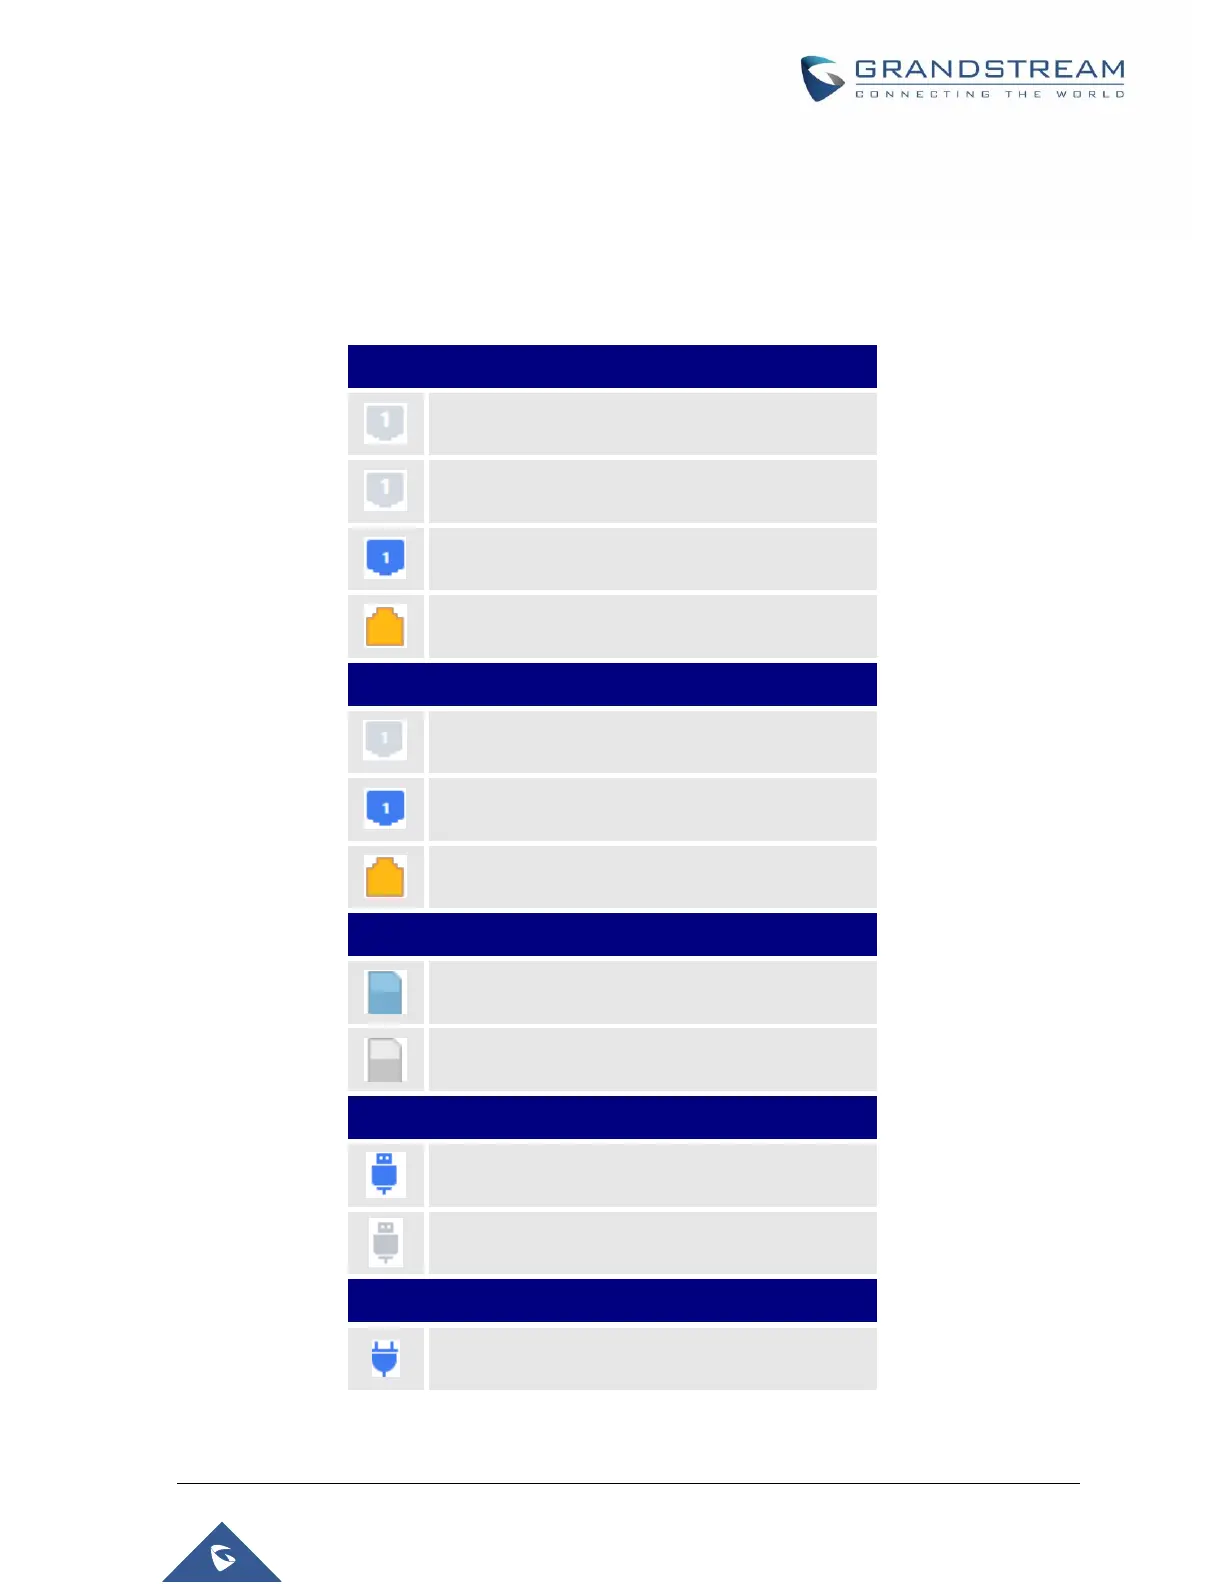
Interfaces Status
This section displays interface connection status on the UCM6510 for USB, SD Card, LAN, WAN, LAN
PoE, Heartbeat, Power 1, Power 2, Digital, FXS and FXO ports.
Table 143: Interface Status Indicators
Connected but not configured
Connected but not configured
 Loading...