Free ebooks ==> www.ebook777.com
»
CONNECTING TO A PRINTER
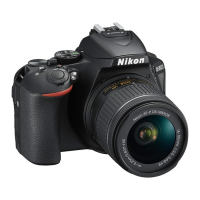
A D5300 CONNECTED TO A PRINTER
The camera’s memory card can be inserted
into a compatible printer or taken to a
photo printing store. Alternatively, the
camera can be connected to any printer
that supports the PictBridge standard.
However, for maximum flexibility and
power when printing, transfer photographs
to a computer first.
Tip
RAW images can’t be printed directly
from the camera, but you can use
the NEF (RAW) processing item in
Retouch menu (page 131) to create a
JPEG copy for direct printing.
To connect to a printer
1) Turn the camera off.
2) Turn the printer on and connect the
supplied USB cable. Insert the the smaller
end of the cable into the USB slot, under
the cover on the left side of the camera.
3) Turn the camera on. You should now
see a welcome screen, followed by a
PictBridge playback display. There’s now
a choice between Printing pictures one
at a time or Printing multiple pictures.
Printing pictures one at a time
1) Select the photo you wish to print,
then press
. This reveals a menu of
printing options—see the table on the
next page. Use the Multi-selector to
navigate the menu and highlight specific
options; press
to select.
2) When the required options have been
set, select Start printing and press
.
To cancel at any time, press
again.
231
THE EXPANDED GUIDE
CONNECTION
»
GPS / CONNECTING TO A PRINTER
Nikon D5300 Ch9 220-237 P2 RY.indd 231Nikon D5300 Ch9 220-237 P2 RY.indd 231 20/02/2014 14:2720/02/2014 14:27
www.ebook777.com

 Loading...