Free ebooks ==> www.ebook777.com
24
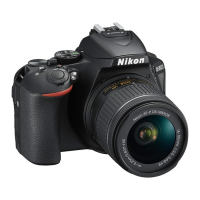
NIKON D5300
2
›
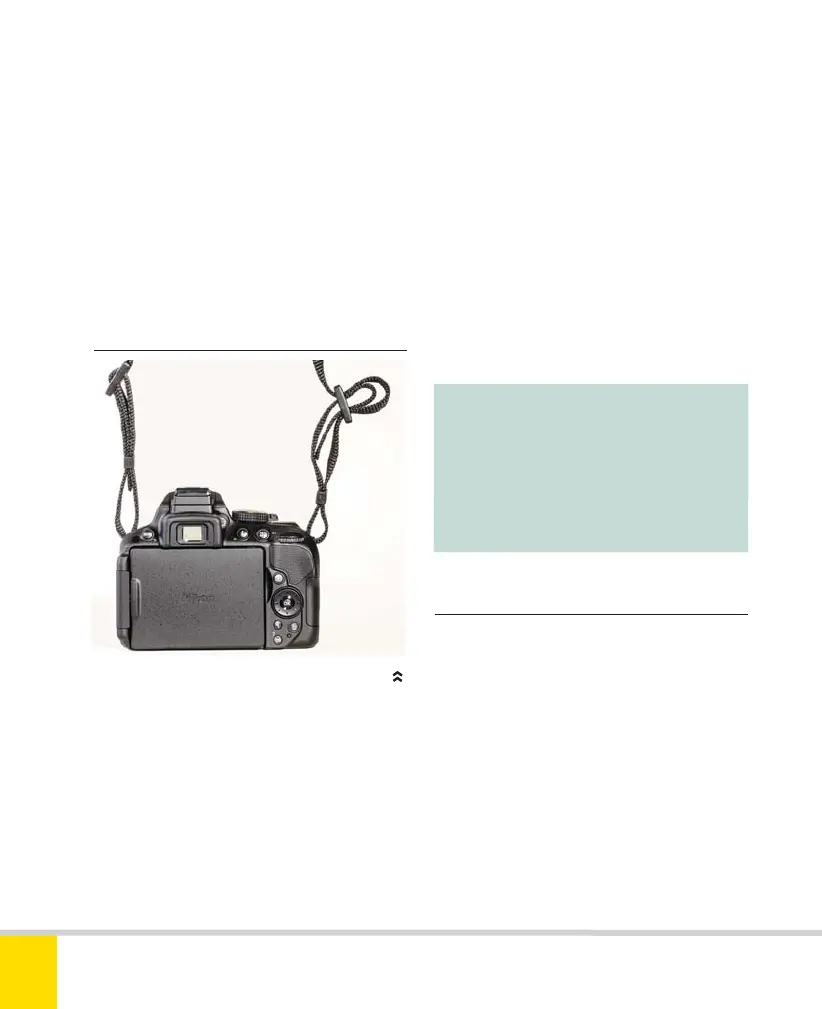
Attaching the strap
›
Adjusting for eyesight
» CAMERA PREPARATION
Note :
This method is different from that
shown in the Nikon Reference
Manual, but is both more secure
and neater.
Some basic operations, like charging the
battery and inserting a memory card, are
essential before the camera can be used.
When first switched on, the camera will
also prompt you to set language, time,
date, and time zone—see Setup menu
in Chapter 3, page 122.
ATTACHING THE STRAP
The strap is shown fully tightened on the left,
threaded but not yet tightened on the right.
To attach the supplied strap, ensure the
padded side faces inwards (so the maker’s
name faces out). Attach either end to the
appropriate eyelet, located at top left and
right sides of the camera. Loosen the strap
where it runs through the buckle, then
pass the end of the strap through the
eyelet and back through the buckle.
Bring the end of the strap back through
the buckle, under the first length of strap
already threaded (see photo). Repeat
on the other side. Adjust the length
as required, but ensure a good “tail”
(minimum 2in. or 50mm) extends beyond
each buckle for security. Tighten the strap
to seat it snugly within the buckle.
The D5300 offers dioptric adjustment,
between –1.7 and +1 m
-1
, to allow for
individual variations in eyesight. Make sure
this is optimized for your eyesight (with
glasses or contact lenses if you normally
use them). The diopter adjustment dial is
by the top right corner of the Viewfinder.
With the camera switched on, rotate the
dial until the Viewfinder readouts appear
sharpest (don’t use the image in the
Viewfinder itself for this).
Unless your eyesight changes, you
Nikon D5300 Ch2 022-105 P2 RY.indd 24Nikon D5300 Ch2 022-105 P2 RY.indd 24 19/02/2014 15:3519/02/2014 15:35

 Loading...