Step 10
Place the mounting bracket flush in the front position (see Diagram 1 of the following figure) or in the middle
position (see Diagram 3 of the following figure) against the right side of the chassis.
Step 11
Align the screw holes on the 23-inch mounting bracket with the screw holes on the right side of the chassis.
Step 12
Insert the screws and tighten them to a torque value of 11.5 in-lb (1.3 N-m).
Step 13
Place the mounting bracket flush in the front position (see Diagram 1 of the following figure) or in the middle
position (see Diagram 3 of the following figure) against the left side of the chassis.
Step 14
Align the screw holes on the 23-inch mounting bracket with the screw holes on the left side of the chassis.
Step 15
Insert the screws and tighten them to a torque value of 11.5 in-lb (1.3 N-m).
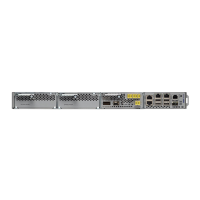
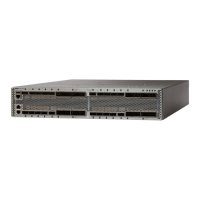
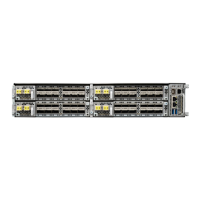
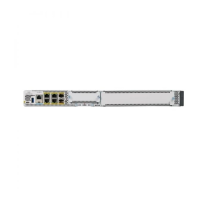
Figure 36: Mounting the Brackets with Air Deflectors (Front-to-Back) on the NCS 2002 Shelf for ETSI Rack Configuration
Step 16
Return to your originating procedure (NTP).
DLP-L41 Mounting the Bracket with Air Deflectors (Front-to-Top) on the NCS
2002 Shelf for ETSI Rack Configuration
This task installs the bracket with air deflectors
(front-to-top configuration) on the NCS 2002 shelf.
Purpose
•
#2 Phillips Dynamometric screwdriver
•
Medium slot-head screwdriver
•
Small slot-head screwdriver
Tools/Equipment
Cisco NCS 2000 Series Hardware Installation Guide
58
Mounting the Cisco NCS 2002 Brackets
DLP-L41 Mounting the Bracket with Air Deflectors (Front-to-Top) on the NCS 2002 Shelf for ETSI Rack Configuration
 Loading...
