Remove the door from the NCS 2002 shelf and reinstall it after installing all the other modules.Note
Procedure
Step 1
Complete the necessary task as applicable:
•
NTP-L44 Mounting the Brackets in ANSI Configuration, on page 45
•
NTP-L45 Mounting the Brackets in ETSI Configuration, on page 51
Step 2
Complete the necessary mounting task as applicable:
•
DLP-L42 Mounting the NCS 2002 Shelf on a Rack (One Person), on page 67
•
DLP-L43 Mounting the NCS 2002 Shelf on the Wall, on page 69
•
DLP-L44 Mounting the NCS 2002 Shelf on the Desktop, on page 72
Step 3
Connect the chassis to the office ground. For detailed instructions on how to ground the chassis, refer to the
Electrostatic Discharge and Grounding Guide for Cisco NCS 2000 Series.
Step 4
Continue with NTP-L30 Opening and Removing the Standard Door of the NCS 2002 Shelf, on page 111.
Stop. You have completed this procedure.
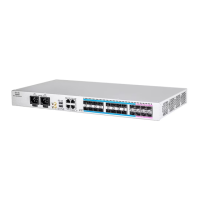
DLP-L42 Mounting the NCS 2002 Shelf on a Rack (One Person)
This task allows one person to mount the shelf on a
rack.
Purpose
•
# 2 Phillips Dynamometric screwdriver
• ANSI —Two #12-24 x ¾ pan-head Phillips
mounting screws
• ETSI—Two M6 x 20 mounting screws
Tools/Equipment
NonePrerequisite Procedures
As neededRequired/As Needed
OnsiteOnsite/Remote
NoneSecurity Level
Cisco NCS 2000 Series Hardware Installation Guide
67
Mounting the Cisco NCS 2002 Shelf
DLP-L42 Mounting the NCS 2002 Shelf on a Rack (One Person)