Paper tab icons
The following items are displayed only on the paper tab screen:
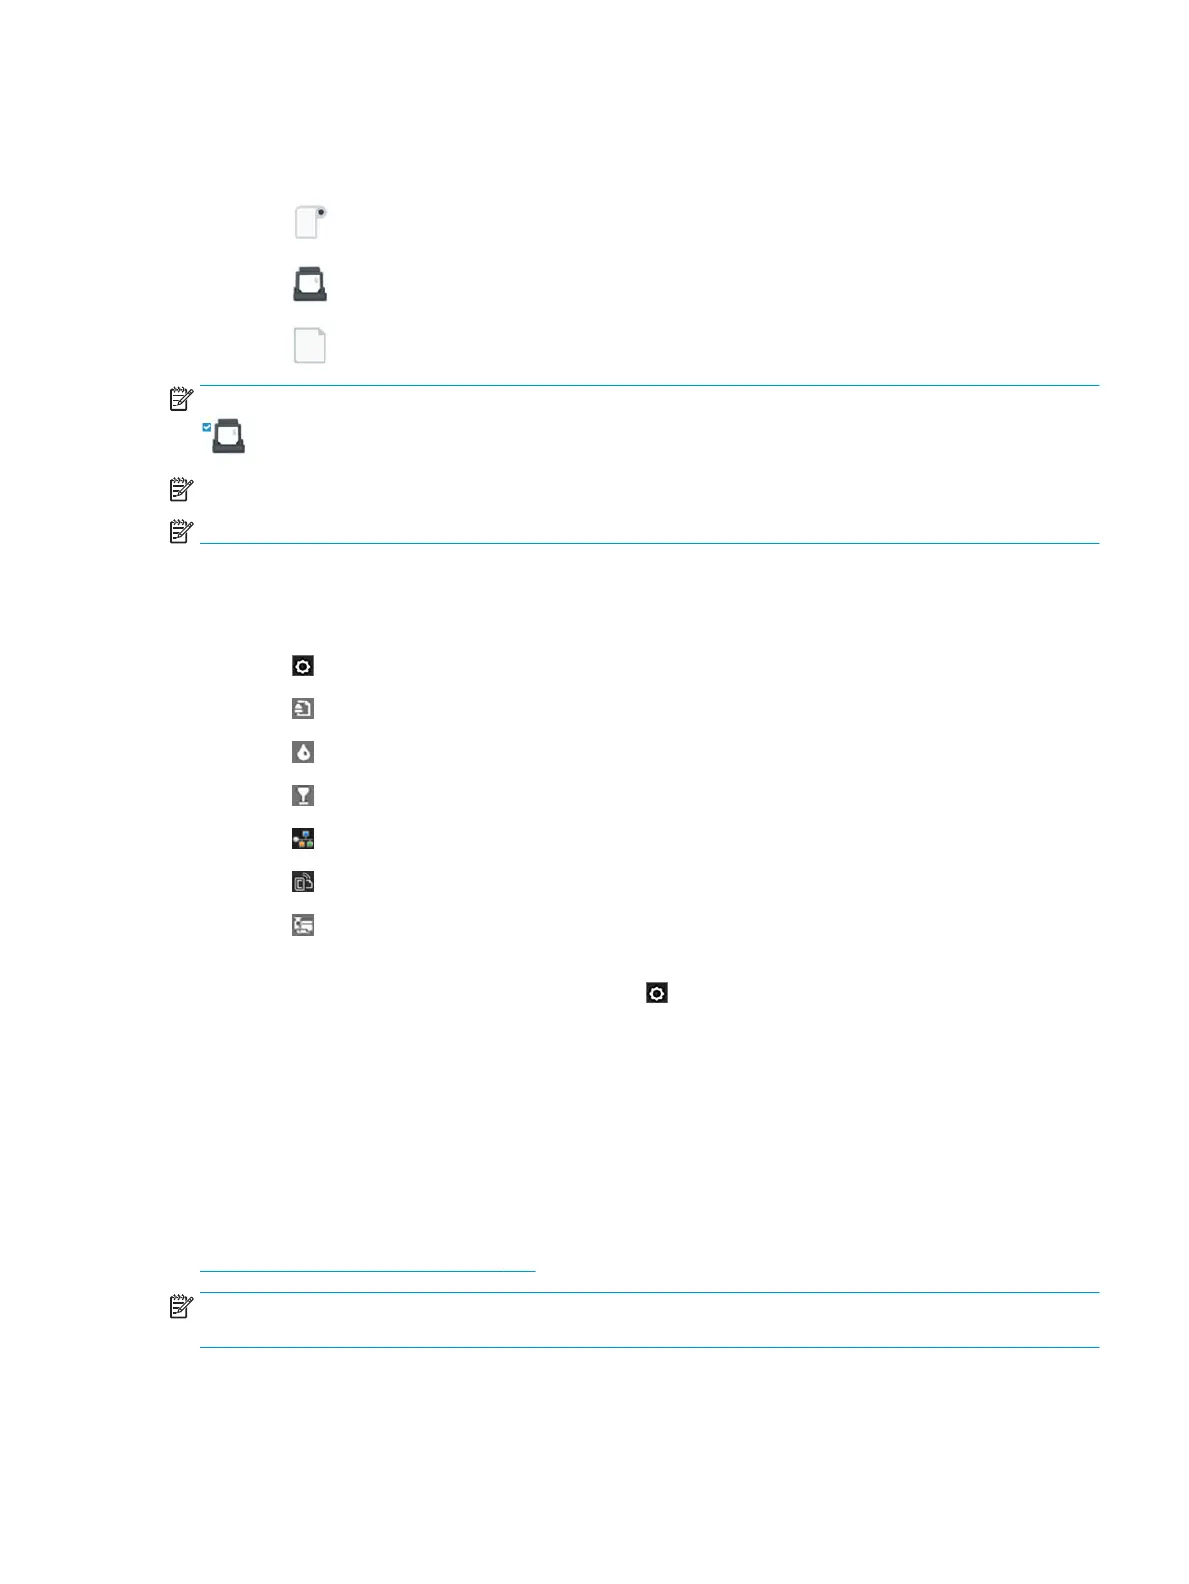
●
Press to load, unload, and change options for roll paper.
●
Press to change options for the multi-sheet tray, or activate it.
●
Press to load, unload, and change options for single sheets.
NOTE: The white tick in a blue box indicates the active paper source: in this example, the multi-sheet tray:
.
NOTE: It is not possible to use wireless and wired network connections simultaneously.
NOTE: If no tick appears, no paper is loaded in any source.
Dashboard icons
The following items are displayed only on the paper tab screen:
●
Press to change printer settings.
●
Press to eject paper from the scanner.
●
Press to view information about ink supplies.
●
Press to view information about the printhead.
●
Press to view information about network status, and congure the network (wireless or wired).
●
Press to access access Web Services.
●
Press to access WiFi Direct.
If the printer is left idle for some time, it goes into sleep mode and switches o the front-panel display. To
change the time that elapses before sleep mode, slide , then Printer setup > Sleep mode. You can set a
time between 5 and 240 minutes.
The printer wakes from sleep mode and switches on the front-panel display whenever there is some external
interaction with it.
You can use the printer’s auto-o feature to turn the printer o automatically. For example, setting it to 2
hours turns the printer o after 2 hours of inactivity. In this way, you can save more energy. However, the
auto-o feature is automatically disabled when the printer is connected to the network, to avoid
inconveniencing network users.
The following table shows an overview of the two types of support menu available, for more details see
Entering the support menus on page 182.
NOTE: The icons mentioned in this table will not be visible in the front panel: you must press the front panel
in the places where they normally appear, as shown in the front panel illustration at the start of this section.
ENWW Using the front panel 3
 Loading...

