Starwheel Assembly
Removal
1. Switch o the printer and remove the power cable.
2. (MFP only) Remove the Scanner Module, see Scanner Module on page 505.
3. Remove the Front Cover, see Front Cover on page 261.
4. Remove the Cutter Door, see Cutter Door F9A30-67006 on page 378.
5. Remove the Left Cover, see Left Cover MFP SV Kit F9A30-67012 on page 268.
6. Remove the Right Cover, see Right Cover MFP SV Kit F9A30-67011 on page 264.
7. Remove the Front Panel, see Front Panel SFP F9A29-67008 on page 278.
8. Remove the Central Cover, see Central Cover on page 284.
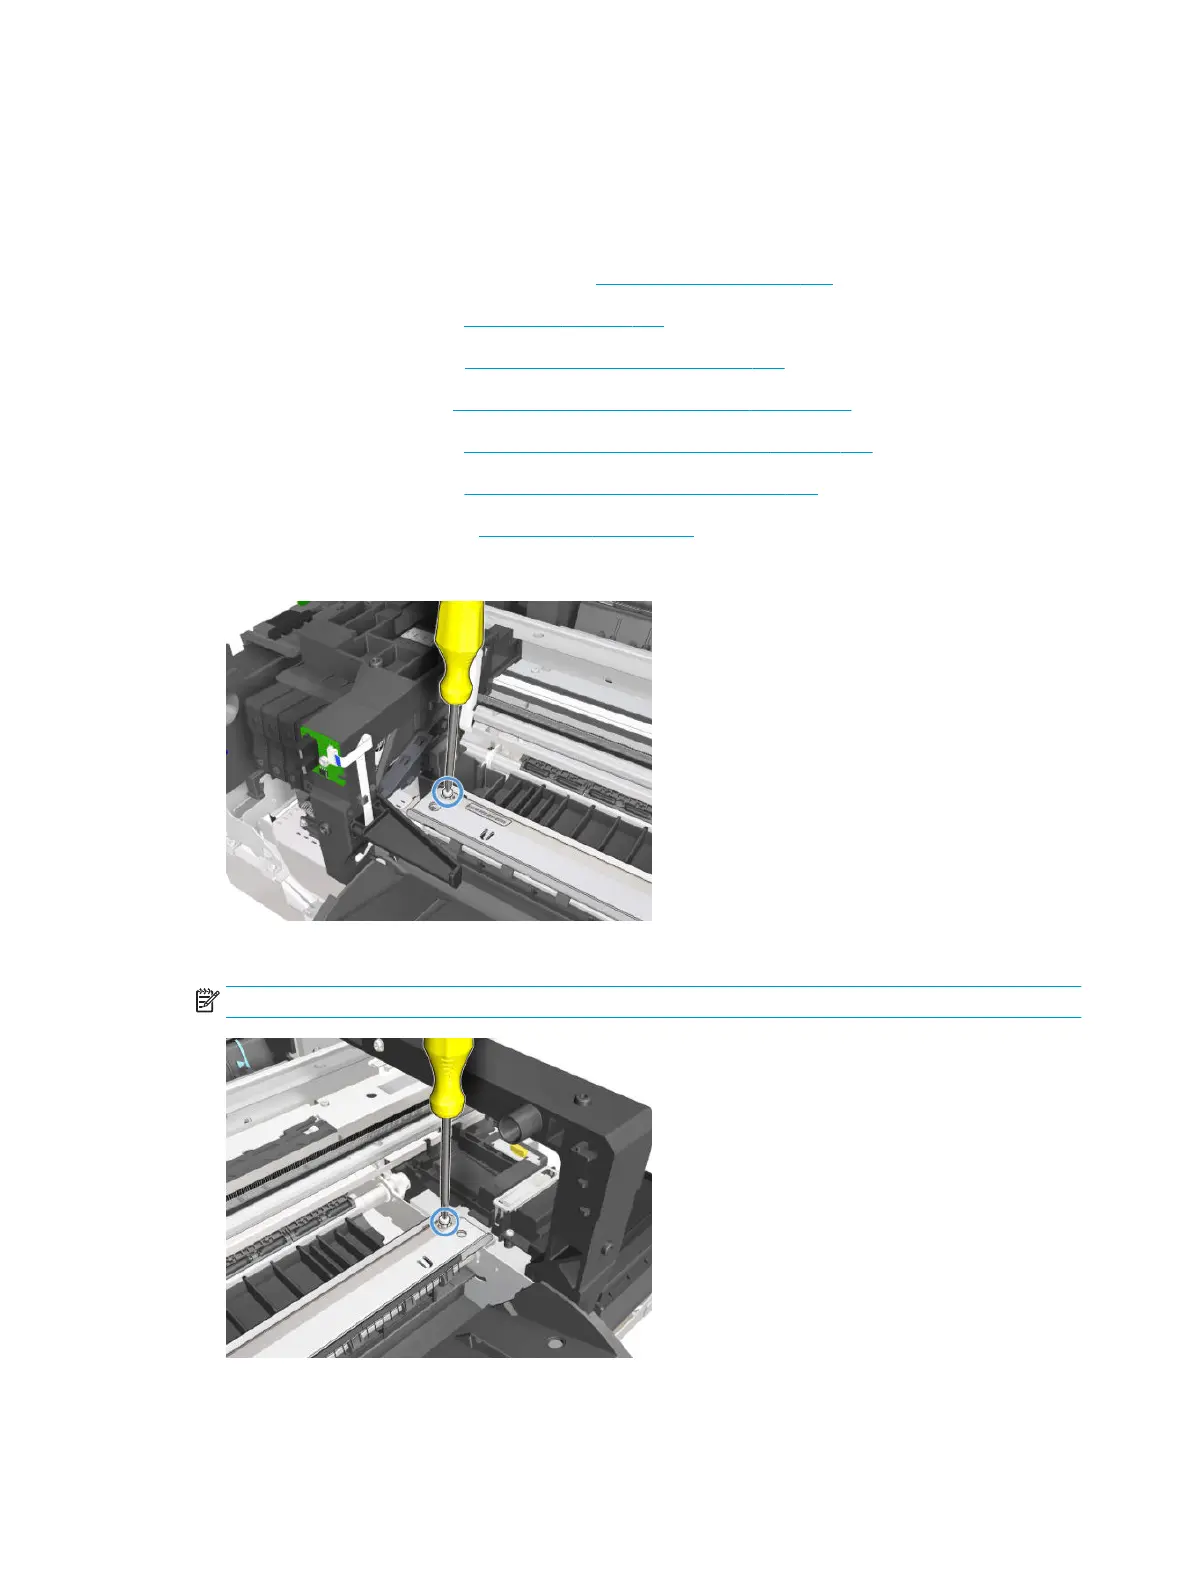
9. Remove one T-10 screw on the left side of the Starwheel Assembly.
10. Remove one T-10 screw on the right side of the Starwheel Assembly.
NOTE: Image shown is from another product, and for reference only.
356 Chapter 5 Removal and installation ENWW

 Loading...


