for fully wetting the vent, and purge the air from the pores at which point the vent is closed and remains
closed for the life of the PHA.
4. The air circuit is vented and the PHA bag is deated. Now ink pumps in to return to the volume to what
the bag had before moving from full ination to set point. This closes the regulator.
5. With the PHA full of ink, a series of lower pressure primes are run to expel all air from the PHA below the
lter into the NOA.
6. Finally the servicing routine begins, and the PHA nozzles are cleaned and prepared to print.
Start-up sequence
There are 4 states between power-on and the Home screen:
1. Electronics initialization
2. Firmware initialization
3. Mechanical initialization
4. Scanner calibration
State 1: Electronics initialization
1. The front panel moves from ashing white light to turning dark.
2. The printer reads the rmware from the eMMC module.
NOTE: At this stage, if something is broken, it will not be possible to enter the Support menu. To diagnose
what is happening, go to the front panel blank troubleshooting.The Front Panel is blank (the printer does not
start) on page 64. Subsequently, you can enter the Support menu to troubleshoot if necessary.
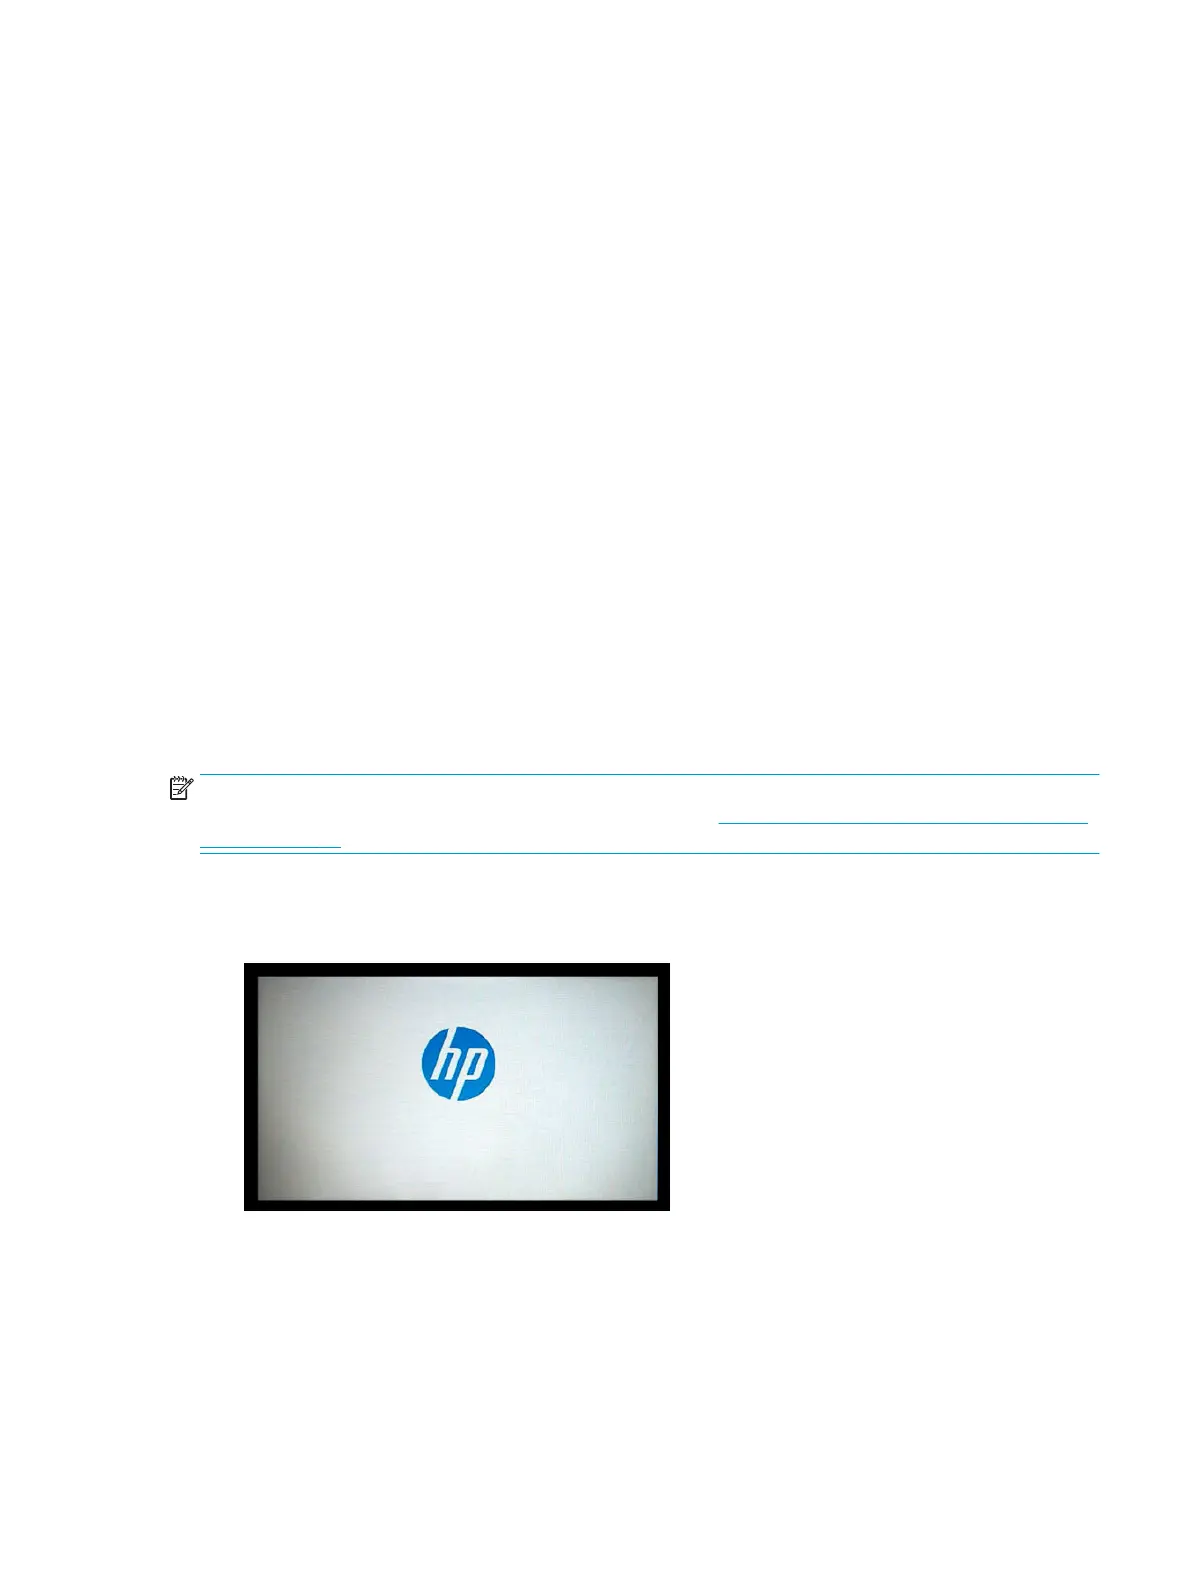
State 2: Firmware initialization
1. HP logo appears on a white background.
2. Bundle board and ASICs are initialized. The Firmware is loaded.
ENWW Start-up sequence 5
 Loading...

