Trailing Cable
Removal
1. Switch o the printer and remove the power cable.
2. (MFP only) Remove the Scanner Module, see Scanner Module on page 505.
3. Remove the Front Cover, see Front Cover on page 261.
4. Remove the Cutter Door, see Cutter Door F9A30-67006 on page 378.
5. Remove the Left Cover, see Left Cover MFP SV Kit F9A30-67012 on page 268.
6. Remove the Right Cover, see Right Cover MFP SV Kit F9A30-67011 on page 264.
7. Remove the Front Panel, see Front Panel SFP F9A29-67008 on page 278.
TIP: If you want to power on the printer, the Front Panel can be placed on clips (without cover).
8. Remove Central Cover, see Central Cover on page 284.
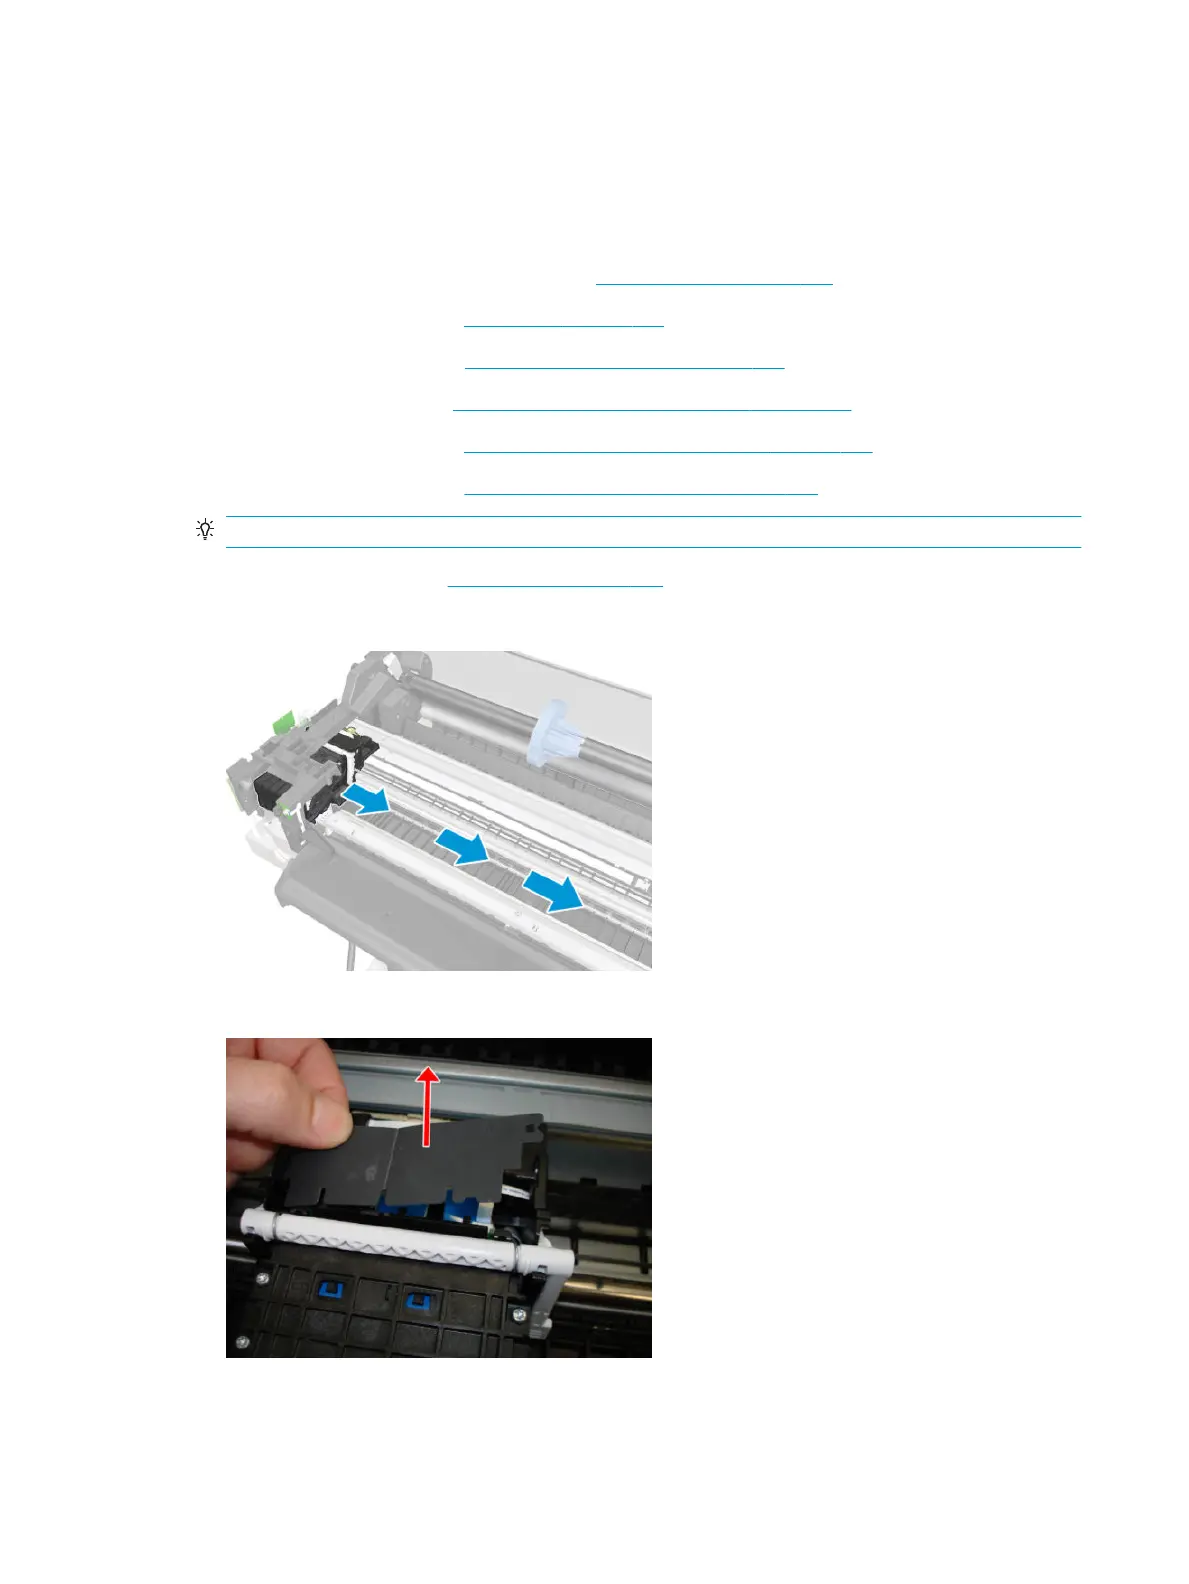
9. Move the Carriage to the middle of the Platen.
10. Remove the PCA Carriage Cover.
326 Chapter 5 Removal and installation ENWW
 Loading...

