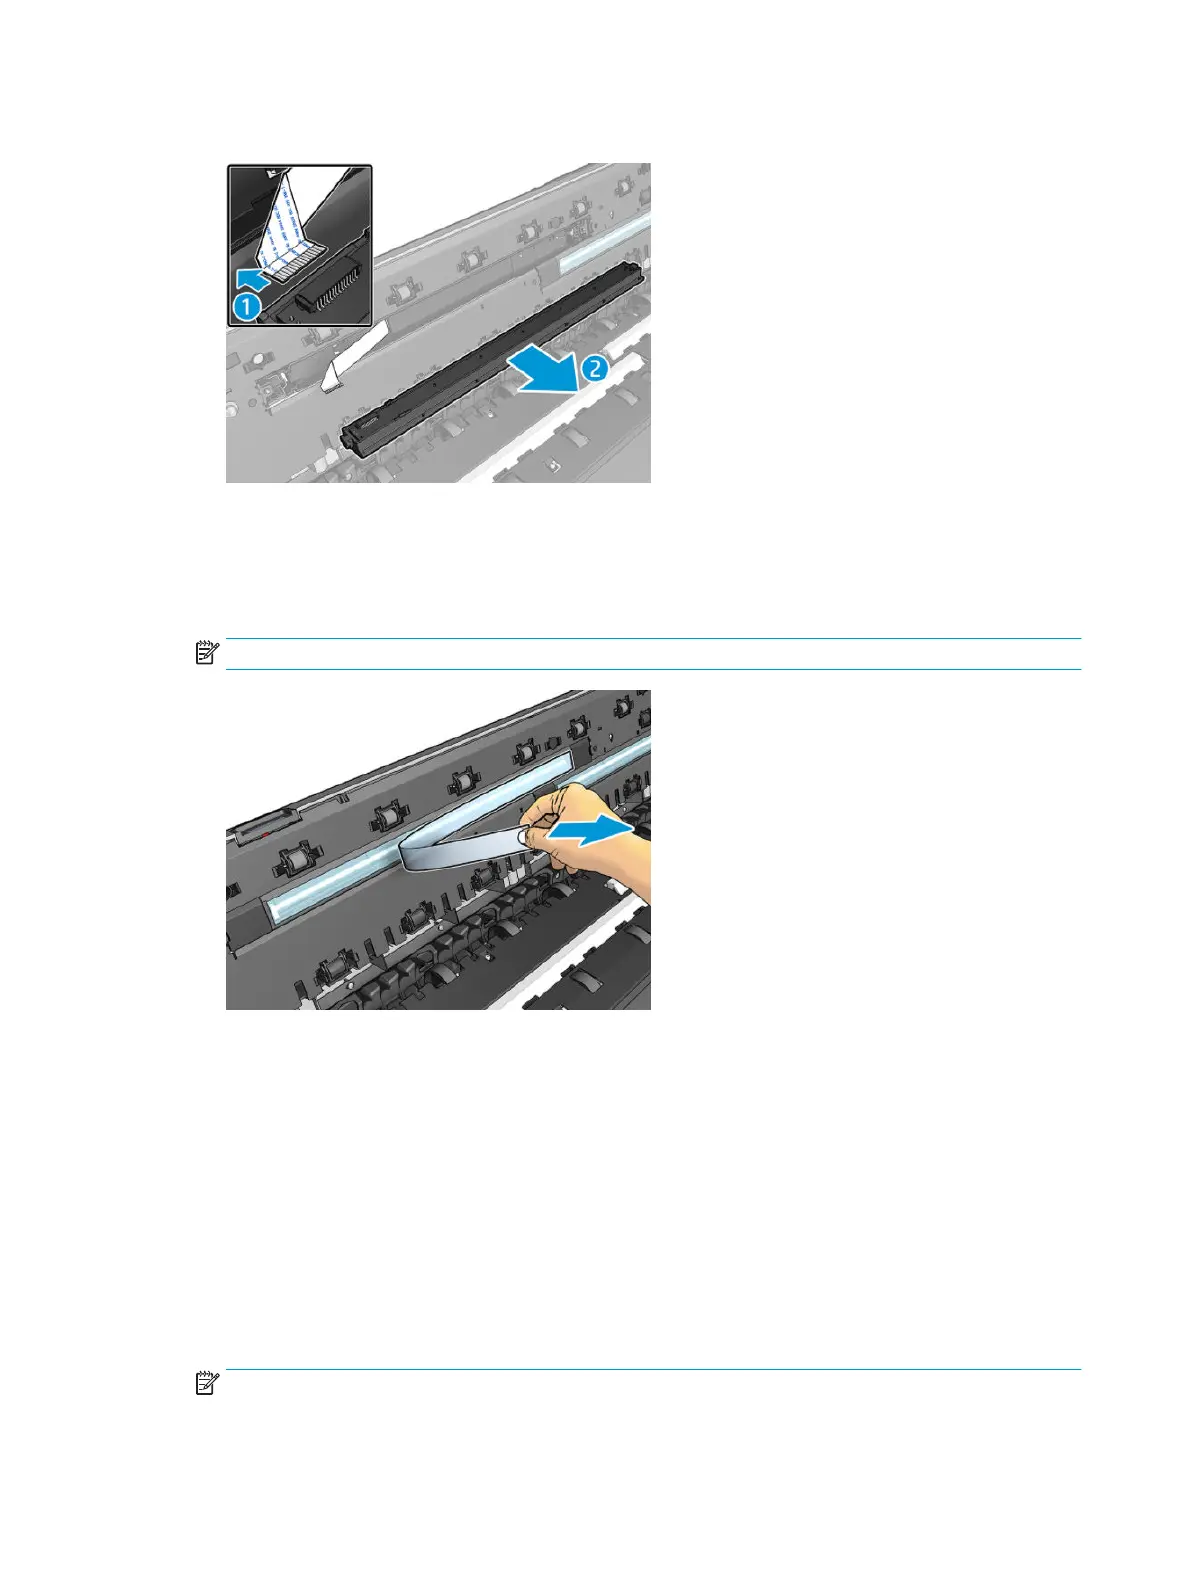
11. Unplug the cable.
Installation
1. Remove the new Scanbar from the box.
2. Install the Scanbar by reversing the removal process.
NOTE: Remove the plastic protector from the scanbar after replacing it and before closing the Scanner.
3. Scanbar replacement checklist:
a. Replace all 3 scanbars.
b. Replace all 3 calibration surfaces.
c. Remove lms.
d. Boot the unit.
e. Promote PRNU to Pristine (from Extended Support Menu).
f. Run Scanbar alignment calibration.
g. Restore Scanner Calibrations (from Extended Support Menu).
NOTE: Scanbar Service kit includes 3 scanbars and 3 calibration surfaces.
428 Chapter 5 Removal and installation ENWW
 Loading...

