4. MEASUREMENT FLOW
4.2.2 Perform the horizontal positioning
To determine horizontal position for the measurement start position adjustment, move the
drive unit manually.
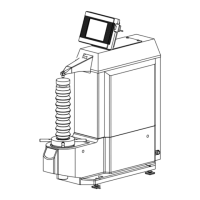
The drive unit can be moved manually on the Drive Unit Operation screen.
Touch the button according to the direction and distance to reposition the detector.
The movement speed differs depending on the size of the button you press. The detector
moves fastest with the largest button. As you touch the smaller buttons, the detector
moves slower.
Touching
moves the detector to the origin position.
Touching
moves the detector in the reverse direction of the origin position.
4.2.3 Perform zero adjustment
The zero adjustment function sets the current stylus position to the zero point for
measurement when there is a slight displacement (an error within ±90 μm/±3543.307 μin)
of the stylus on the detector.
Manual reposition button
■ Zero adjustment procedure
Zero adjustment can be performed on the Drive Unit Operation screen.
If zero adjustment is performed, measurements and calculations are performed in the
SJ-410 with the current stylus position set to the zero point.
The allowable range of zero adjustment is within ±90 μm (±3543.307 μin). An error results
if zero adjustment is performed when the stylus is located outside of the range of ±90 μm
(±3543.307 μin). In this case, perform vertical adjustment again to position the stylus
within the range of ±90 μm (±3543.307 μin).
Zero adjustment
No. 99MBB765A
4-3
 Loading...