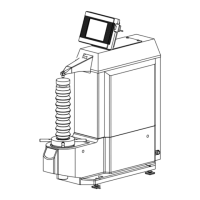
3. SETTING UP THE SJ-410
No. 99MBB765A
3 Touch [Narrow-area Measurement] or on the Drive Unit Operation
screen to return the drive unit to the origin position.
• For information about returning to the origin position, refer to "5.2.1 Repositioning the
drive unit manually" (page 5-3) or "5.2.2 Repositioning the drive unit for narrow-area
measurement" (page 5-3).
• For information about turning the SJ-410 off, refer to "3.9.3 Turning the power off" (page 3-30).
5 After confirming the orientation of both detector and drive unit connectors (pin
positions), gently and straightforward insert the detector into the drive unit hole.
Attaching the detector
6 Turn the drive unit upside down.
7 To perform the skidless measurement, turn the skidless/skid-attached switching
screw clockwise with a flat head screwdriver.
To perform the skid-attached measurement, turn the skidless/skid-attached
switching screw counterclockwise gently with a flat head screwdriver to loose until it
stops.
Drive unit side
connector view
Detector side
connector view
Set the detector with
the stylus facing down.
Slotted screw head
of skidless/skid-attached switching screw
Hole
Skidless/Skid-attached
switching screw
To tighten a screw, turn it clockwise.
To loosen a screw, turn it counterclockwise.
 Loading...