100
The KEY1 image and crosshair will be displayed on the M/E1 PREVIEW screen and the
current cursor position is displayed under POSITION X and Y.
To make a crosshair cursor also appear on the M/E1 PGM screen, turn PGM OUT to ON in
PAGE 3.
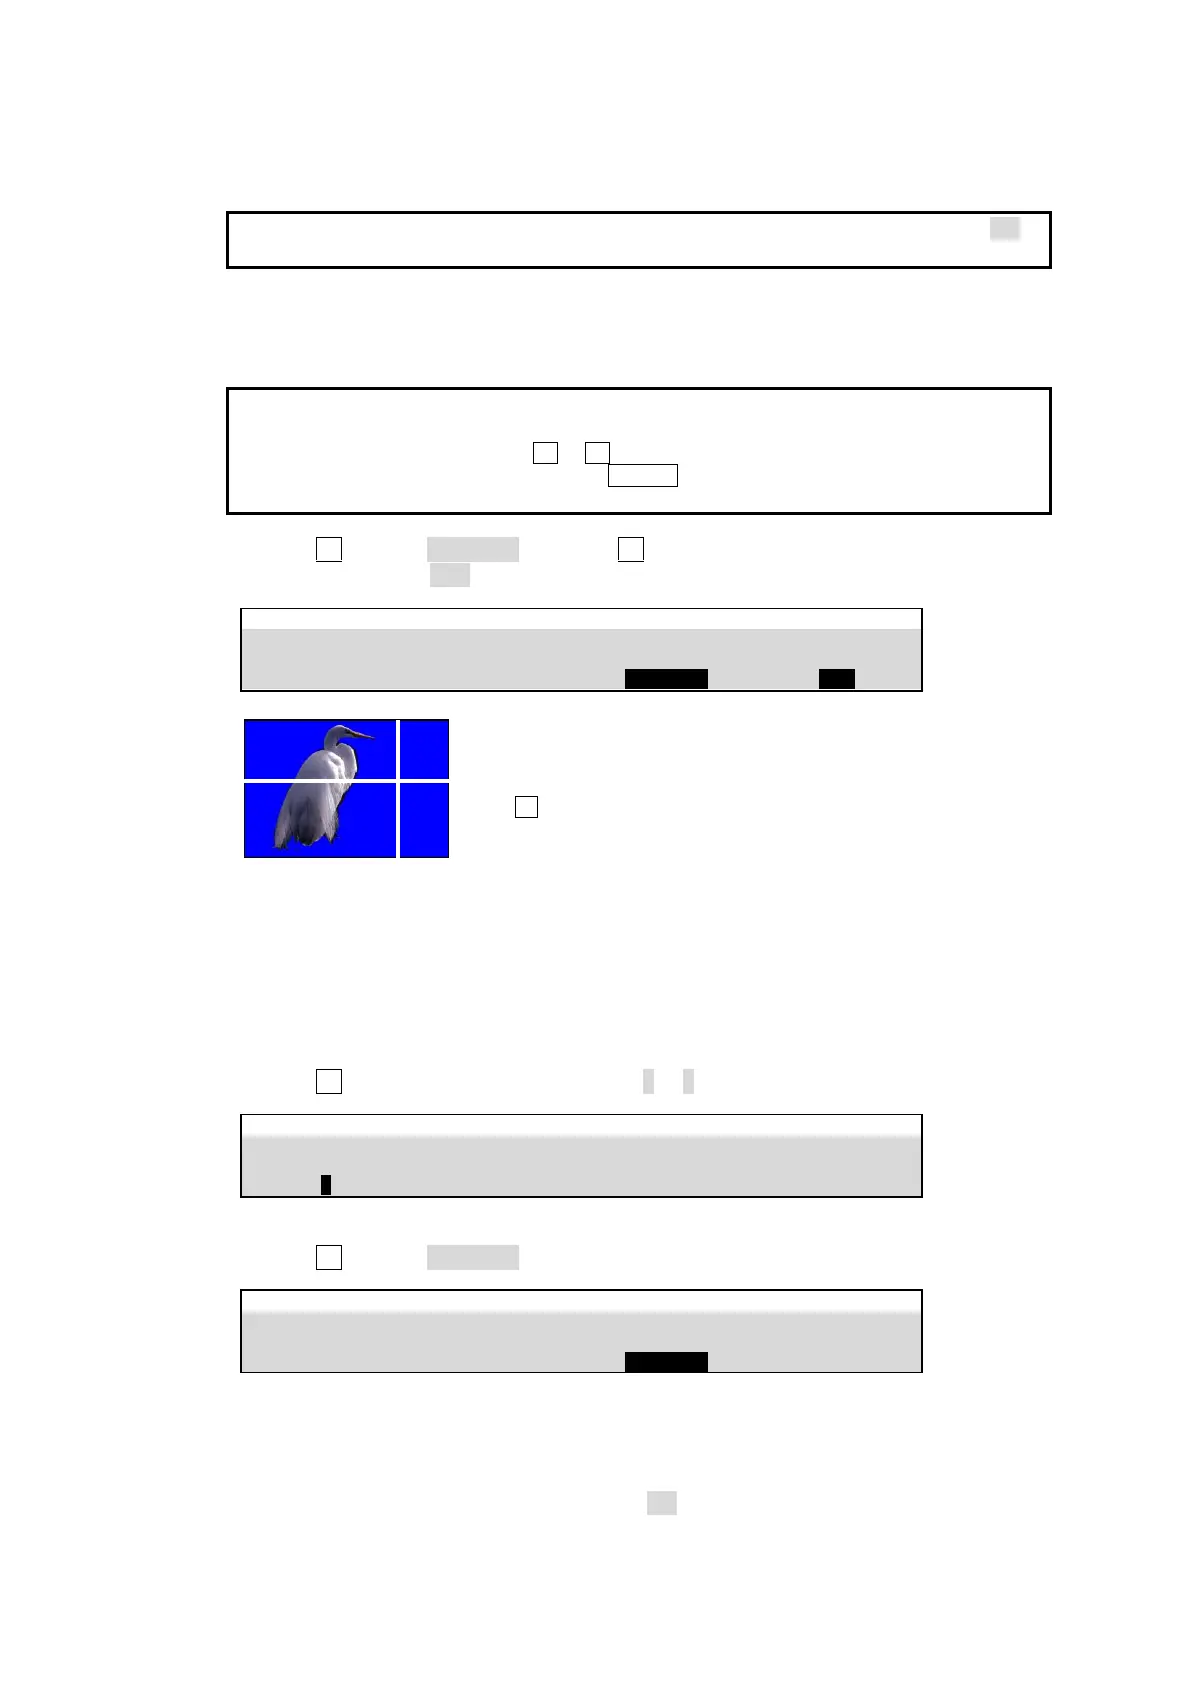
(12) Move the joystick up, down, left, or right to move the crosshair cursor onto the desired
color.
Tap the upper left corner of the menu screen to pop-up the Joystick menu. Tapping the FINE
button will help you fine tune the adjustment.
To enter a precise position, press F1 or F2, enter the values directly into POSITION X and Y
using the numeric keypad and then press ENTER. Selecting a darker color makes
adjustment easier.
(13) Turn F3 to select SAMPLE1 and press F3 to create a chromakey.
(14) Turn CURSOR to OFF to clear the cursor from the screen.
EFFECT/MELite > CK1 > AUTO CK > POSITION
<If color evenness occurs in the background>
A chroma keyer has three color sample buffers, in which different back colors can be stored,
and the final chromakey is produced by using a color averaged from these two or three colors
(BACK COLOR). This method is helpful when unwanted color unevenness occurs in the
background. To create the second or third sample, follow the procedure below.
(1) Open [EFFECT/MELite > CK1 > AUTO CK > SIGNAL] menu PAGE 3.
(2) Turn F1 to select the number of samples (2 or 3).
EFFECT/MELite > CK1 > AUTO CK > POSITION
(3) Go to PAGE 2.
(4) Turn F3 to select SAMPLE2.
EFFECT/MELite > CK1 > AUTO CK > POSITION
(5) Repeat Steps from (11) to (13) above to specify the SAMPLE2 color and create a
chromakey by using the averaged color. Use SAMPLE3 in the same manner.
<Resetting SAMPLE colors>
To reset colors in SAMPLE1-3, turn CLEAR to ON in [EFFECT/MELite > CK1 > AUTO CK >
POSITION] menu PAGE 3.
Press F3 to create a
chromakey.