40
6-2-1. Using Different Mappings between M/Es
Different source mappings can be set for M/E1-2 and AUX1-12 bus rows.
For example, to change M/E2 button assignments to different ones, proceed as follows.
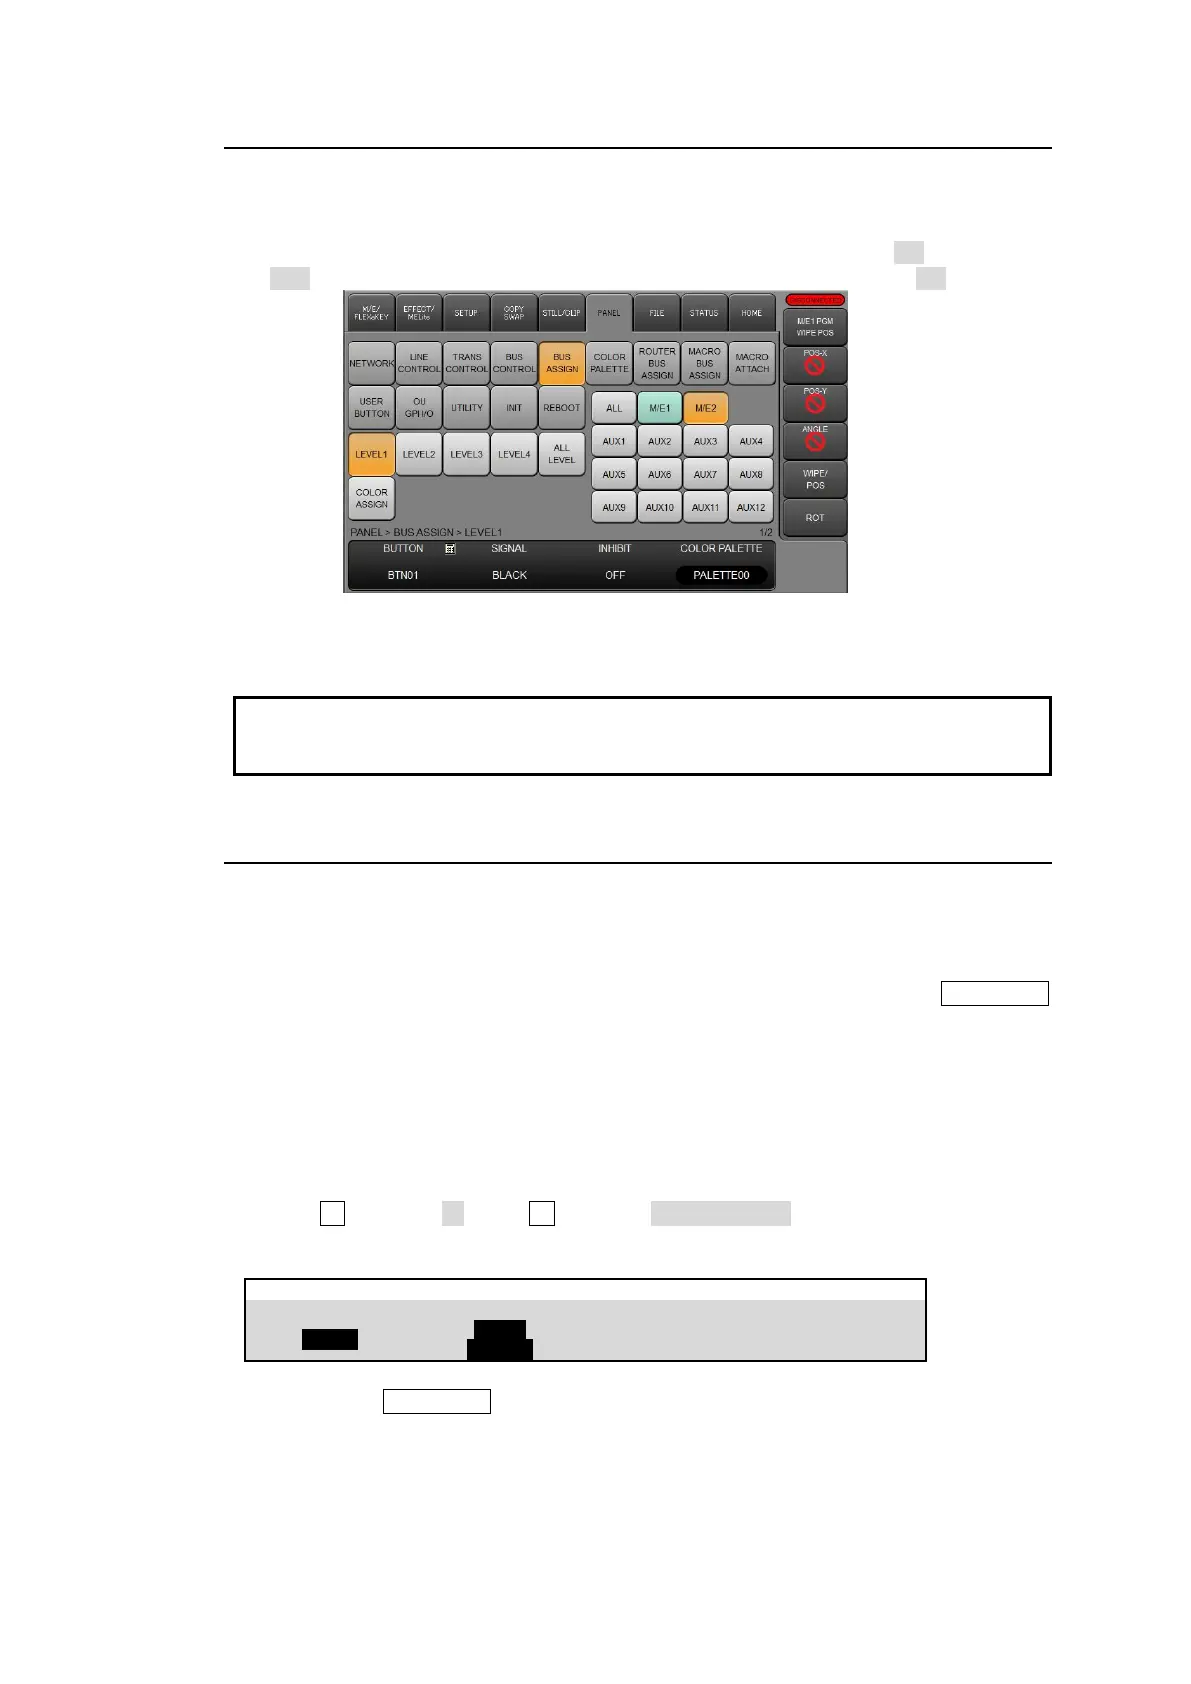
(1) Open the [PANEL > BUS ASSIGN > LEVEL1] menu and set M/E2 to ON and others to
OFF. (To enter the same button assignments for all bus rows, set ALL to ON.)
(2) Assign video sources to bus buttons as described in the previous page.
Note that if M/E1 is assigned to LINE 1, the M/E1 source/button configuration is set. If M/E2
or AUX1-12 is assigned to LINE 1, each source/button configuration is applied, and to LINE
2.
6-2-2. Using Shift Levels
The switcher allows the bus buttons to have up to 4 shift levels so that up to 64 crosspoints
can be assigned to 18 physical buttons on HVS-492OU units, up to 84 crosspoints to 22
physical buttons on HVS-492WOU and up to 40 crosspoints to 12 physical buttons on
HVS-492ROU. For example, you can use LEVEL1 for backgrounds and LEVEL2 for keys.
LEVEL2-4 ON/OFF functions can also be assigned to these bus buttons or BUS FUNC
buttons.
The following procedures show how to use LEVEL2 as an example by mapping video sources
to LEVEL2 buttons and assign LEVEL2 ON/OFF to Button 22.
How to set up LEVEL2
(1) Open the [PANEL > BUS ASSIGN > LEVEL1] menu.
(2) Tap a button in the right side of the menu screen to select a bus row.
(3) Turn F1 to select 22. Turn F2 to select SHIFT LEVEL2. Doing so assigns LEVEL2
ON/OFF to Button 22.
PANEL> BUS ASSIGN > LEVEL1
To use the BUS FUNC button, see Sec. 9-3. “Selecting a Function to BUS FUNC
Buttons.”
(4) Open the [PANEL > BUS ASSIGN > LEVEL2] menu. Assign video sources to buttons in
the same way as those for LEVEL1.